
I built a client project dashboard with secure login access, data storage, and workflows in minutes using Zite. This no-code, AI app builder is designed to make production-ready client-facing apps with a built-in database and no per-user fees. The entire dashboard went live after simply describing what I needed (no coding required). Here are the exact steps I followed.
What is a client dashboard?
A client dashboard is a secure web page where your clients log in to see information about the services you offer them. Unlike static reports or PDFs, it updates automatically from your underlying systems, so clients always see the latest information.
Most client dashboards include:
- Project or account status
- Key metrics or progress indicators
- Files or documents
- Notes, updates, or next steps
The key difference between a client dashboard and an internal dashboard is access. Clients only see their own data. Your team sees everything and can edit it.
2 ways to build a client dashboard without code
There are two common no-code approaches to building a client dashboard:
- Traditional drag-and-drop tools
- AI-powered builders
Traditional drag-and-drop tools
This approach starts with a blank canvas or a template. You drag and drop pages and UI elements like tables, charts, forms, and buttons, then wire each piece to your data. You control the layout and logic step by step.
AI-powered builders
With these tools, you describe what you want in plain English, and the AI builds the dashboard.
This method is faster than pure drag-and-drop tools because the AI generates the initial screens, navigation, and basic logic. Your job is mostly to explain what the dashboard should do and then refine it.
In this guide, we’ll walk through building a client project dashboard using an AI no-code tool called Zite.
What you’ll need before starting
Prerequisites:
- Zite account: Create a free Zite account or log in to your existing account.
- Project data or content: Gather any content you want to include, such as project descriptions, milestones, FAQs, or documents.
- Technical requirements: All you need is a web browser and an internet connection. Zite runs entirely in the browser. No special hardware or development environment needed.
- Time required: Approximately 45–60 minutes. Zite generates the dashboard in minutes. You'll spend the rest customizing.
How to create a client dashboard with a no-code AI tool like Zite: Step-by-step
No-code AI tools generate dashboards from plain English descriptions. You explain what the dashboard should do and how clients should interact with it, and the builder creates the functionality. Zite is a good example of this approach.
Follow these steps to build your client dashboard in Zite.
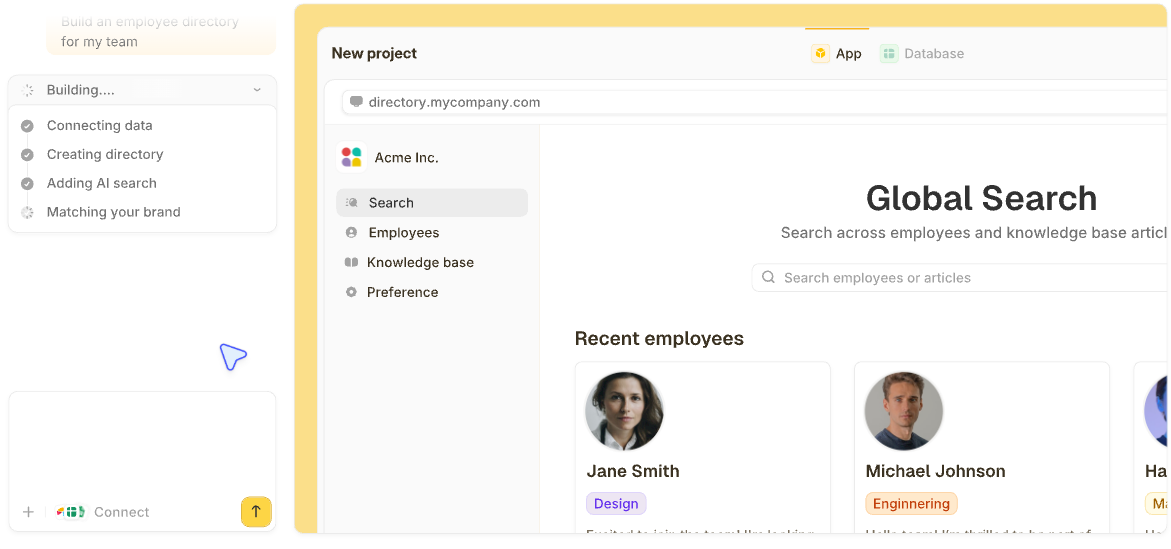
Step 1: Start a new app and describe your dashboard
Log in to your Zite account and click Create, then select Zite from the dropdown. Zite will prompt you to describe your application in your own words.
In the prompt box, type a description of your project dashboard, including the features you need. Be specific about what users (clients and team members) should be able to do.
For example, you might write:
“Create a client dashboard for our agency. Clients should be able to log in and see the status of their projects, including a list of tasks or milestones with deadlines. They should also be able to upload feedback or files and view progress updates. Our project managers need a separate admin view to update project status, add new tasks, and manage client inputs.”
Then click Build it. Zite’s AI will start generating the client dashboard.
Step 2: Set up a database
Every client dashboard needs a place to store and retrieve data.
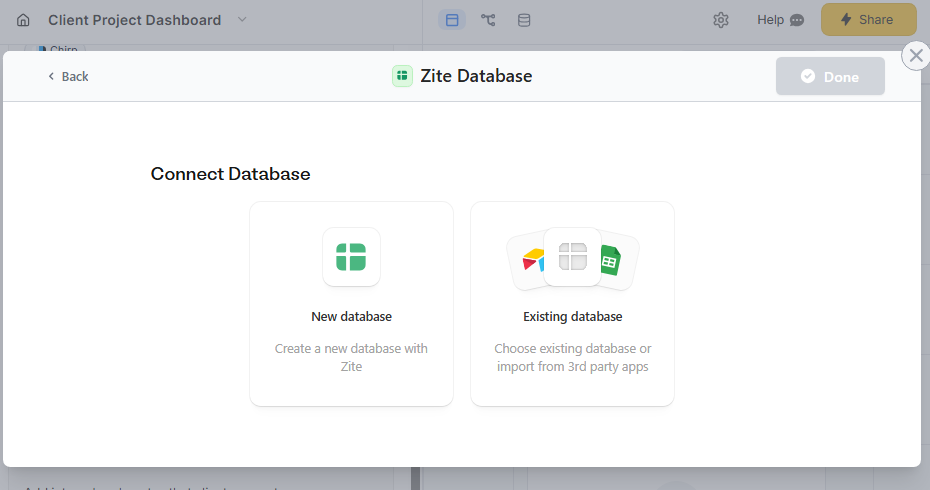
Zite gives you two options:
- Use the built-in database: This is the simplest route for a new app. Zite instantly generates a new database with all necessary tables and fields based on your prompt. In our example, it will create tables for users, projects, and tasks with relevant fields like project name, status, and deadline.
- Connect an existing database: If you already have project data elsewhere, you can connect to external sources. Zite supports native integrations with tools like Airtable or Google Sheets for data.
For this guide, we’ll use the built-in database since we don’t have any external data. Zite will automatically link your pages and forms to the database.
Step 3: Add secure user login and access control
We only want authorized users (clients and team members) to access project data. Zite includes built-in authentication features so you don’t have to code any of this yourself.
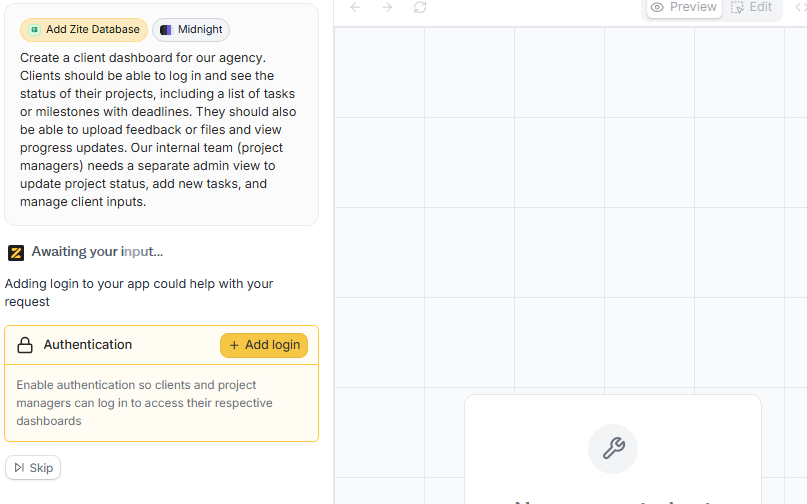
Ask Zite to add a login functionality, and it will guide you through the setup:
- Choose your user database: Since we’re using the built-in database, pick Zite Database and use the Clients table.
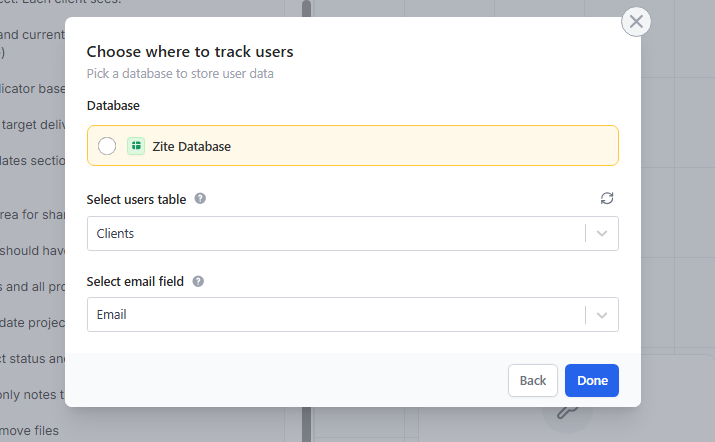
- Configure login methods: Zite supports passwordless Magic Link login and OAuth (Google login) out of the box. You can choose one or both methods for your portal. Enterprise plans also support SSO.
- Set who can sign up: Decide how user accounts are created. Options include anyone can sign up, invite only, or allowed domains only. Choose invite-only. This lets you control exactly which clients can access the dashboard by sending invitations.
Once enabled, Zite automatically builds the login page and handles session management.
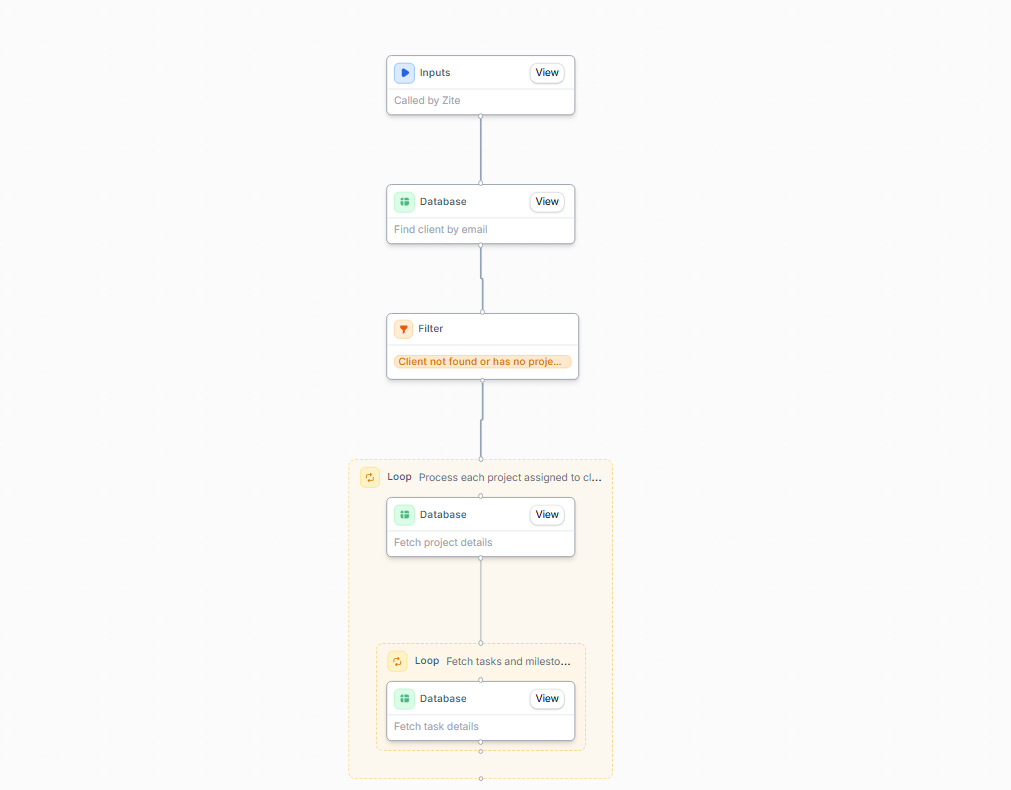
Step 4: Add workflows for notifications and automation
Next, add automated workflows to handle notifications and basic logic behind the dashboard. In Zite, workflows run in the background when specific events occur.
Common workflow examples for project dashboards include:
- Team notifications: Send a Slack message or email to the project team when a client submits a new request or comment.
- Client confirmations: Send a confirmation email to the client when their project status changes. Using a bulk email verifier can help ensure that all client emails in your workflows are valid before sending notifications or confirmations.
- Auto-status or assignments: Use workflows to maintain data integrity. For instance, when a new project is created, it automatically sets its status to “Not Started” and assigns it to an available project manager.
To create workflows, describe the automation you want in the Zite chat box. Zite will guide you through connecting external tools like Slack or email and applying the workflow for you.
Once it’s created, open the Workflows section in the editor to see what happens at each step. If you need to make changes, write prompts to update the workflow. To debug, review the history runs to see exactly where the workflow failed.
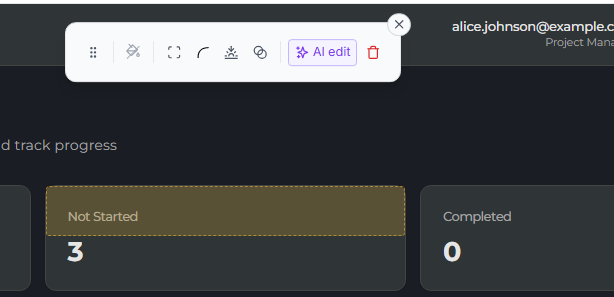
Step 5: Customize your dashboard pages and forms
With the core app, database, and login in place, update page layouts, labels, and copy to match your brand and workflow. You can:
- Use prompts to ask Zite to change specific parts of the UI
- Make direct code edits if you can code
- Use the visual editor to adjust layouts and colors
Step 6: Test and launch your dashboard
Before inviting clients, test the dashboard as both the client and the admin.
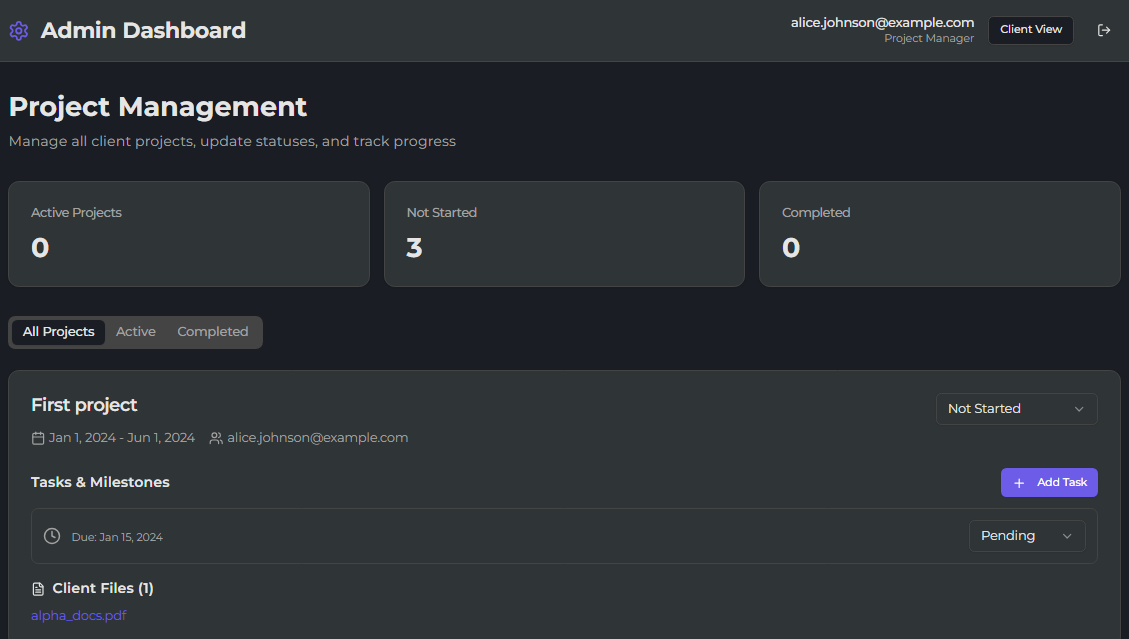
Preview the app as a client. Log in, view project data, submit updates, and confirm that you can only view your own information. Then preview the app as a project manager and verify that internal pages, editing controls, and workflows behave as expected.
Once you’re satisfied everything works correctly, it’s time to launch!
In the Zite editor, click Share. You’ll get a hosted URL in the format yourapp.zite.so for instant sharing. You can also easily connect a custom domain like projects.yourcompany.com to match your other tools.
Common mistakes to avoid
Even with a user-friendly builder like Zite, there are a few pitfalls to watch out for. Here are some common mistakes and how to avoid them:
- Overbuilding initially: Start with core features (status updates, basic communication) and add complexity later based on actual usage. Just because Zite makes it easy to add features doesn't mean you should add everything at once.
- Ignoring mobile layout: Many clients check dashboards on phones. Preview your portal on mobile before launching.
- Skipping user testing: Have at least one client test the portal before rolling it out to everyone. They'll catch confusing navigation or missing features you overlooked.
Add more features to your client dashboard
If you’ve got the basics down and want to extend your client dashboard, here are some ideas for taking your Zite app to the next level:
- Single Sign-On (SSO) integration: You can integrate SSO so that clients log in with their company credentials. Zite supports SSO out of the box.
- Data visualization: You can add charts and summary views for a higher-level overview. Common examples include task breakdowns by status, timeline progress, or milestone completion percentages.
- AI-driven features: Zite supports OpenAI-powered workflows. One practical use case is an AI assistant that summarizes recent project updates or helps draft client-facing status messages.
Zite makes it easier to build a client dashboard
You can launch a client dashboard that might have been a month-long project for an engineering team in an afternoon with Zite.
Here’s where Zite helps most:
- AI-driven app creation: You start by describing the portal in plain language, and Zite generates the core app automatically. It often even adds sections you might have forgotten to ask for.
- Built-in database and schema auto-generation: Zite’s built-in no-code database creates the data schema for you based on your app’s needs. It’s fully managed and scalable, so you don’t worry about hosting or performance.
- Production-ready features out of the box: Zite comes with built-in user authentication, secure hosting, access control, SSO, and audit logs. It’s also SOC 2 Type II compliant.
- Easy customization and branding: In Zite, you can adjust the layout, colors, and content on the fly, either with AI prompts or the visual editor. Plus, you can add custom domains and remove Zite’s branding.
- Cost and scalability: Zite doesn’t charge per user or per app. You can support unlimited clients and build multiple dashboards, even on the free plan.
Get started with Zite
If you haven’t already, sign up for Zite and start building your client dashboard today. Most features are available on the free tier, so you can experiment and prototype without any commitment.
Frequently asked questions
How long does it take to build a client dashboard in Zite?
Building a client dashboard in Zite typically takes 45–60 minutes for a production-ready setup, including authentication, data, and workflows.
Does Zite charge per client or per user for dashboards?
Zite does not charge per client or per user. It charges a flat fee starting at $15/month. You can give dashboard access to as many clients as you need without increasing costs.
What is a client dashboard?
A client dashboard is a login-only web app where clients view their project status, progress, and updates in near real-time. It replaces ad hoc update emails and scattered reports with a single, always-on view of what’s going on with a project.
What is the best no-code client dashboard builder?
Zite is the best no-code client dashboard builder. It uses AI to generate production-ready dashboards from plain-English descriptions. It also comes with a built-in database, authentication, and secure hosting so you can deploy dashboards without manual setup.