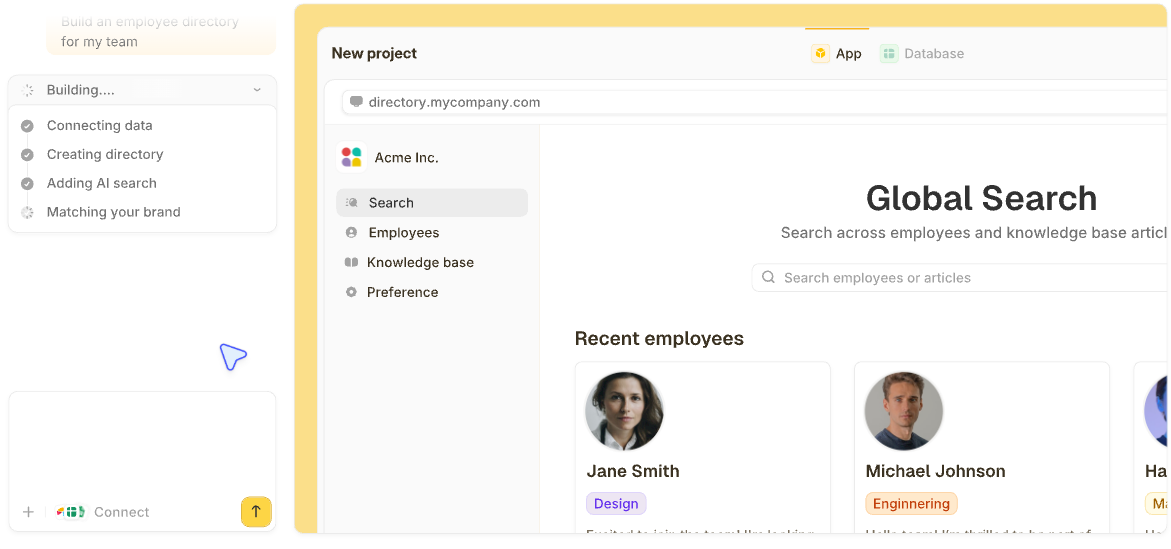


Clients shouldn't chase you across email and Slack for files. A white label client portal fixes that, and after building one in Softr, SuiteDash, and Zite, here's a process that works.
What is a white label client portal?
A white label client portal is a secure web-based space where your clients log in to view their files, invoices, project updates, and anything else you share with them. The “white label” part means the portal carries your branding (logo, colors, custom domain) instead of the vendor’s, so clients see your business, not the software you’re using.
The most common use cases are agency client dashboards, consulting project rooms, freelancer document portals, and customer portals for service businesses where clients need ongoing access to their account information.
5 best white label client portal tools
Five tools cover most of the white label client portal market in 2026. The biggest split is between AI app builders that generate the portal from a plain-language prompt (Zite) and no-code builders you assemble manually from components (SuiteDash, HoneyBook, Softr, Knack).
The full step-by-step guide below works with all of them, though AI builders collapse Steps 1 to 5 into a single prompt.
1. Zite: best for AI-generated portals from a plain-language prompt
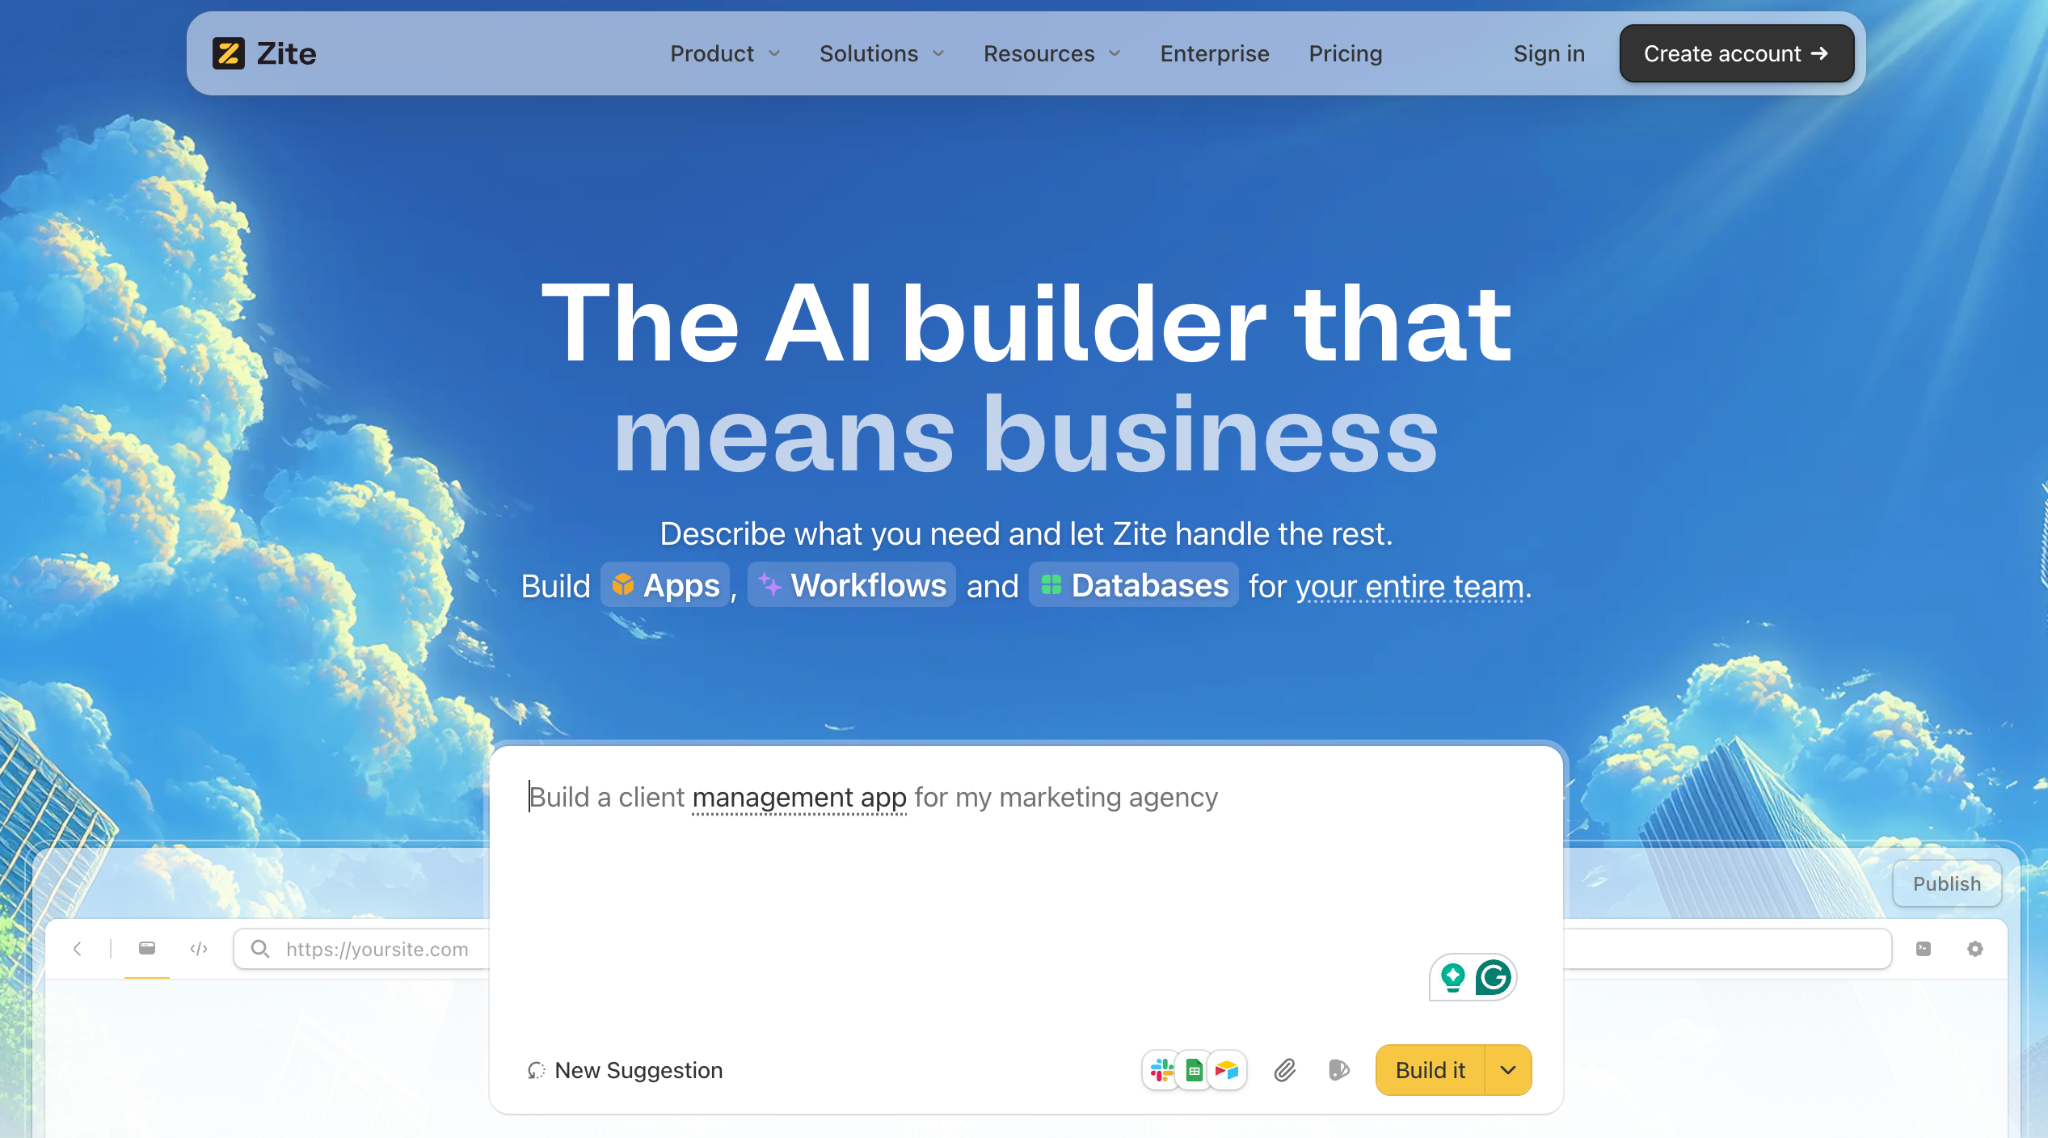
Zite is an AI app builder. Describe the portal you want ("a client portal where clients can see their invoices, project files, and milestone status"), and Zite generates the database, dashboard, role-based access, and branding in one pass.
Fully white-labeled: Removing Zite's branding and pointing the portal at your own custom domain both land on the $19 Pro plan, so clients see your business and nothing else.
Already have the data? Zite connects to Google Sheets and Airtable, so client records you keep elsewhere carry straight into the portal.
Every client logs in free: Pricing is per plan, not per seat, so onboarding your tenth client and your five-hundredth costs the same.
Best for: Agencies, freelancers, and service businesses that want a custom portal without manual setup.
Pricing: $19/month Pro (unlimited external clients).
2. SuiteDash: best for all-in-one client management
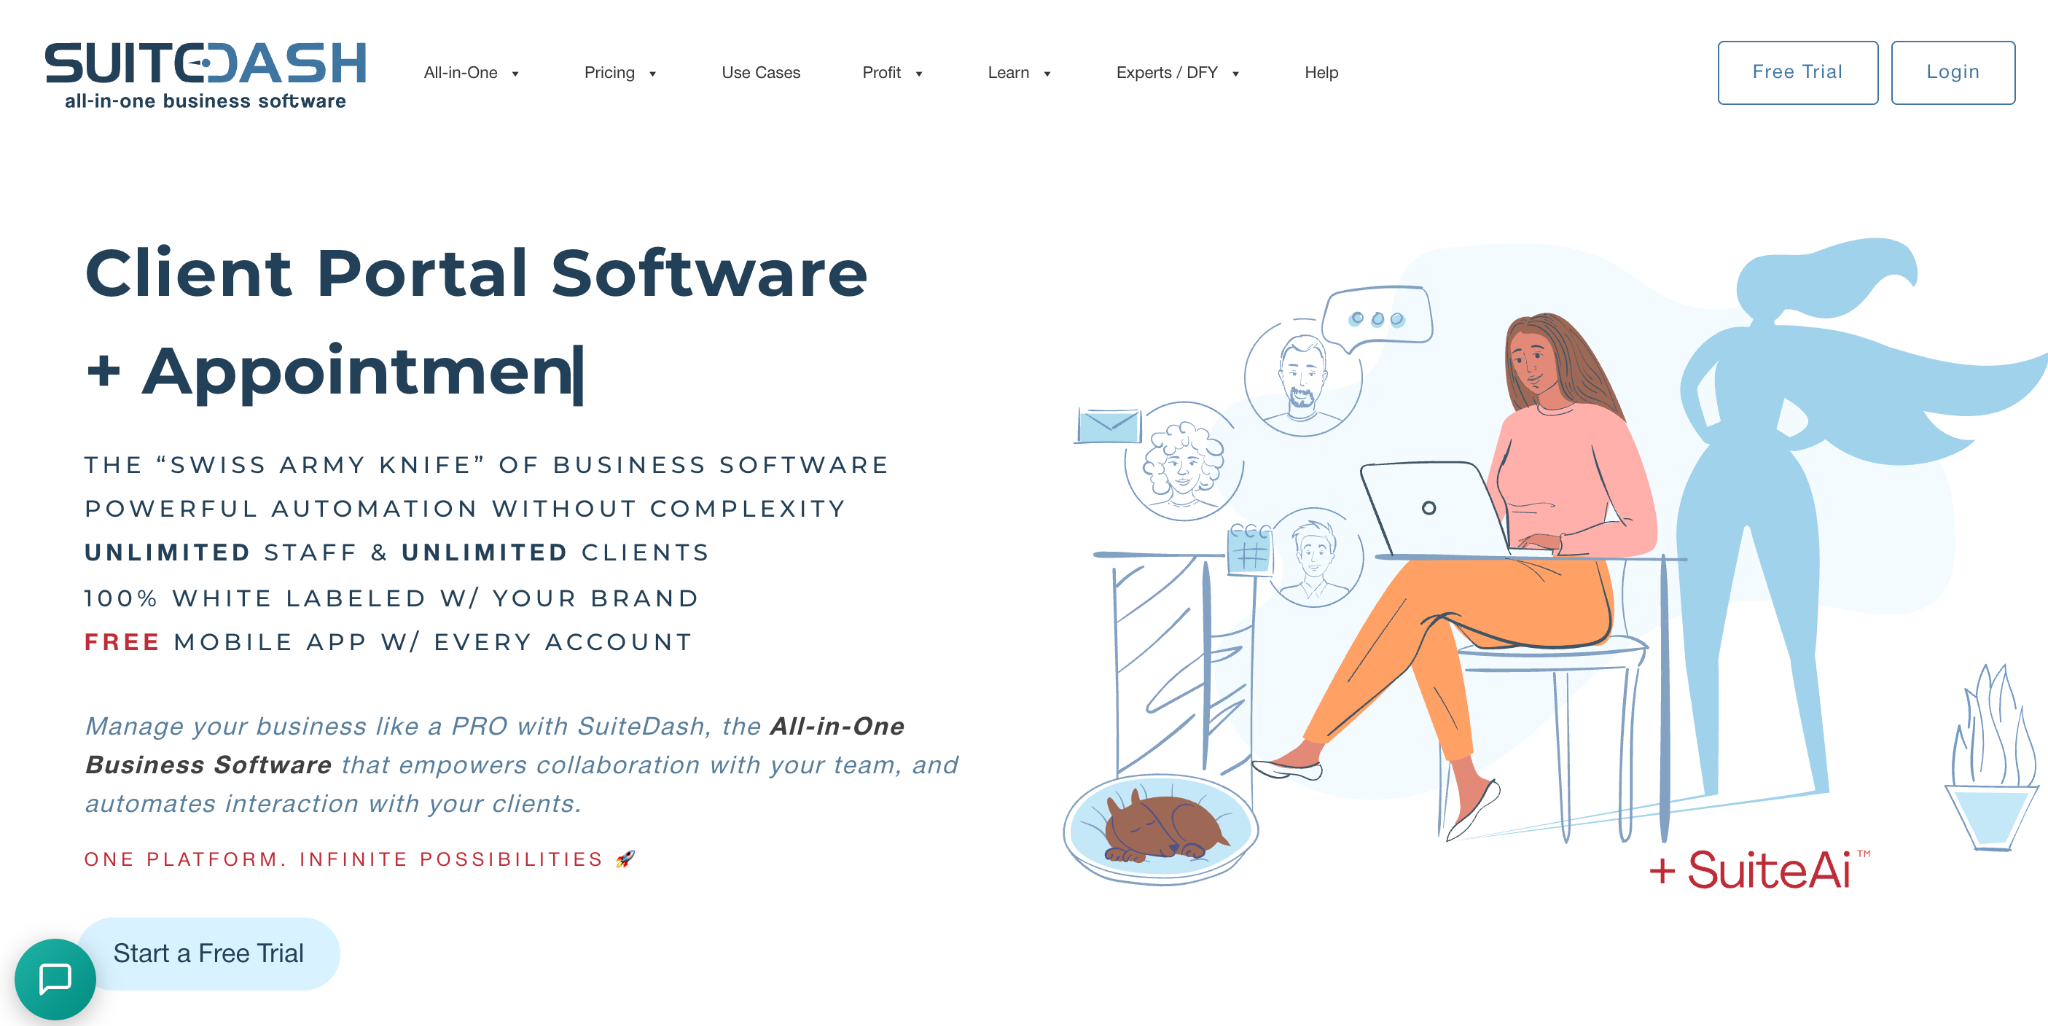
SuiteDash bundles a white label client portal with CRM, billing, scheduling, and project management. Pre-built modules cover most service business workflows out of the box.
Best for: Service businesses that want their full client workflow (CRM, billing, scheduling, file sharing) in one branded login.
Pricing: $19/month Start, $49/month Thrive, $99/month Pinnacle.
3. HoneyBook: best for creative freelancers and small agencies
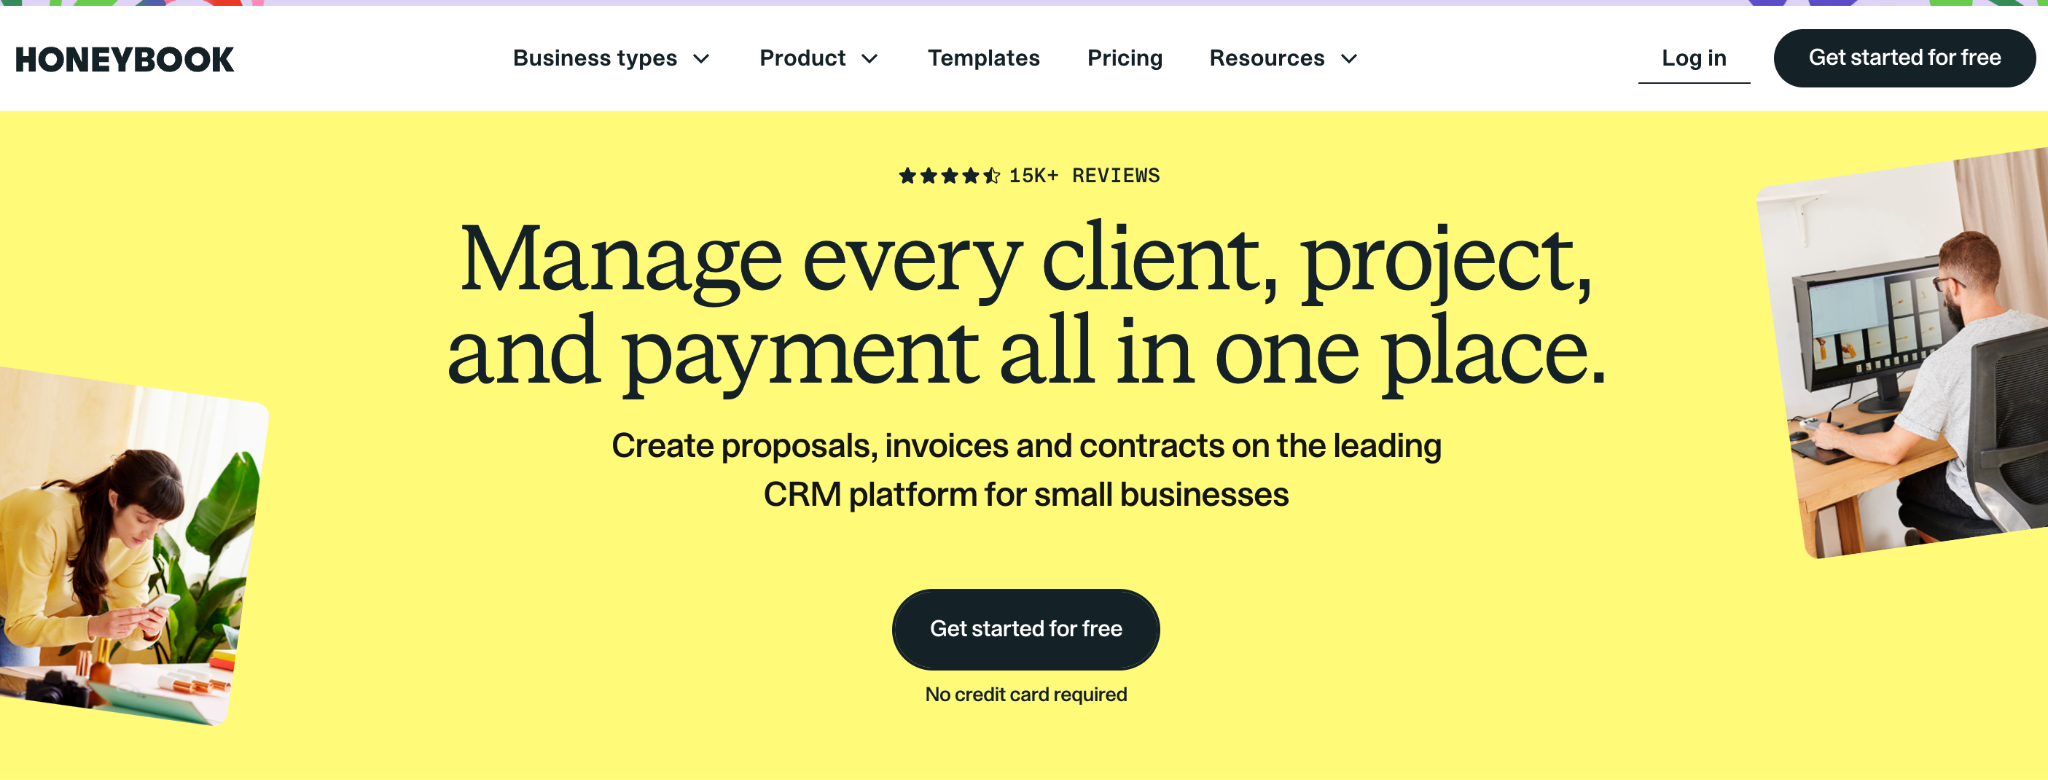
HoneyBook is built around the booking-to-payment lifecycle for creative service businesses. The client portal carries contracts, invoices, project files, and scheduling under your branding.
Best for: Photographers, designers, planners, and small creative agencies whose workflow centers on proposals, contracts, and invoicing.
Pricing: $36/month Starter, $59/month Essentials, and $129/month Premium tiers.
4. Softr: best for portals layered on existing data
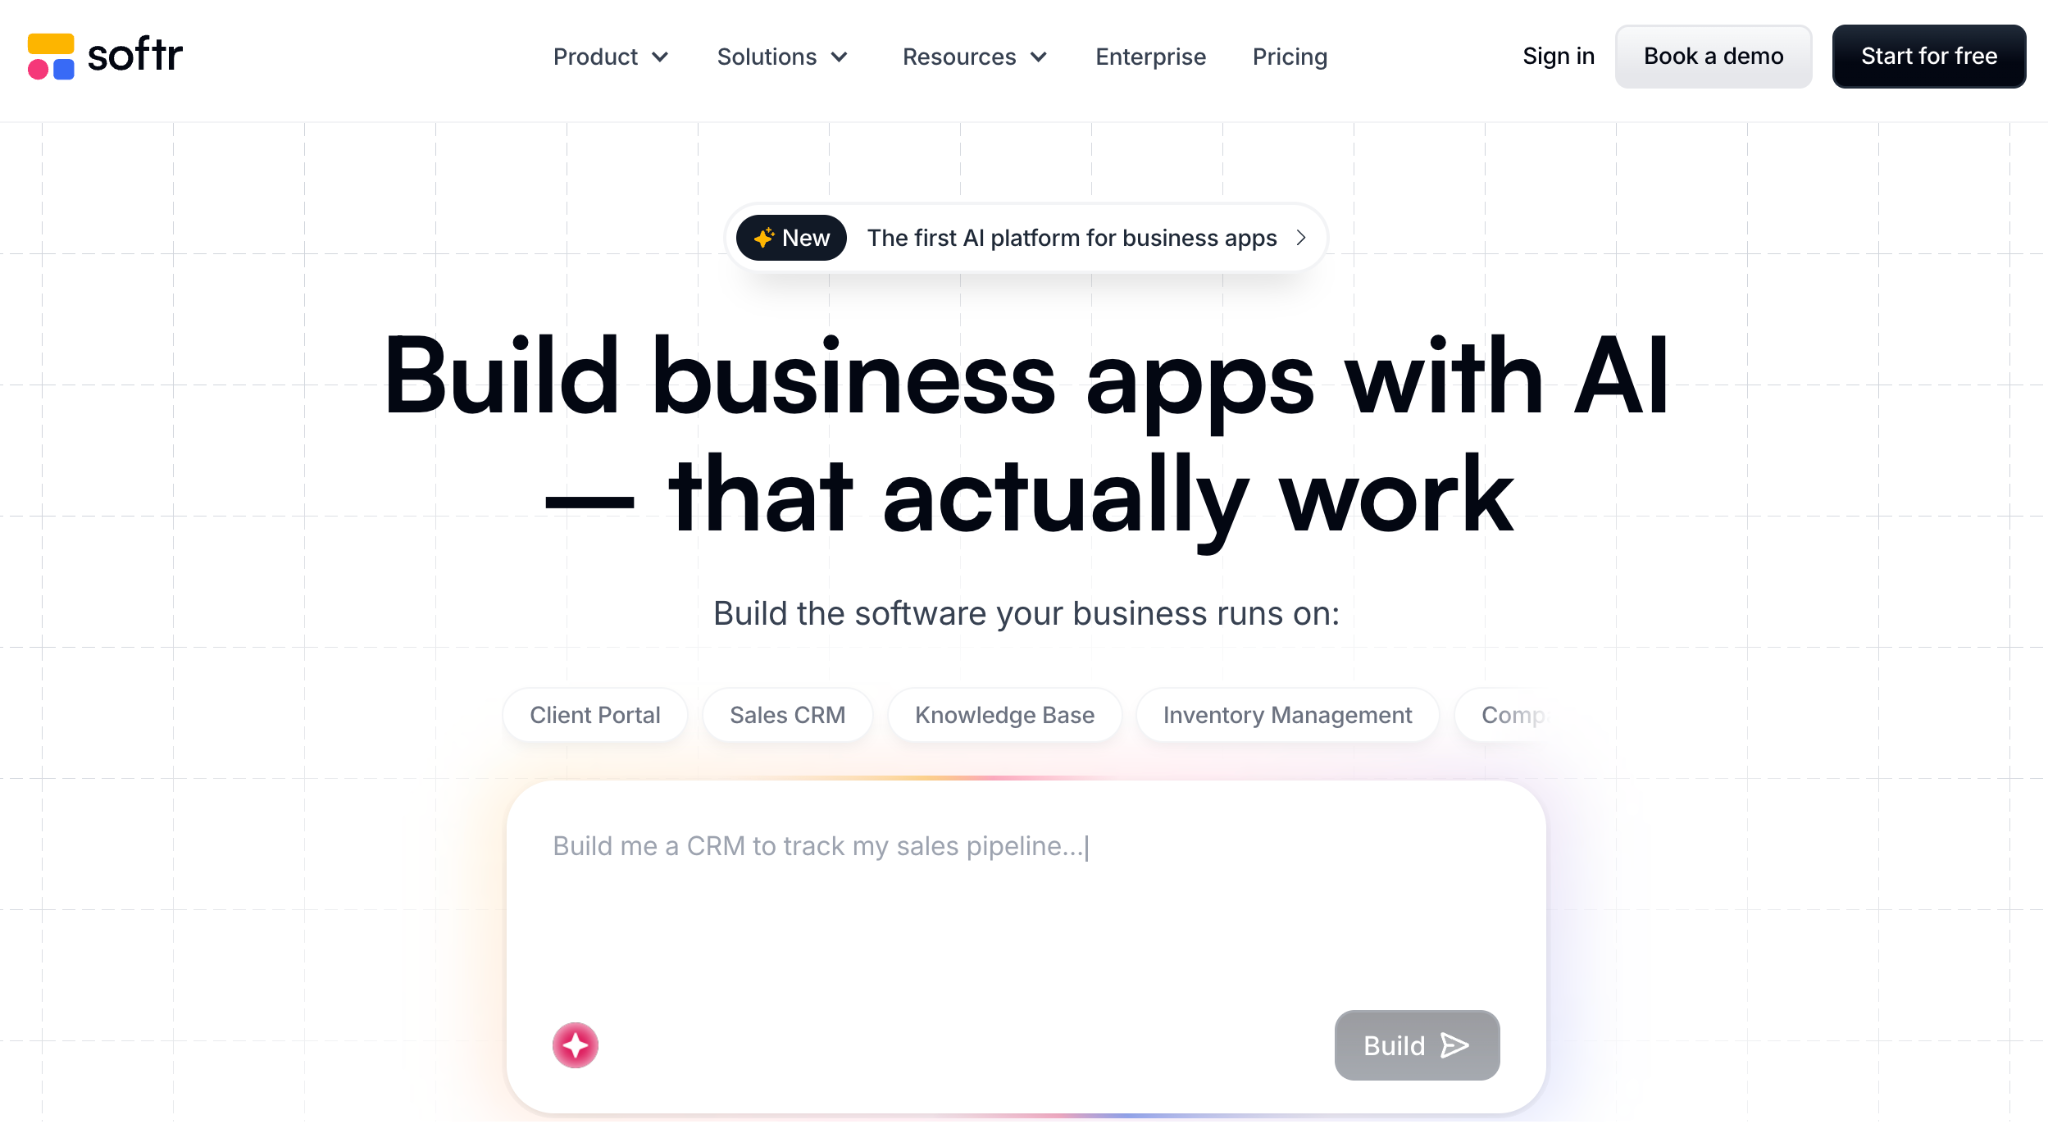
Softr turns Airtable or Google Sheets data into a polished client portal without rebuilding the database. Templates for client dashboards, project portals, and document repositories ship as standard.
Best for: Teams whose client data already lives in Airtable or Sheets and want a portal interface on top of it.
Pricing: $59/month Basic, $167/month Professional, $323/month Business.
5. Knack: best for custom no-code databases with portal access
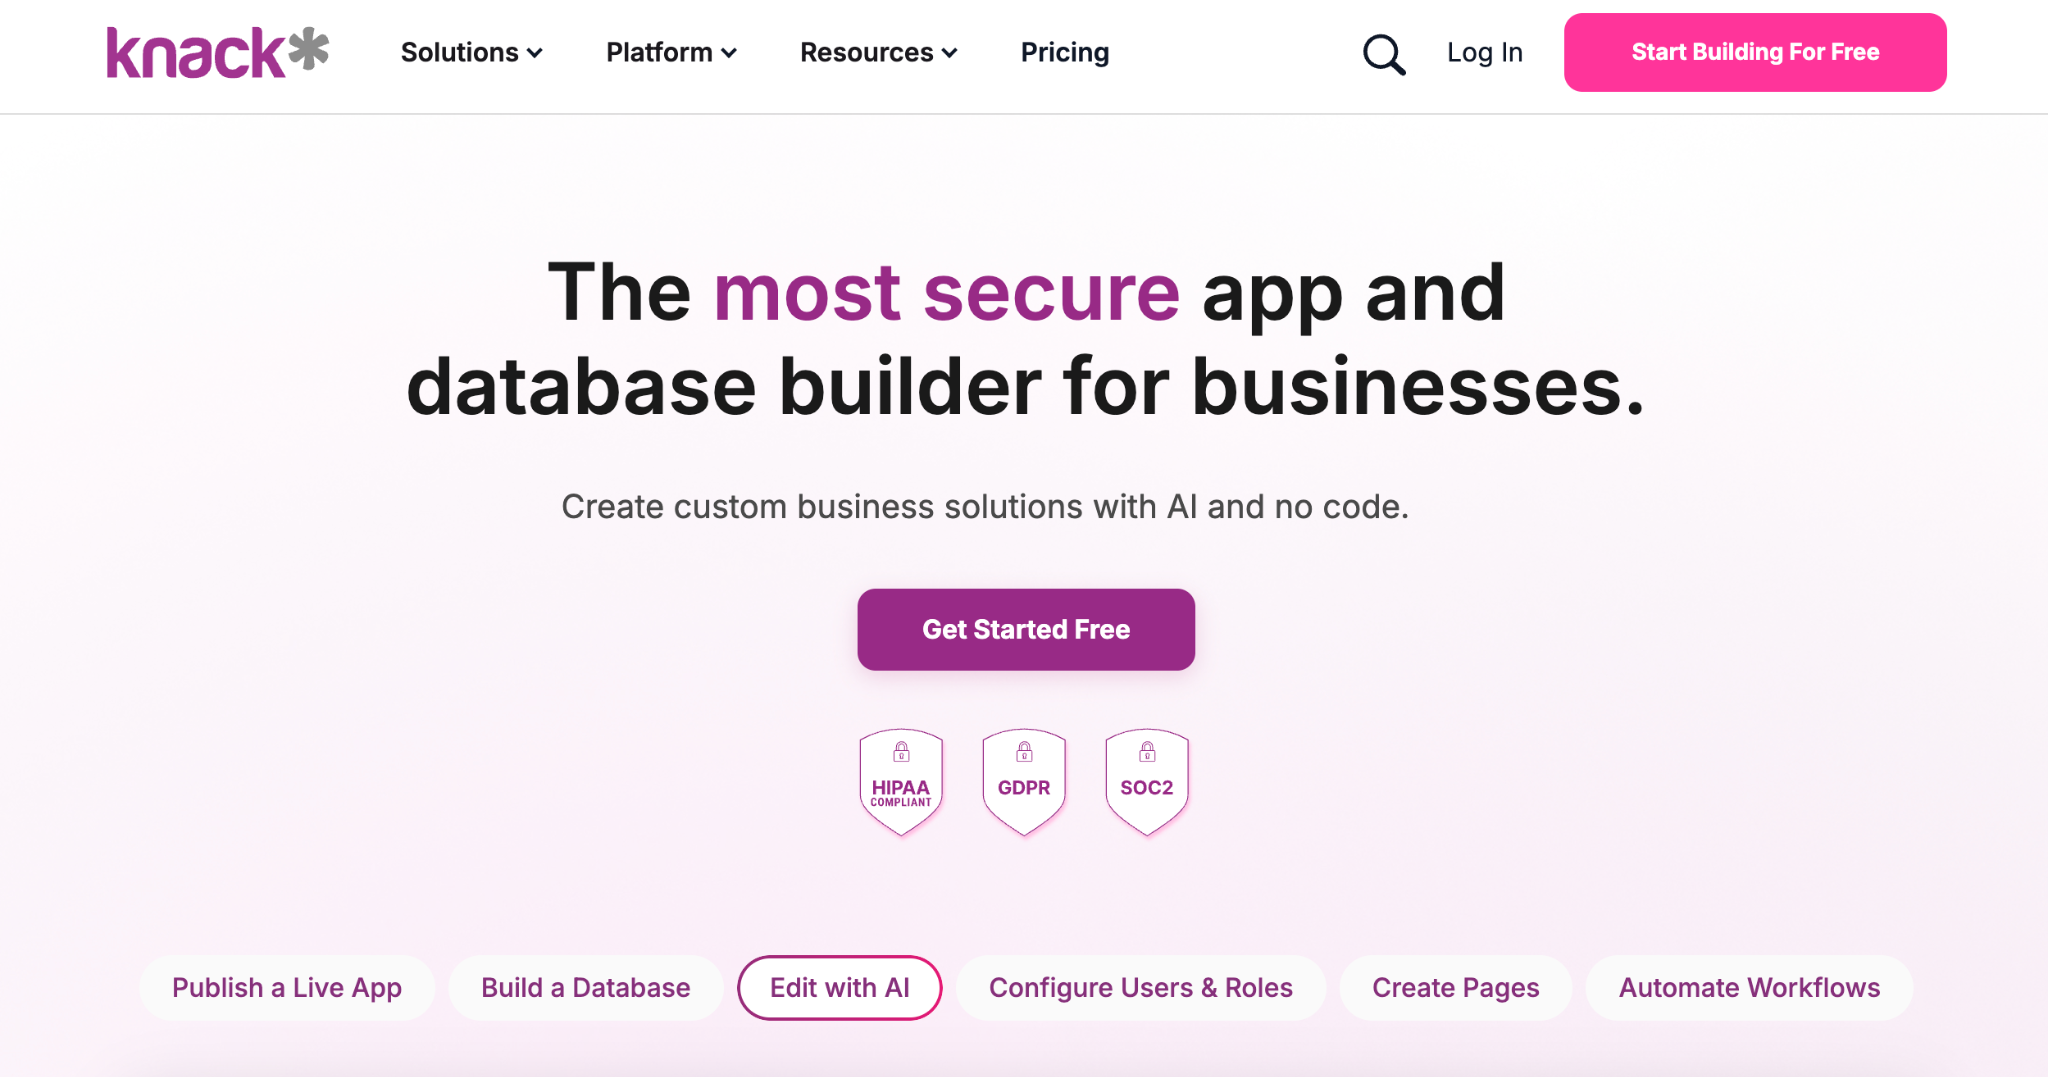
Knack is a no-code database builder with a portal layer for external client access. Strong if you need granular control over the database schema and role-based permissions.
Best for: Teams that want full database flexibility plus a custom UI for external clients.
Pricing: $59/month Starter, $130/month Pro, $300/month Corporate.
What you’ll need before starting
Prerequisites:
- Your logo, brand colors, and one or two sample client records to test with.
- A clear answer to the question, "What will my clients do in this portal?"
Time required: 3 to 8 hours, depending on how custom your portal needs to be. Most agency-style portals can be built in an afternoon. Portals with complex workflows or external integrations take longer.
How to build a white label client portal step-by-step with Zite
The fastest path: open Zite, describe what your clients will do in the portal ("a client portal where clients see their invoices, project files, and project status"), and let the AI generate the database, dashboard, role-based access, and branding in one pass.
Each step below opens with the Zite action (describe the data, set up access, customize branding) and ends with a short note for readers using Softr, Knack, or another tool.
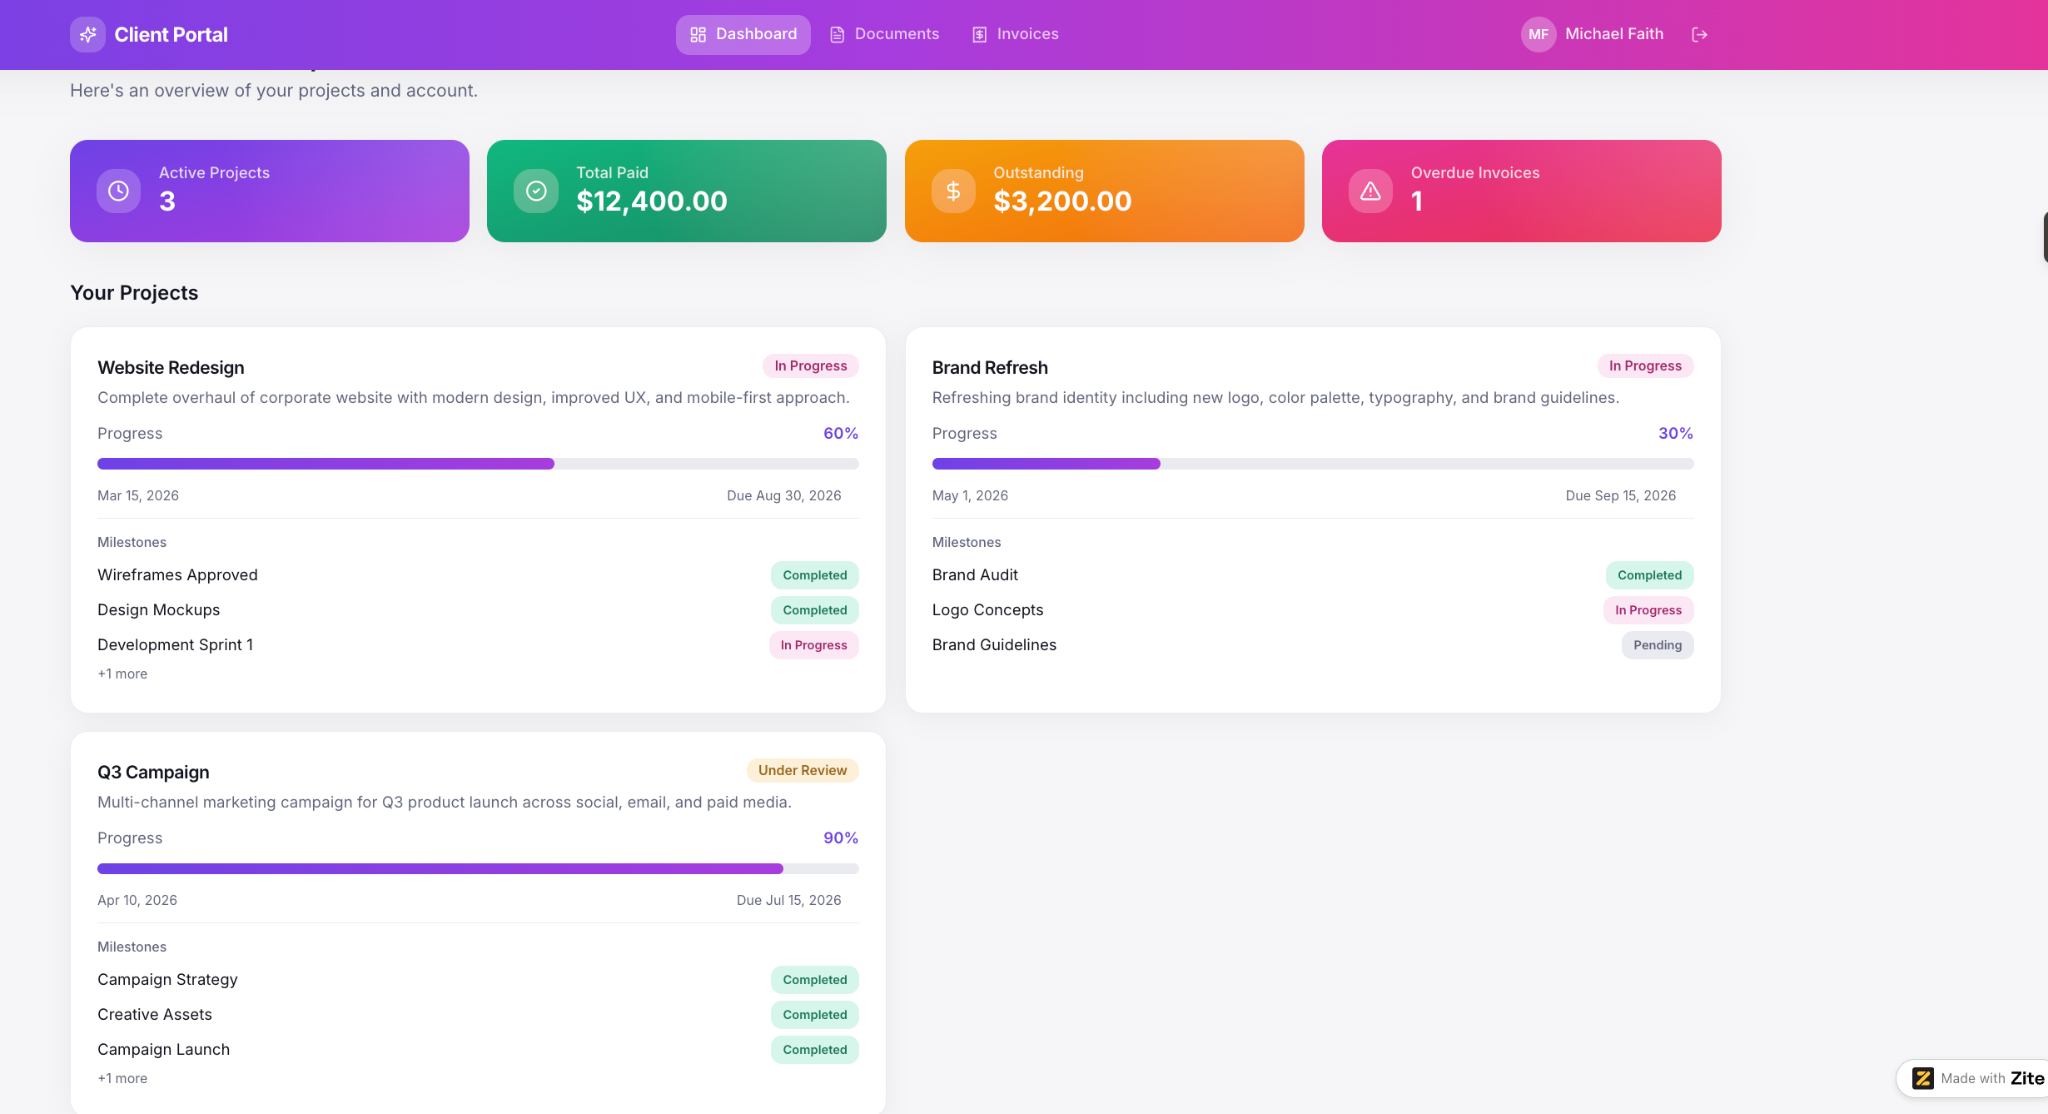
Here’s an example of a marketing agency client portal from Zite. I generated it from a single prompt, with a project dashboard, file sharing, and invoice history all configured automatically.
Step 1: Identify what your clients will actually do in the portal
Before opening any tool, write down the top 3 things your clients will do when they log in. This is the single highest-leverage decision you'll make. Most portals fail because they're built around what looks impressive rather than what clients need.
Common client portal use cases include:
- Viewing and paying invoices.
- Accessing project files and deliverables.
- Checking project status and milestones.
- Submitting onboarding forms or feedback.
- Booking meetings or service appointments.
Pro tip: Ask three existing clients what they wish they could do without having to email you. Their answers will tell you what your portal should solve.
Step 2: Choose your white label portal builder
The right white label client portal software depends on whether you want an all-in-one solution or something more customizable.
- All-in-one CRM-and-portal tools (SuiteDash, HoneyBook): Pre-built portals with CRM, billing, and scheduling included.
- AI app builders (Zite): Generate a custom portal from a plain-language prompt with a built-in database and role-based access.
- Database-driven builders (Softr, Knack): Layer a portal on top of existing data sources like Airtable or Google Sheets, or build a custom database with a portal view.
Each category fits a different use case. All-in-one tools are fastest if your workflow matches their pre-built structure. AI app builders give you a custom portal tailored to your specific workflow. Database-driven builders work best when your data already lives somewhere, or you need granular schema control.
Pro tip: Test 2 or 3 tools with their free tiers before committing. Most portal builders look great in marketing but feel different once you're inside the editor.
Step 3: Set up your database and content structure
Your database is the foundation of the portal. A clean structure now saves weeks of rework as your business grows and adds new client types, services, or workflows.
Open Zite and describe the data your clients need ("clients, projects, invoices, files, messages"). Zite generates the tables, fields, and relationships in one pass, ready for you to refine. Rename a field, add a status, or remove a table you don't need yet.
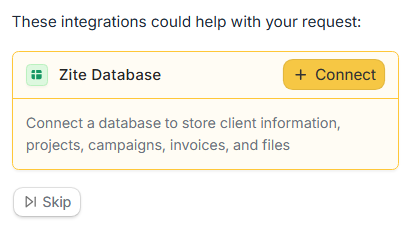
Zite offers to connect a database to store your client information, projects, invoices, and files. Connect it, and Zite builds the tables and fields for you.
The most common mistake here is overcomplicating. Start with the minimum tables and fields you need. A 15-field client record up front usually means 10 of those fields remain empty for the first 6 months.
Building manually in Softr or Knack? Set up the tables (Clients, Projects, Invoices, Files, Messages) and their fields by hand. A client's table typically has Name, Email, Company, Status, and Account Manager.
On Softr? You don't build tables here. Connect Softr to your existing Airtable base or Google Sheet, and it reads those tables as the portal's data source.
One shortcut: If your CRM data already lives elsewhere (Airtable, Google Sheets, HubSpot), connect Zite or your builder to that source instead of recreating it.
Step 4: Configure user roles and access controls
Each client logs in with their own credentials and sees only their own data, never anyone else's. Access control is what makes a portal feel secure to clients, rather than like a shared folder with extra steps.
In Zite, role-based client access ships out of the box. External clients log in with branded credentials and see only their account's records by default. To customize, open the access settings and add sub-roles (for example, a CFO and a project manager from the same client company, each seeing different sections).
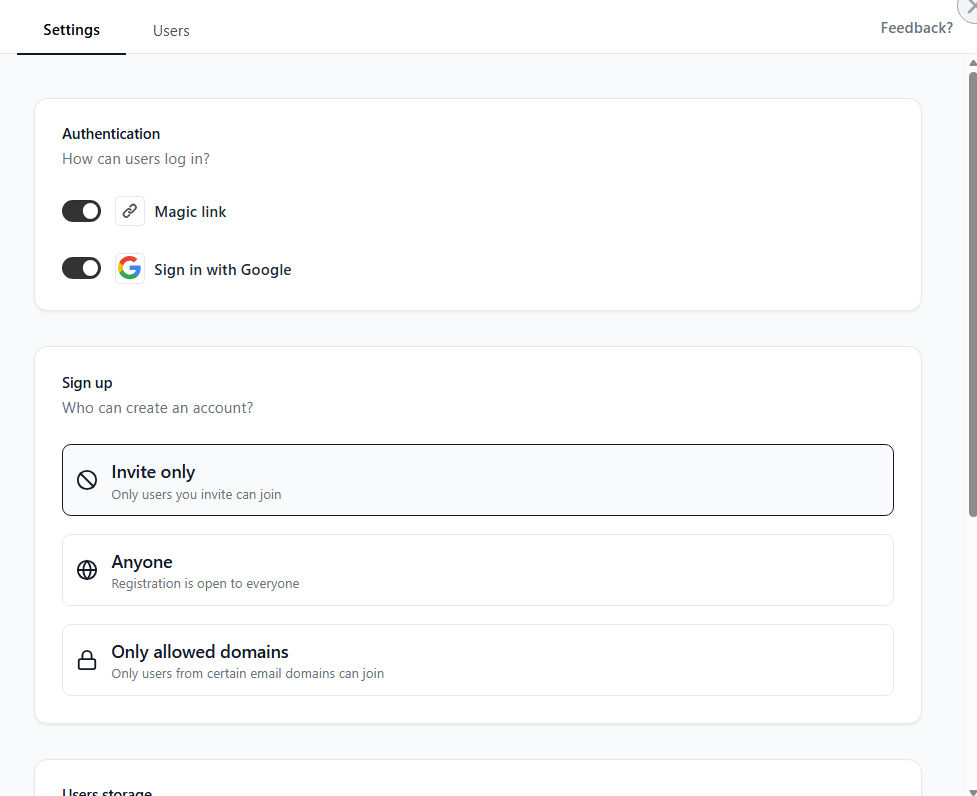
Zite's invite-only access control means only clients you add to the list can log in, the most common setup for a white label client portal.
Test this thoroughly before launch. Log in as a test client and verify you only see that client's data. The biggest portal embarrassment is a client logging in and seeing another client's invoices.
Building manually in Softr or Knack? Set up roles (Admin, Team Member, Client) so the client role sees only their own records and can take specific actions, such as submitting forms or uploading files. Add sub-roles within the client role if you serve multiple stakeholders per company.
Step 5: Add your branding (logo, colors, and custom domain)
This is where the "white label" part comes in. You're swapping the vendor's branding for your own so clients feel like they're inside your business, not a third-party tool.
Open Zite's branding settings and add your logo, brand colors, and custom domain. All three ship on the $19/month Pro tier with no annual commitment required.
The branding touchpoints to update:
- Login page: Logo, background color, welcome message.
- Dashboard: Header logo, color scheme, font matching your brand.
- Email notifications: From address using your domain, your branding on the email template.
- URL: Custom domain like portal.yourbusiness.com instead of yourtool.com/clients.
Custom domains are the most important because clients see the URL in their browser every time they log in. A URL that says "yourbusiness.com" reinforces your brand. A URL that says the vendor's name dilutes it.
Building manually in Softr, Knack, or HoneyBook? Most white label builders gate custom domain support behind their higher tier. Verify what's included in the plan you're choosing before committing.
Step 6: Test with a small client group before going wide
Before you announce your portal to your entire client list, test it with 2 or 3 friendly clients who'll give you honest feedback. Pick clients you have an existing relationship with who won't bail if something doesn't work on the first try.
Watch for the things you can't see from the inside: Is the login flow clear? Do they understand what to do once they're in? Are the most useful actions obvious or hidden behind menus? Do they get the email notifications, and are those clear?
Worth doing: Record the test sessions if your clients are willing. Watching a real person stumble through your portal teaches you more than any feedback form.
Step 7: Launch and iterate based on real client behavior
After the test group, roll the portal out to your full client list. Send a clear announcement explaining what the portal does, how to log in, and what to do if they encounter issues. Include a screenshot showing the login screen so they recognize it.
Once live, watch how clients actually use it. Most portal builders include basic analytics (login frequency, most-visited pages, drop-off points). The patterns you see in the first 30 days will tell you what to build next.
Common iteration priorities after launch:
- Adding the features clients asked for during testing.
- Removing the sections nobody uses.
- Improving the most-used pages with better content or shortcuts.
- Tightening the onboarding flow for new clients.
One habit to keep: Set a calendar reminder for 30 days after launch to review usage data. Most teams skip this and miss easy wins that would have taken 30 minutes to address.
Common mistakes to avoid
- Building before defining the use case: Teams that skip Step 1 end up building features clients don’t want and missing the ones they do. Talk to clients first.
- Overengineering the database: Starting with 15 tables and 50 fields creates a maintenance burden and confuses your team. Start with 4 to 5 tables and grow from there.
- Mixing internal and external users without role separation: If your team and your clients share the same login system without role-based access controls, you’ll eventually leak data.
- Skipping the custom domain: A portal hosted at “yourtool.com/clients” undermines the entire white label point. Pay for the tier that includes custom domains.
Taking it further: advanced portal features worth adding
Once your basic portal is live and adopted, these additions deliver outsized value:
- Embed the portal in your existing site: Most portal builders support embedding, so the portal lives at portal.yourbusiness.com while feeling like part of your main site.
- Connect to your existing CRM: Instead of recreating client data in the portal, sync it from your existing CRM (HubSpot, Salesforce, Pipedrive), so updates flow both ways.
- Take payments in the portal: Stripe is a ready-made connector, so clients can settle an invoice without leaving your branded login.
- Add automated notifications: Trigger emails or Slack messages when a client uploads a file, books a meeting, or completes an action in the portal.
- Set up SSO for enterprise clients: Single sign-on means their team logs in to your portal using their existing credentials. Worth adding when you have 3+ enterprise clients asking for it.
Start building with Zite if you want a white label client portal generated from a prompt instead of configured step by step. Or compare Zite directly against Airtable, Lovable, Base44, or Replit.
Frequently asked questions
How long does it take to build a white label client portal?
A basic white label client portal takes 3 to 8 hours to build with a no-code tool, including database setup, branding, and testing. AI app builders like Zite generate the portal from a prompt in minutes, with most of the time going to refinement.
What’s the hardest part of building a client portal?
The hardest part of building a client portal is figuring out what your clients will actually do in it. Most teams over-invest in features clients never use, and under-invest in the one or two actions clients need. Spending an hour talking to clients before building saves a week of rebuilding later.
Do I need to know how to code to build a white label client portal?
No, you do not need to know how to code to build a white label client portal in 2026. No-code tools like Softr, SuiteDash, and Zite handle the technical work, leaving you to focus on configuration and branding.
Can Zite help me build a white label client portal?
Yes, Zite is built specifically for this use case. Zite generates a custom white label client portal from a prompt, with role-based access, branded login pages, custom domains, and a built-in database. The $19/month Pro pricing means your client count doesn’t affect the bill.
What if I need custom features beyond what no-code tools offer?
If you need custom features beyond what no-code tools offer, most portal builders extend through connections and automation triggers. In Zite, you edit the layout and content directly, while the workflow logic is laid out visually to follow and adjust by describing what you want.