> ## Documentation Index
> Fetch the complete documentation index at: https://zite.com/llms.txt
> Use this file to discover all available pages before exploring further.
# Authentication for shared Zite apps
> Add sign-in to your shared Zite app with magic links, Google, SSO, or invite-only access.
## Overview
When your app is [shared to the web](/help/platform/access/share-to-web), you can require users to sign in before accessing it. Zite handles authentication for you — no custom login code needed.
 ## Set up authentication
If you haven't already, enable [Share to web](/help/platform/access/share-to-web).
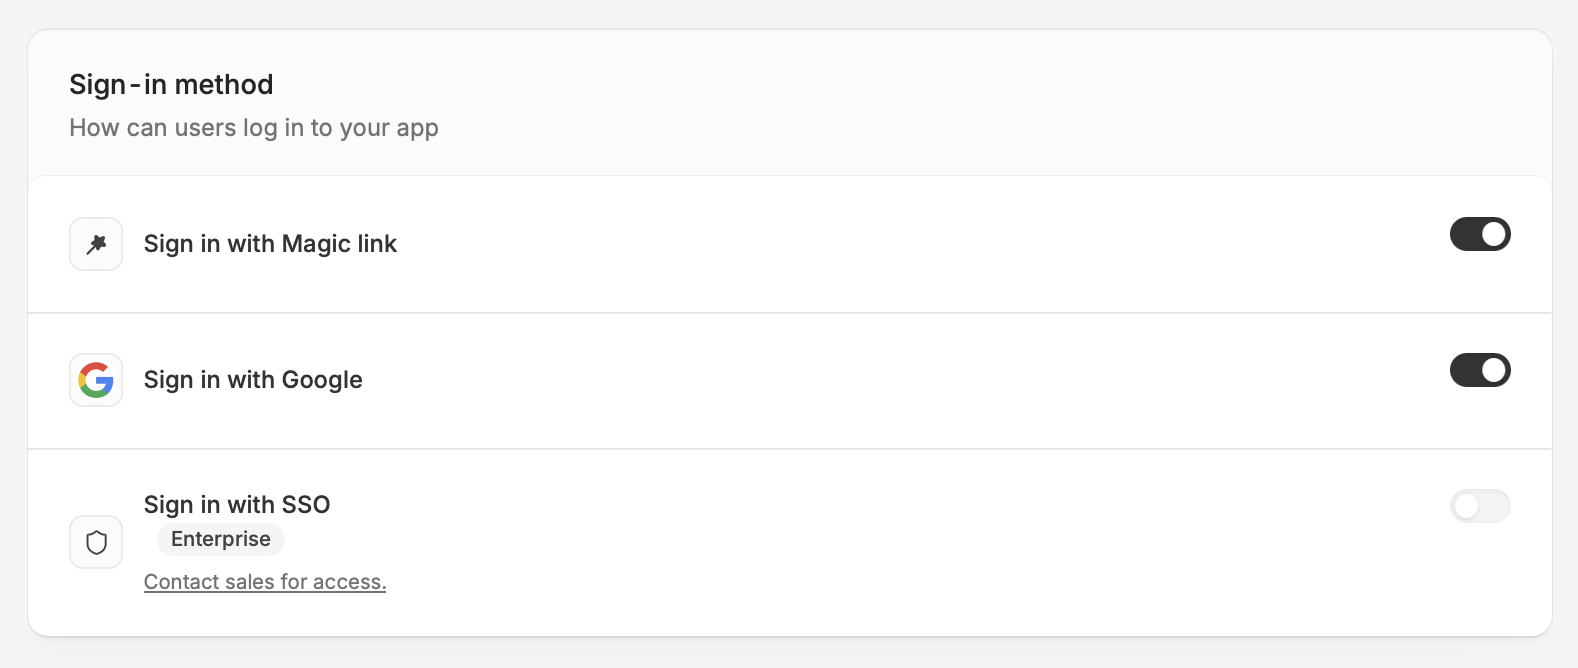
Click `Users` on top followed by `Authentication`. Then, click `Add login`.
## Set up authentication
If you haven't already, enable [Share to web](/help/platform/access/share-to-web).
Click `Users` on top followed by `Authentication`. Then, click `Add login`.
 Alternatively, you can type **"Add user login"** in the chatbox.
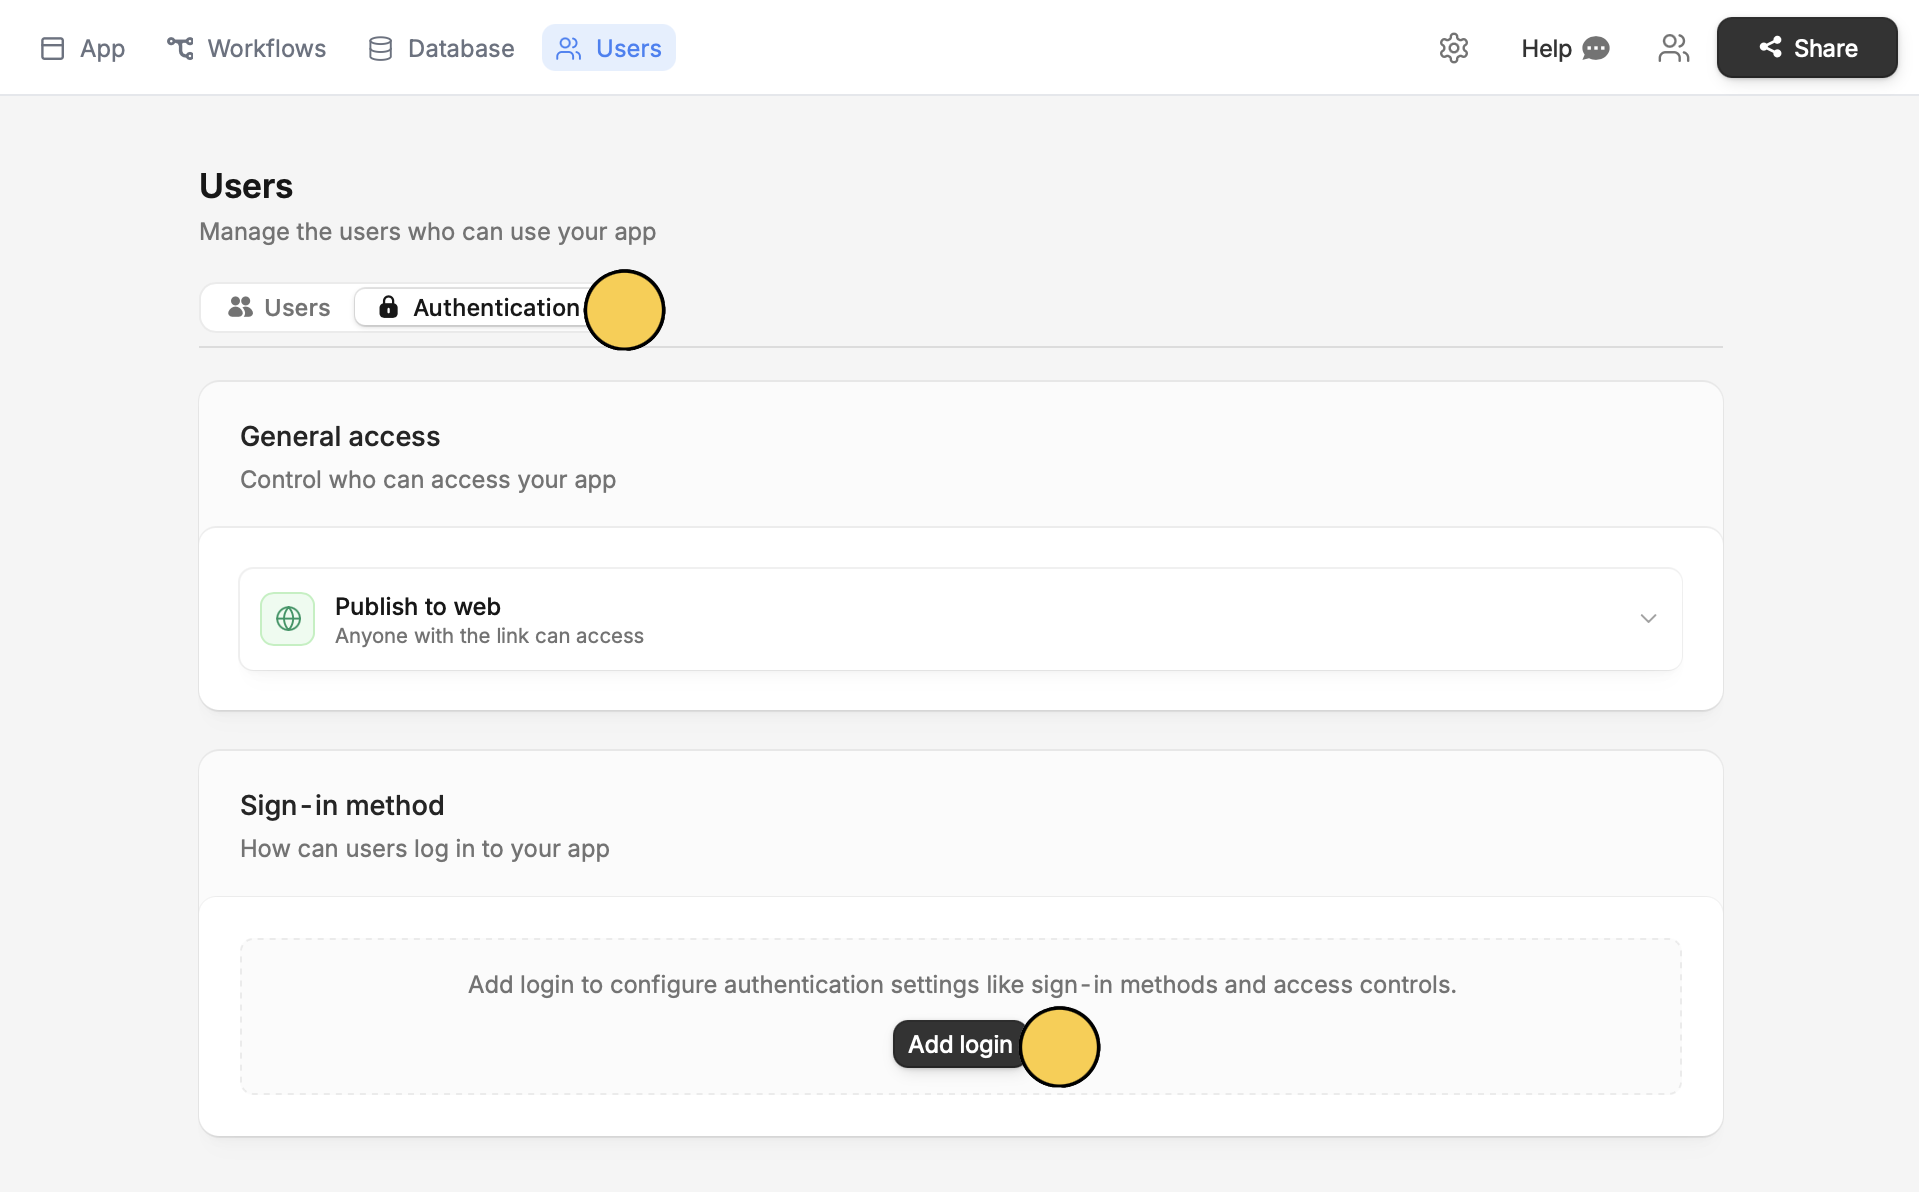
Choose which methods to enable:
* **Magic link** — users receive a sign-in link via email (valid for 10 minutes)
* **Google** — users sign in with their Google account
* **SSO** — Users authenticate through your organization's identity provider. [Learn more](/help/platform/access/sso).
Magic link and Google are enabled by default.
Alternatively, you can type **"Add user login"** in the chatbox.
Choose which methods to enable:
* **Magic link** — users receive a sign-in link via email (valid for 10 minutes)
* **Google** — users sign in with their Google account
* **SSO** — Users authenticate through your organization's identity provider. [Learn more](/help/platform/access/sso).
Magic link and Google are enabled by default.
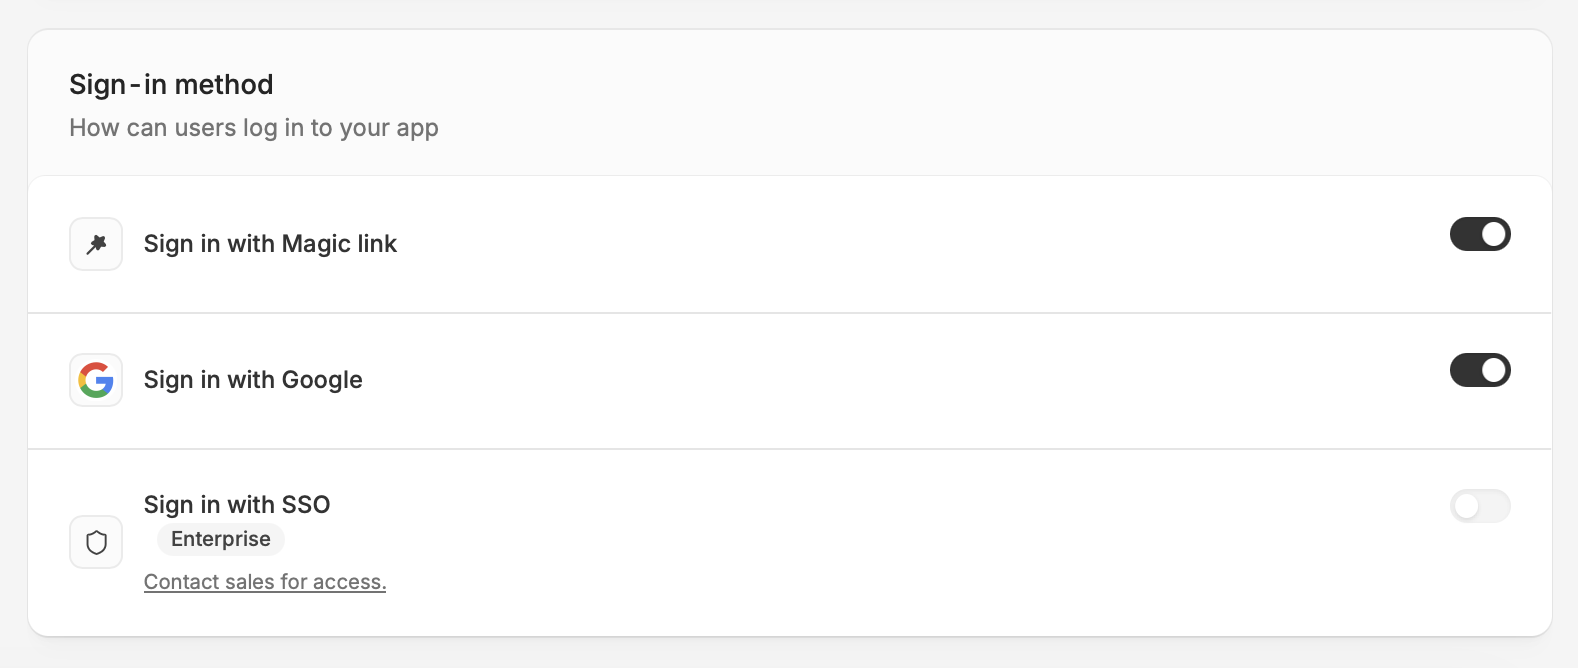 Scroll down to see the **Who can sign up?** section. Then, select one of the following:
* **Invite only** (default) - only users you explicitly add can sign in
* **Anyone** - anybody who visits your app can create an account
* **Only allowed domains** - only users from specific email domains (e.g., [example.com](http://example.com)) can sign up
Scroll down to see the **Who can sign up?** section. Then, select one of the following:
* **Invite only** (default) - only users you explicitly add can sign in
* **Anyone** - anybody who visits your app can create an account
* **Only allowed domains** - only users from specific email domains (e.g., [example.com](http://example.com)) can sign up
 Click `Publish` on the upper right corner to reflect the changes, then [share](/help/platform/access/share-to-web) your app.
## Customize magic link emails
Magic link emails can use your app's branding and sender settings. This helps the sign-in email feel like it belongs to your product or organization instead of looking like a generic system email.
Click `Publish` on the upper right corner to reflect the changes, then [share](/help/platform/access/share-to-web) your app.
## Customize magic link emails
Magic link emails can use your app's branding and sender settings. This helps the sign-in email feel like it belongs to your product or organization instead of looking like a generic system email.
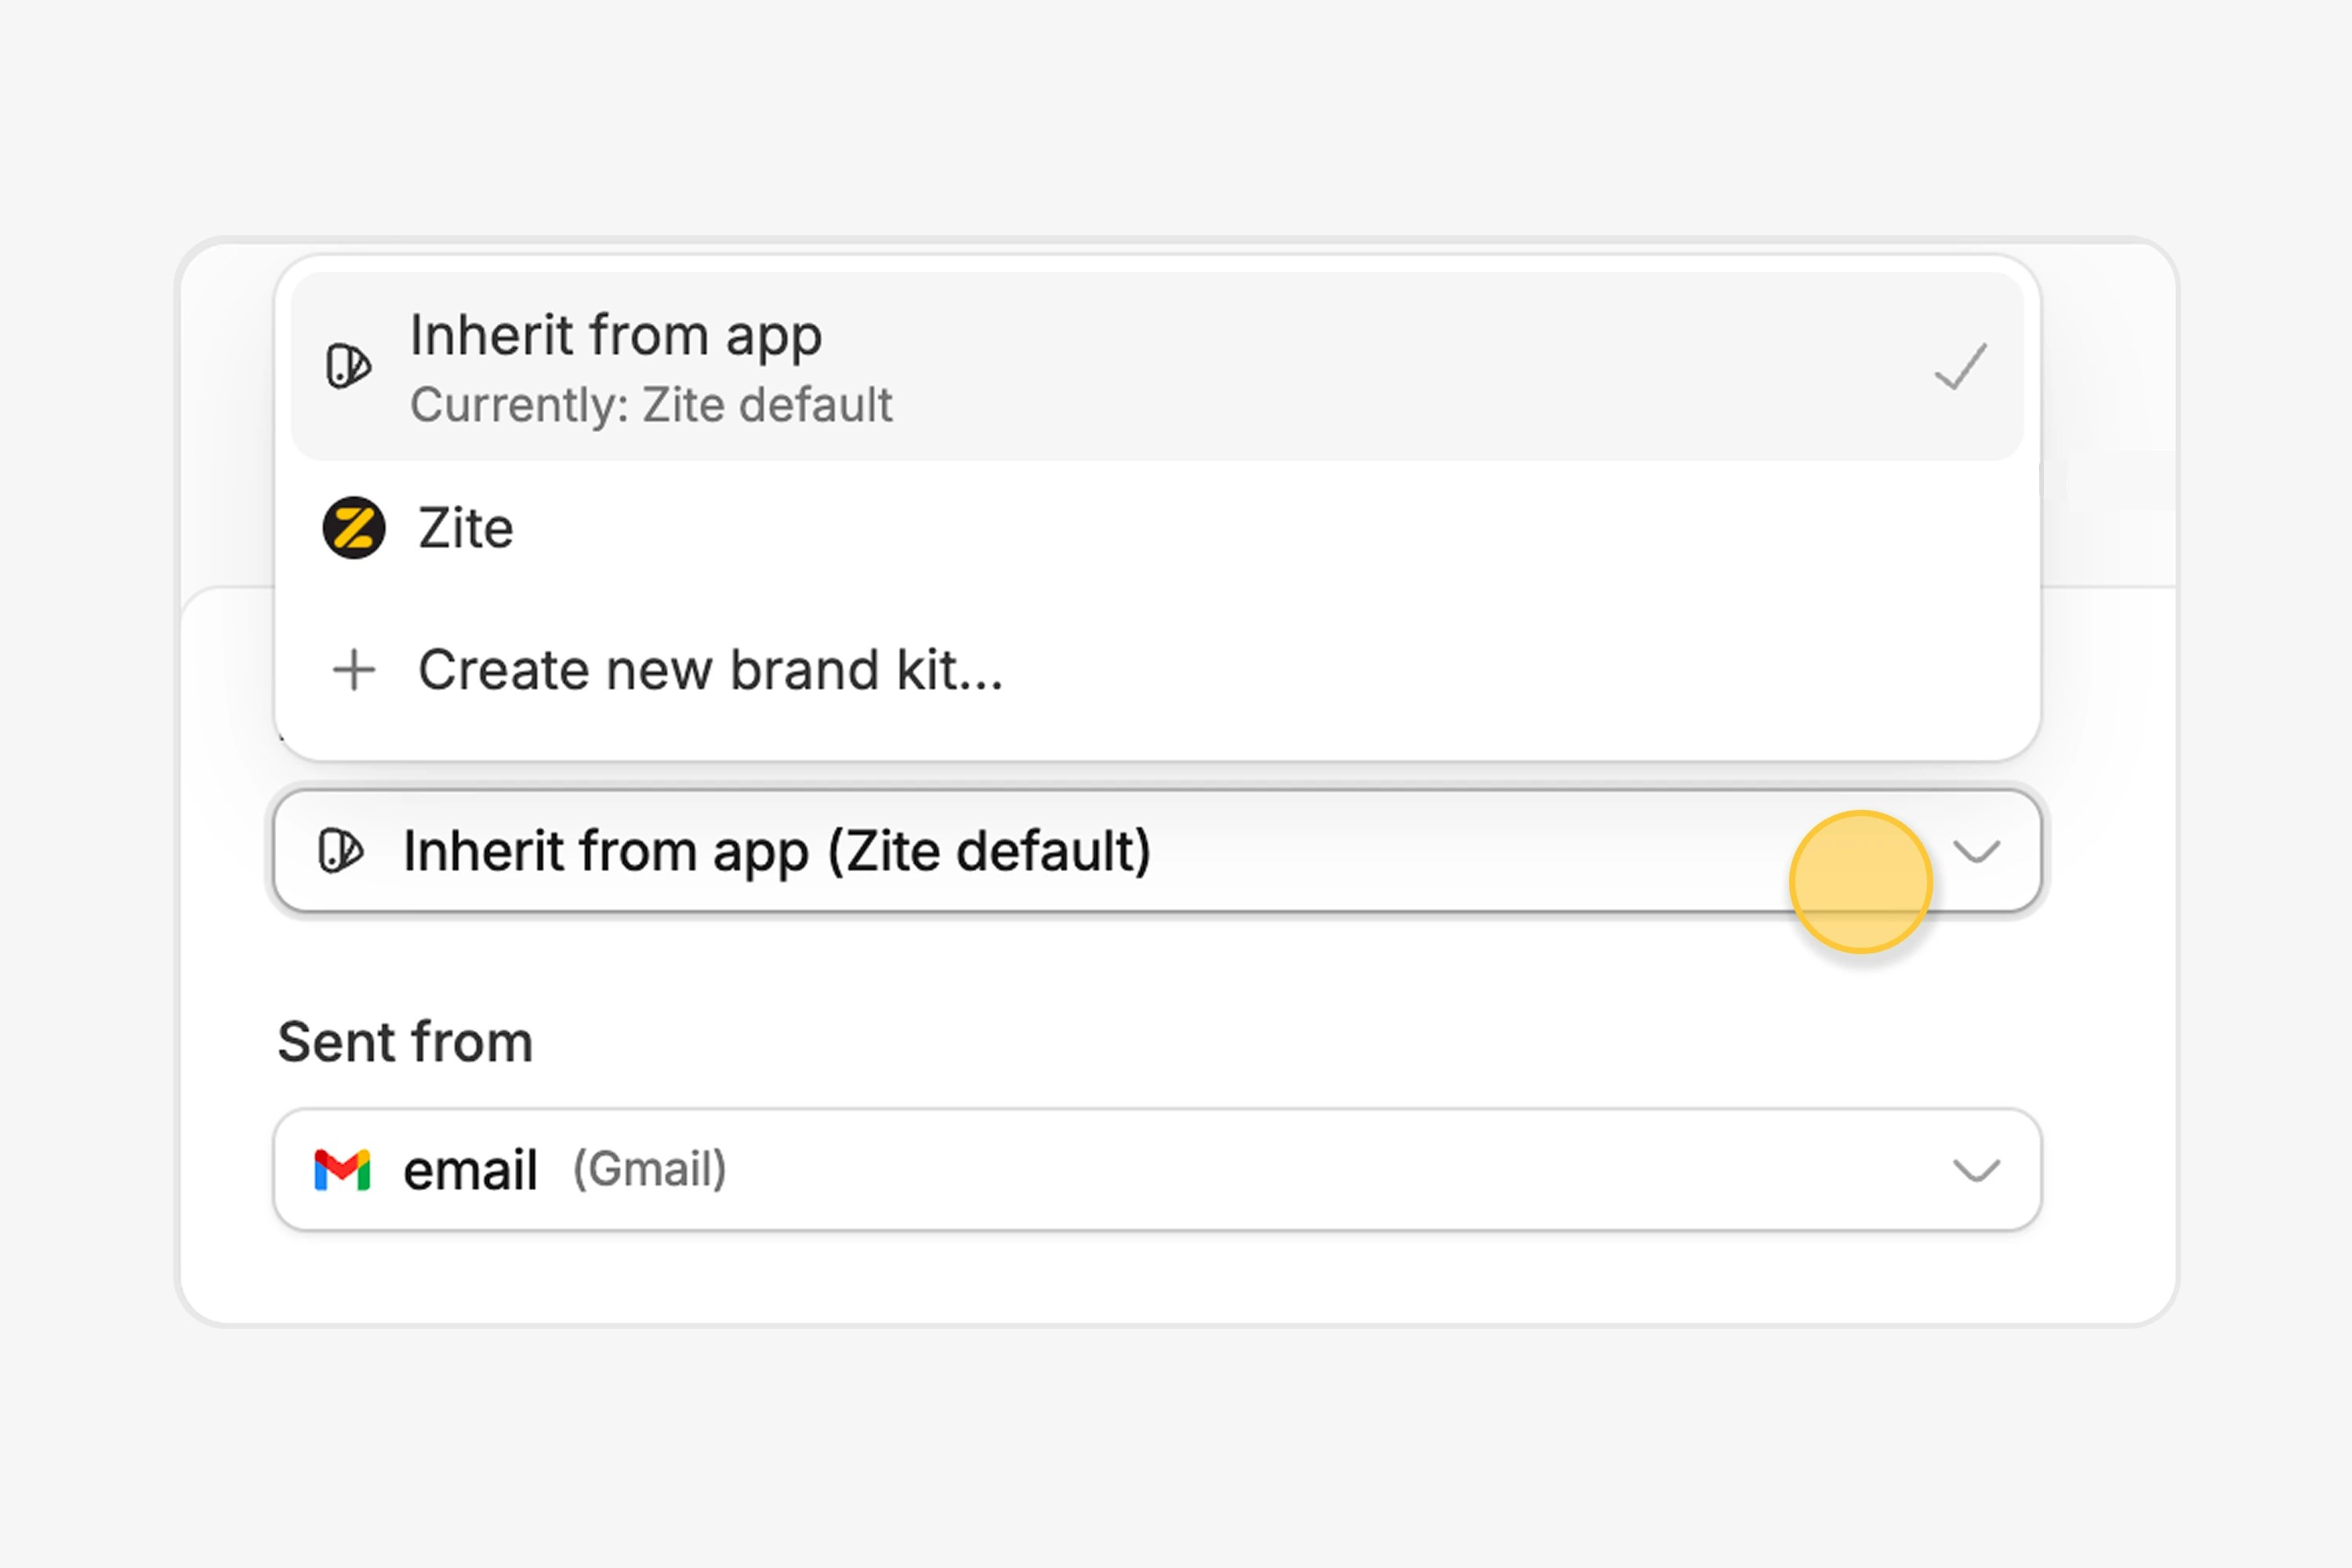
You can configure:
* **Avatar and branding** - inherit branding from the app, use Zite's default branding, or apply a [brand kit](/help/platform/how-to-build/brand-kit). If your brand kit includes a logo, it can be used as the avatar in the magic link email.
* **Sender email** - send from the default Zite email address, Gmail, Outlook, or a custom SMTP address.
After a user requests a magic link, the email they receive includes the configured avatar, sign-in button, and link expiry details.
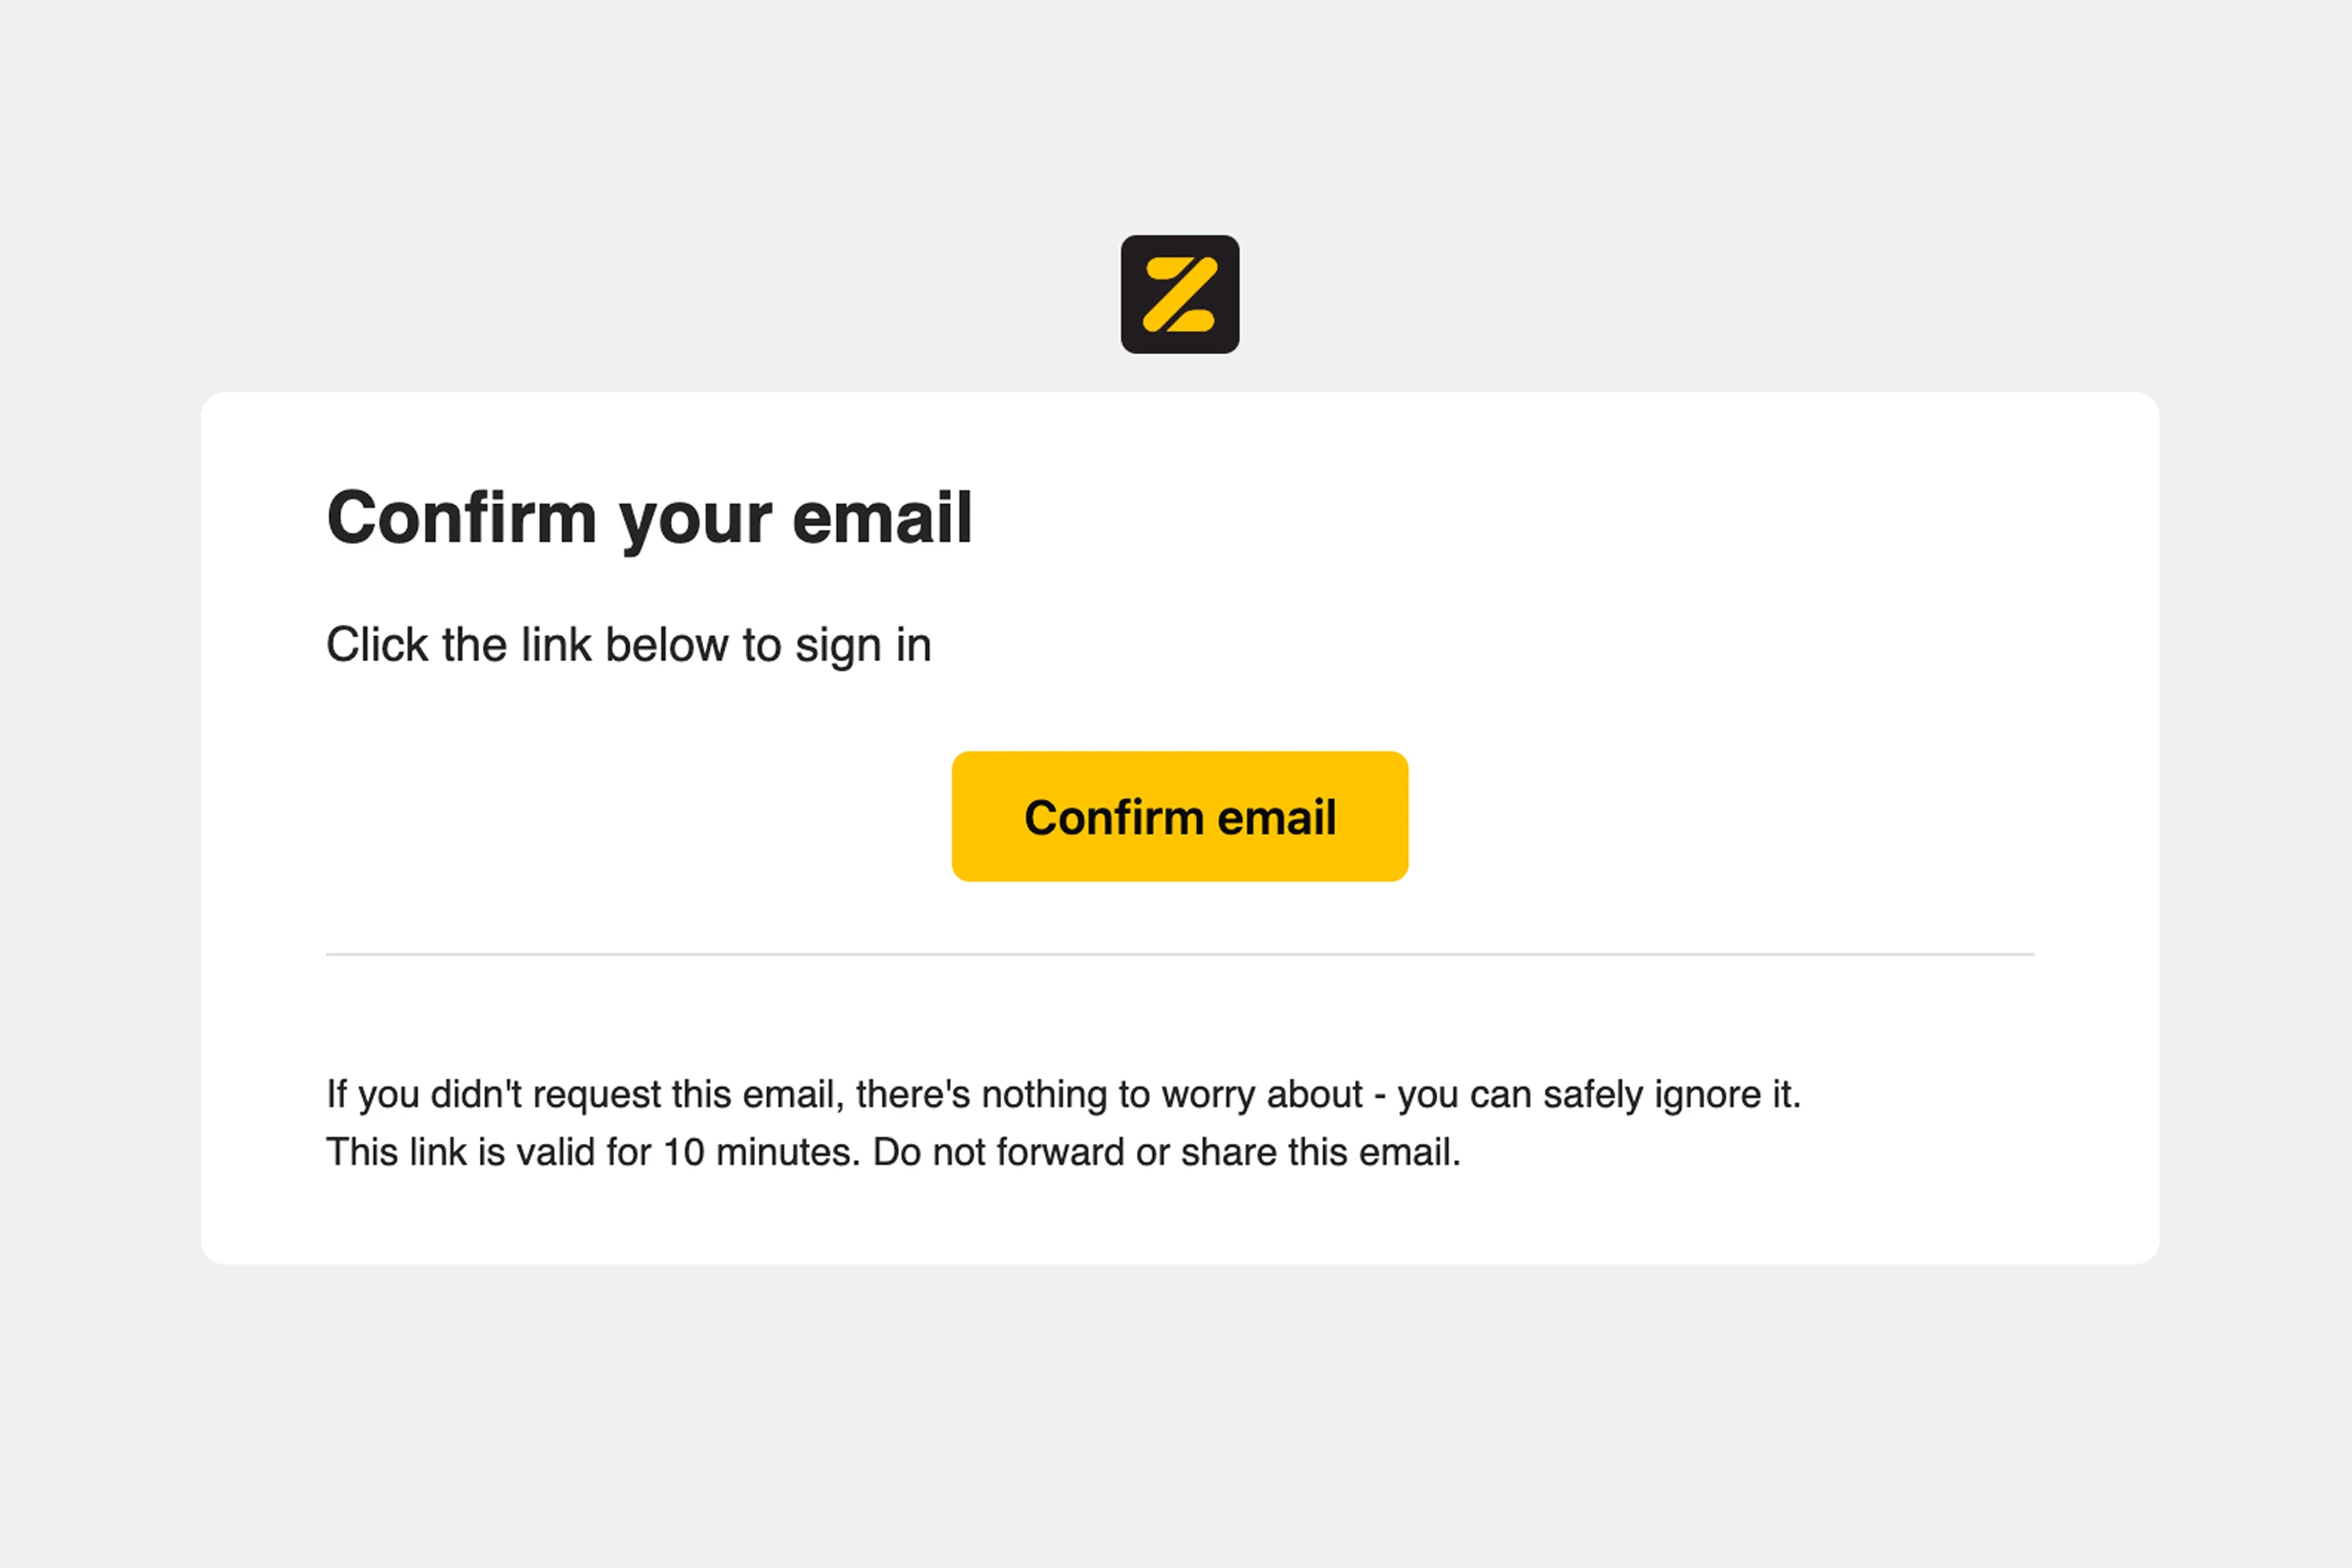
Branded magic link emails are available on Business, Team, and Enterprise plans.
## Manage users
If you have a login page, you can specify a list of people who are allowed to use your Zite app. Click `Users` on the top nav bar followed by `Add users`.
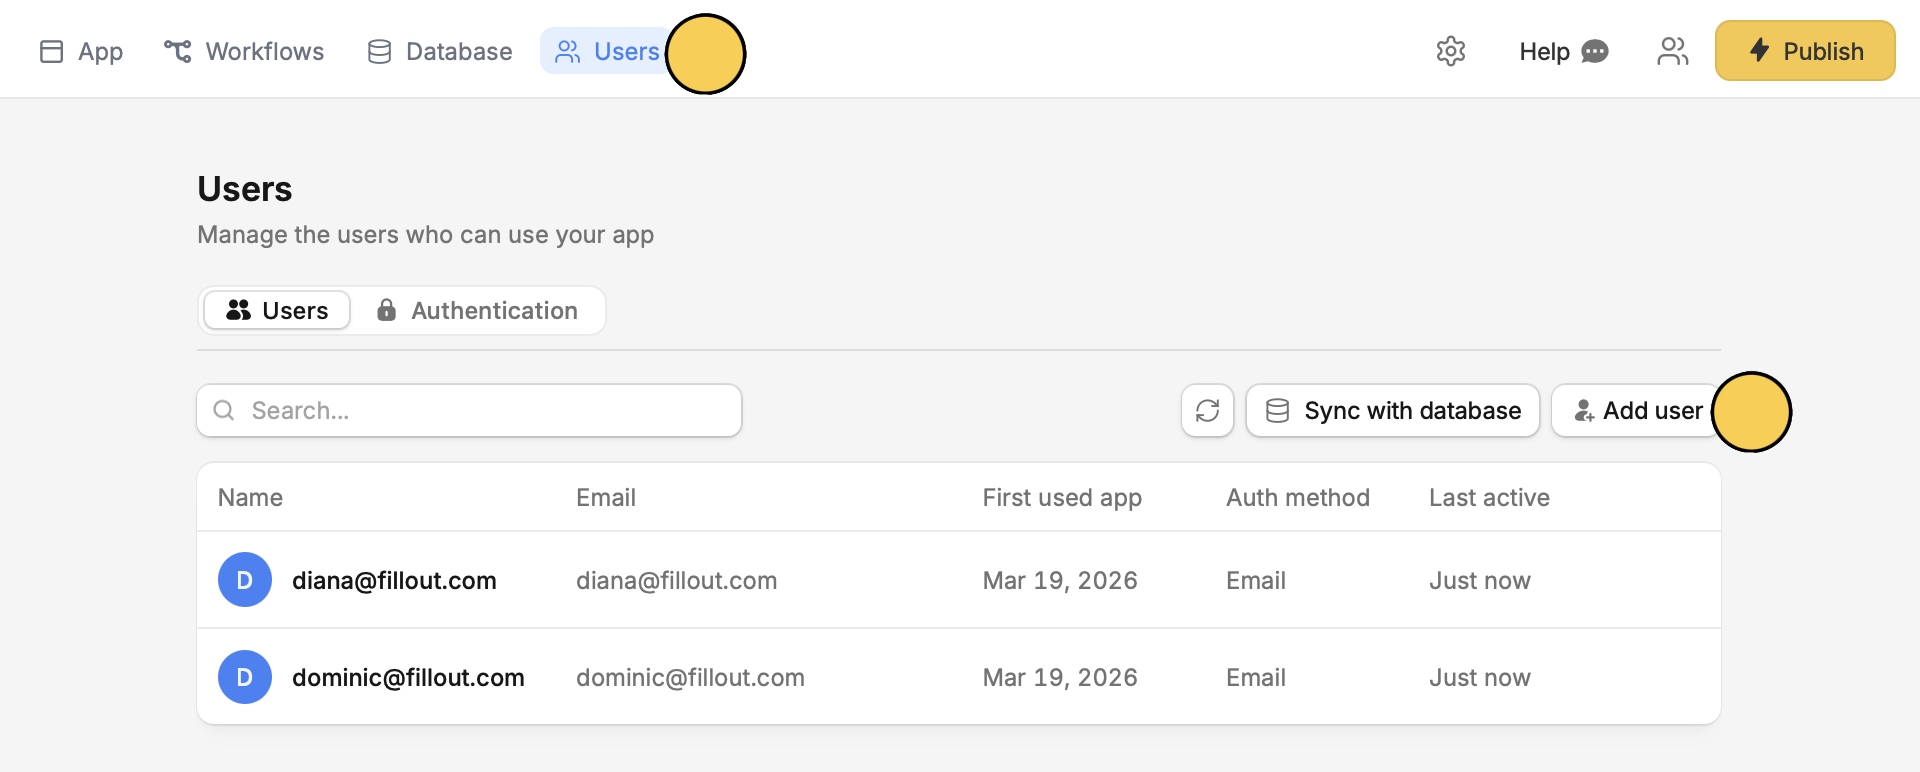 Then enter the emails of the users you'd like to add in the popup.