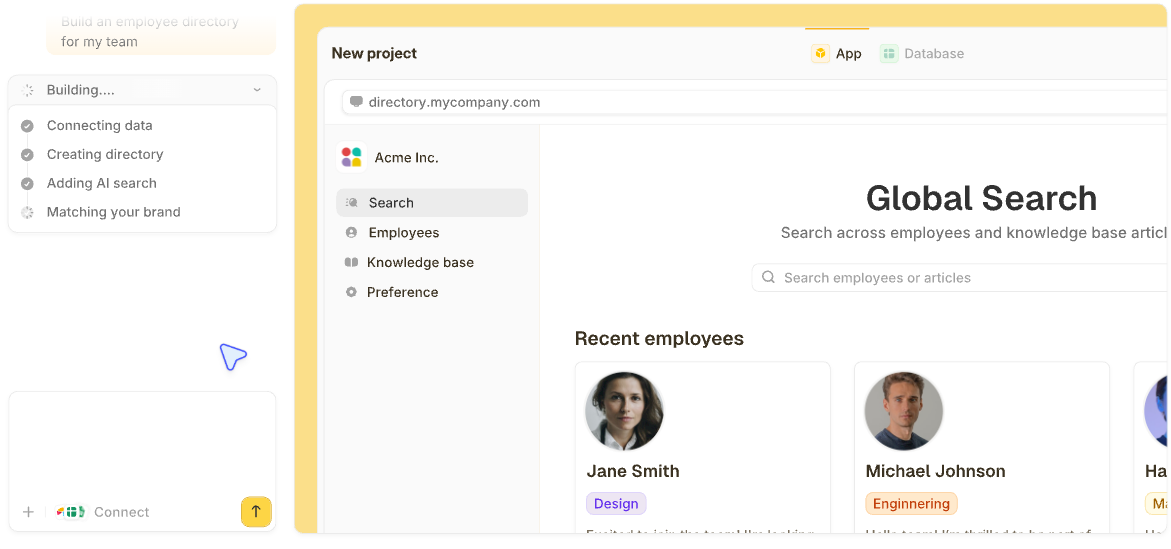


Booking a client shouldn't take a dozen back-and-forth emails. If you have wondered how to build a scheduling app without writing code, an AI app builder can turn your plain description into a working one.
How to build a scheduling app: quick answer
To build a scheduling app, you describe your booking flow to an AI app builder in one prompt. A tool like Zite turns that prompt into a working booking app, with the screens, the database, and the scheduling logic already connected.
The key is writing a good prompt and that requires planning. Follow the seven steps below to keep your new booking app from double-booking clients, showing the wrong time across zones, or dropping reminders.
Here is the build, start to finish, in 7 steps:
- Decide who books and what happens next: Write down who books (clients, leads, your team), what they book (a call, a service, a class), and the follow-up each booking triggers, so you confirm, take payment, and send a calendar invite automatically.
- Set your availability rules: Enter your working hours, how long each booking runs, the buffer between bookings, and which staff member handles which service, so the app only offers slots you can actually keep.
- Pick how you will build it: Choose code, a no-code builder, or an AI builder. For most people without a developer, the AI builder is the fastest path, so describe the app in a prompt and let it generate the first version.
- Build the booking flow first: Get the calendar, booking form, and confirmation working before anything else. Resist adding reminders or payments until a client can pick a slot and get a confirmation.
- Add reminders, calendar sync, and payments: Once the core flow works, connect Google or Outlook calendar, turn on the 24-hour and 1-hour reminders, and add a payment step if you charge deposits.
- Test it from every angle: Book as a client, try to double-book the same slot, switch time zones, and run a cancellation. Fix whatever breaks before anyone real sees it.
- Publish and set who sees what: Put the app live on the web, then set roles so clients see only the booking page and staff see only their own appointments.
The 5 things a scheduling app has to get right
A booking form looks simple. Someone picks a time, confirms it, and shows up. The hard part is the rules behind the form: who can book which slot, in which time zone, and what happens when plans change.
Off-the-shelf tools like Calendly and Acuity cover simple booking well. Teams tend to outgrow them once they need rules specific to how they operate, like matching staff skills to service types, routing intake forms based on answers, or linking bookings to customer records.
Five booking rules that trip people up:
- Open-slot rules: The app needs to determine which slots are open based on working hours, existing bookings, and buffer times, and automatically block conflicts.
- Timezone handling: A 2 pm slot in New York is 7 pm in London. Every visitor should see their own local time, and the booking record needs a consistently stored time.
- Confirmations and reminders: Confirmation emails are easy. Reminders are the hard part, since they fire on a schedule (24 hours before, 1 hour before) rather than in response to a user action.
- Calendar sync: Booked appointments should appear on the host’s Google or Outlook calendar, and calendar changes should block booking slots.
- Cancellation and rescheduling: Policies (such as charging 50% for cancellations made under 24 hours) require accurate time calculations across time zones and the correct charge to the right payment method.
What you’ll need before starting
You need just three things:
- An AI app builder: Pick one that generates the app, stores the data, and runs the booking logic. I used Zite for the walkthrough below because it builds the database and the booking flow from a single prompt. Plus, non-technical users like me can maintain it.
- A clear picture of your booking flow: Who is booking, what they are booking, and what happens after they book (confirmation, payment, calendar invite).
- Your existing data, if any: A list of services, staff, working hours, or current bookings you want to bring in. A spreadsheet works fine as a starting point.
Time required: Expect two to three hours for a working first version with an AI builder, then a few days of refining to add reminders, payments, and calendar sync.
How to build a scheduling app step by step
This process works whether you use an AI builder, a no-code tool, or code it yourself.
Step 1: Decide who books and what happens next
Before you touch a tool, answer two questions. First, who books and what do they book? A client scheduling a sales call, a lead booking a demo, or a patient reserving an appointment all shape the app differently. Second, what happens after they book (confirmation email, payment, calendar invite, CRM record)?
Write it as one sentence: “Clients book a 30-minute consultation, pay a deposit, and get a confirmation with a Zoom link.”
Get this right first: A clear picture here saves you a rebuild later. Most scheduling apps fail because the builder skipped this step and discovered missing rules only after launch.
Step 2: Map your availability rules
Your availability rules decide which slots clients can book, so set them before you build. List your working hours, the length of each booking, and any buffer time you need between appointments.
Then decide the detailed rules. Do different staff members have different availability? Do certain services need specific people? Should the app block a slot the moment someone books, so two people cannot grab the same time?
Write it down: Capture these rules in plain language. When you build with an AI tool, you will paste it straight into your prompt, and the app will generate the logic to match.
Step 3: Choose your build method
Since we are skipping coding, your real choice comes down to an AI builder or a no-code builder.
An AI builder is the fastest for most people, since you describe the app and it generates the database, booking logic, and screens. A no-code builder gives you more hands-on control of the layout, but it takes longer to assemble from components. Either one handles the time zones, reminders, and calendar connections that would otherwise take a developer weeks to wire up by hand.
Worth knowing: Unless you have a developer and a reason for a fully custom build, one of these two methods will get you a working app far faster than writing it yourself.
Step 4: Build the core booking flow
Start with the smallest version that works: an availability calendar, a booking form, and a confirmation email. Do not build reminders, payments, and calendar sync yet.
If you are using an AI builder, describe the flow in plain language. The tool generates the database tables (services, bookings, availability), the booking page, and the confirmation logic together.
Pro tip: Build and test the core flow before layering on extras. A working booking-and-confirmation loop is the foundation. If that breaks, nothing else matters.
Step 5: Add reminders, calendar sync, and payments
Once the core flow works, layer on the features that off-the-shelf tools charge extra for.
Reminders run on a schedule, so set up a workflow that sends a message 24 hours and 1 hour before each appointment.
For calendar sync, describe what you want ("add each booking to my Google Calendar," "don't offer a slot when my calendar already shows an event") and let the app build the connection from that, then test that a calendar event actually blocks the slot. Add a payment step (Stripe is the common pick) if you take deposits or charge upfront.
Test it live: Test reminders by booking an appointment for tomorrow and confirming the reminder fires. Reminders are the most commonly broken feature in AI-generated scheduling apps because they are invisible in a quick demo.
Step 6: Test from every angle
Test the app the way real users will. Book as a client and confirm you only see open slots. Book two appointments for the same time and confirm the second one is blocked.
Change your time zone and confirm that slots display correctly. Cancel a booking and confirm the policy applies the right charge. Check that confirmation and reminder emails land in the inbox.
Test time zones first: Time zone bugs cause the most no-show confusion. Book a slot as a visitor in a different time zone than the host, and trace the time through the confirmation email, the calendar entry, and the booking record. All three should agree.
Step 7: Publish and configure access
Web-based scheduling apps launch without app store approval, so there is no wait for review before clients can book. Most AI and no-code builders host the app for you and let you connect a custom domain.
Decide who can access it. A public booking page is open to anyone with the link. An internal scheduling tool should sit behind a login with role-based access, so staff see their own bookings and managers see everything.
Use your own domain: Add your own domain (like booking.yourcompany.com) so the app reflects your brand. Clients trust a booking page on your domain more than a generic vendor URL.
How to build a scheduling app with AI using Zite
The availability, timezone, and reminder logic from the last section are exactly what Zite generates for you. Here is why it earns its own walkthrough. Zite builds the database, the booking page, and the reminders together, keeping the logic visible so you can see how it works and prompt a fix when something is off, even if you don't read code.
You describe the booking flow in plain language, and Zite generates three things at once:
- A spreadsheet-style database you can open and edit.
- A booking page your clients use to pick a slot.
- The workflows that run confirmations and reminders.
1. Describe your scheduling app in a prompt
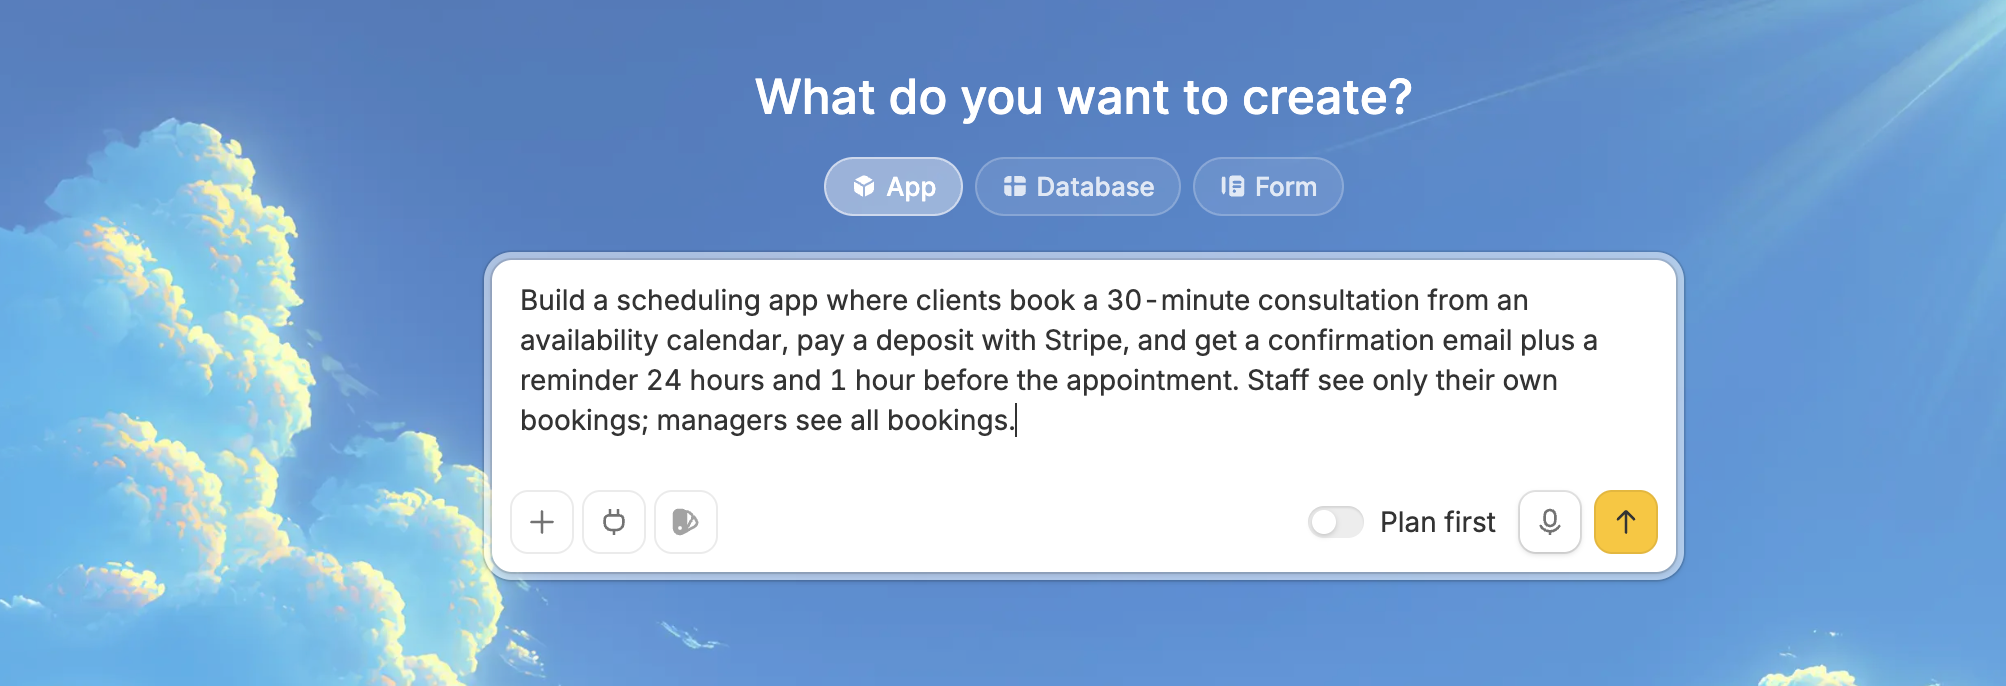
Open Zite and paste the one-sentence description you wrote in Step 1. That sentence already covers who books, what they want to book, and what happens after, so that gets us mostly there. Then, the only thing to add is who sees what, once the app is live. Clients see the booking page, and staff see their own appointments.
A detailed prompt gets you closer on the first try. Here is a full example prompt for a consultation booking app:
"Build a scheduling app where clients book a 30-minute consultation from an availability calendar, pay a deposit with Stripe, and get a confirmation plus a reminder 24 hours and 1 hour before. Staff see only their own bookings; managers see all."
Zite reads that prompt and builds the app in a single pass. It creates the services, staff, availability, and bookings tables, the client-facing booking page, and the confirmation and reminder steps, all of which are connected and ready to test.
2. Open the database and check the structure
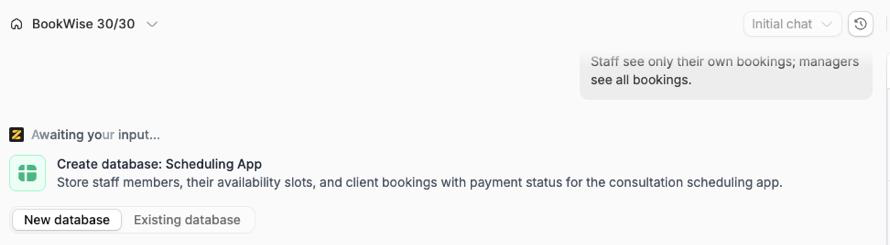
Your new database is where availability lives, so open that tab first. You should see the linked tables for services, staff, availability, and bookings. This is what lets the app block a slot the instant someone takes it.
Because it reads like a spreadsheet, you can add a buffer-time field or link a service to specific staff in a few clicks. No developer to wait on, no support ticket, and changes take effect right away.
3. Trace the confirmation workflow before you trust it
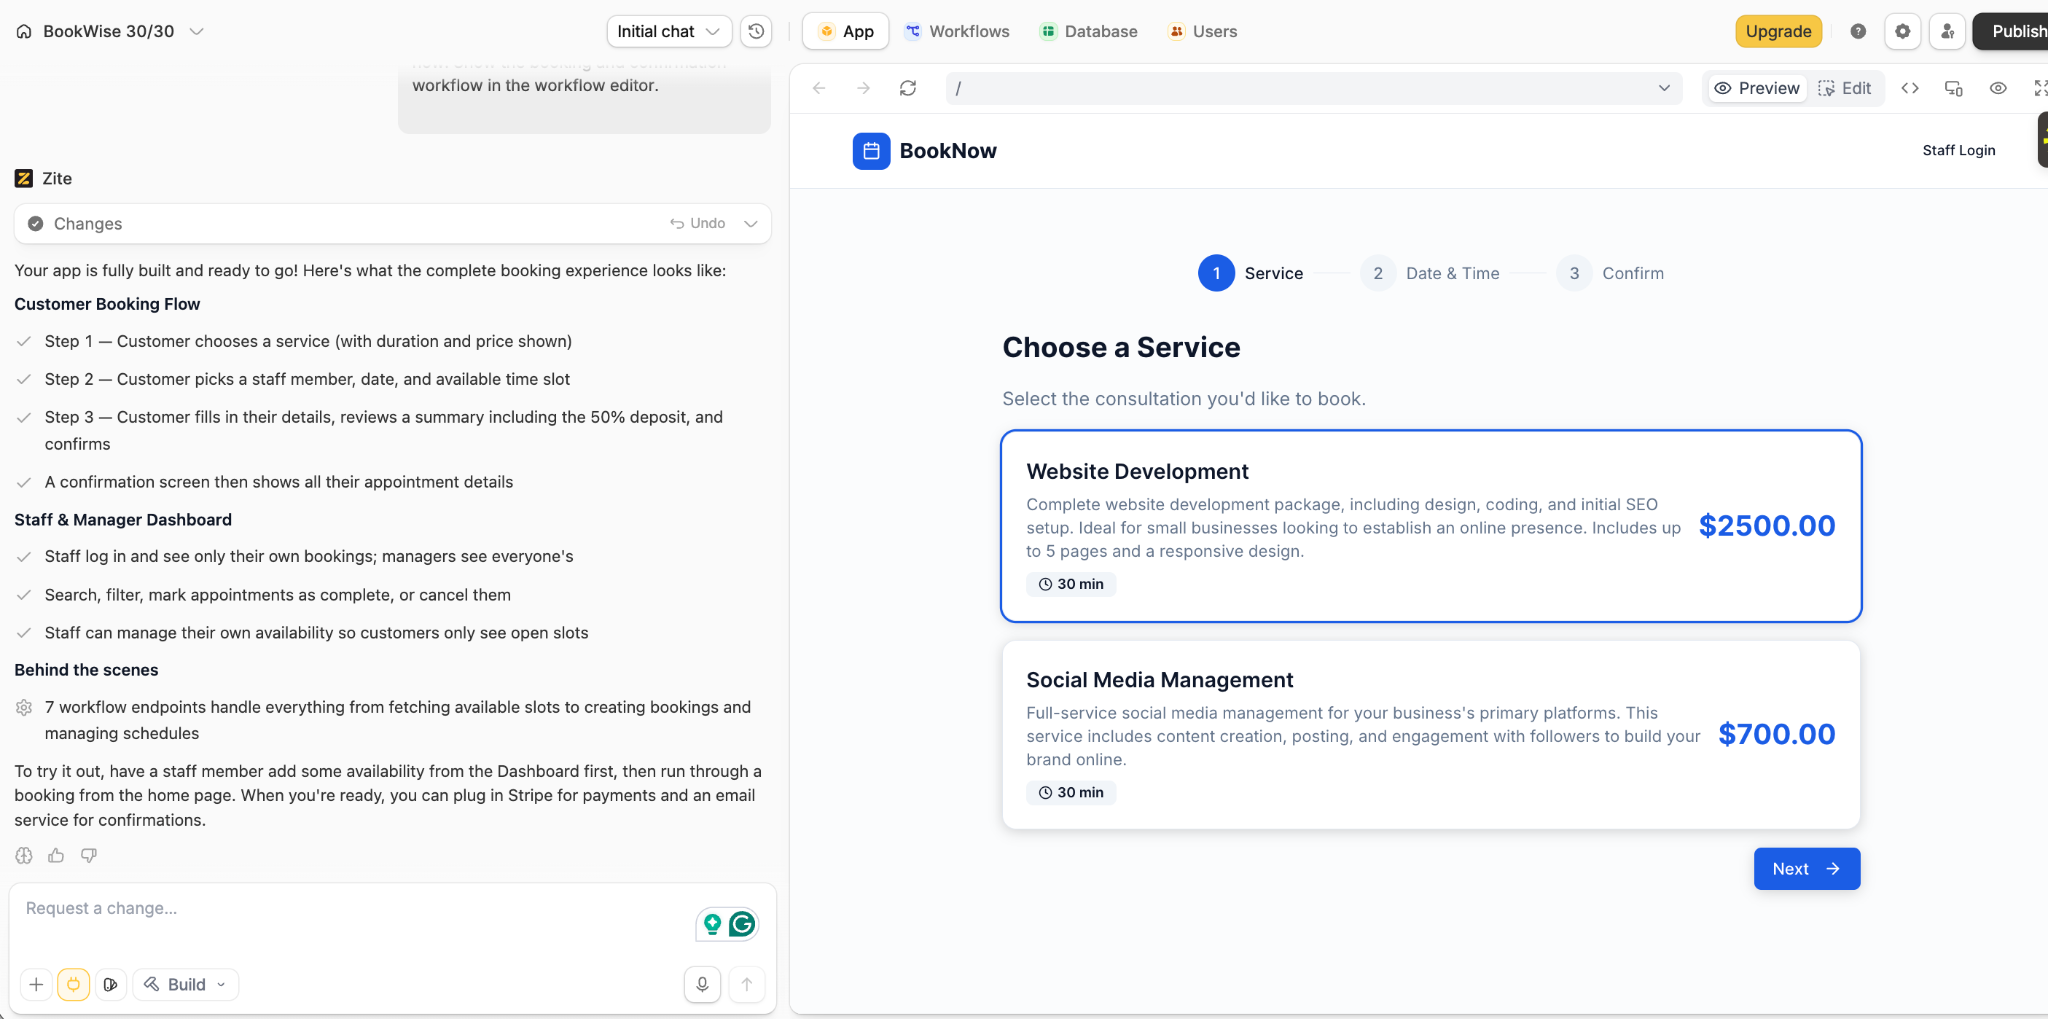
Open the Workflows tab and follow the booking flow. Zite shows the flow as steps you can read and follow, not hidden code, so you can trace the path from booking to confirmation and spot a broken step before a client does.
Pro Tip: The 24-hour and 1-hour reminders show up here as their own timed steps, so you can confirm they are wired in before you rely on them.
4. Preview the booking page, set roles, and publish
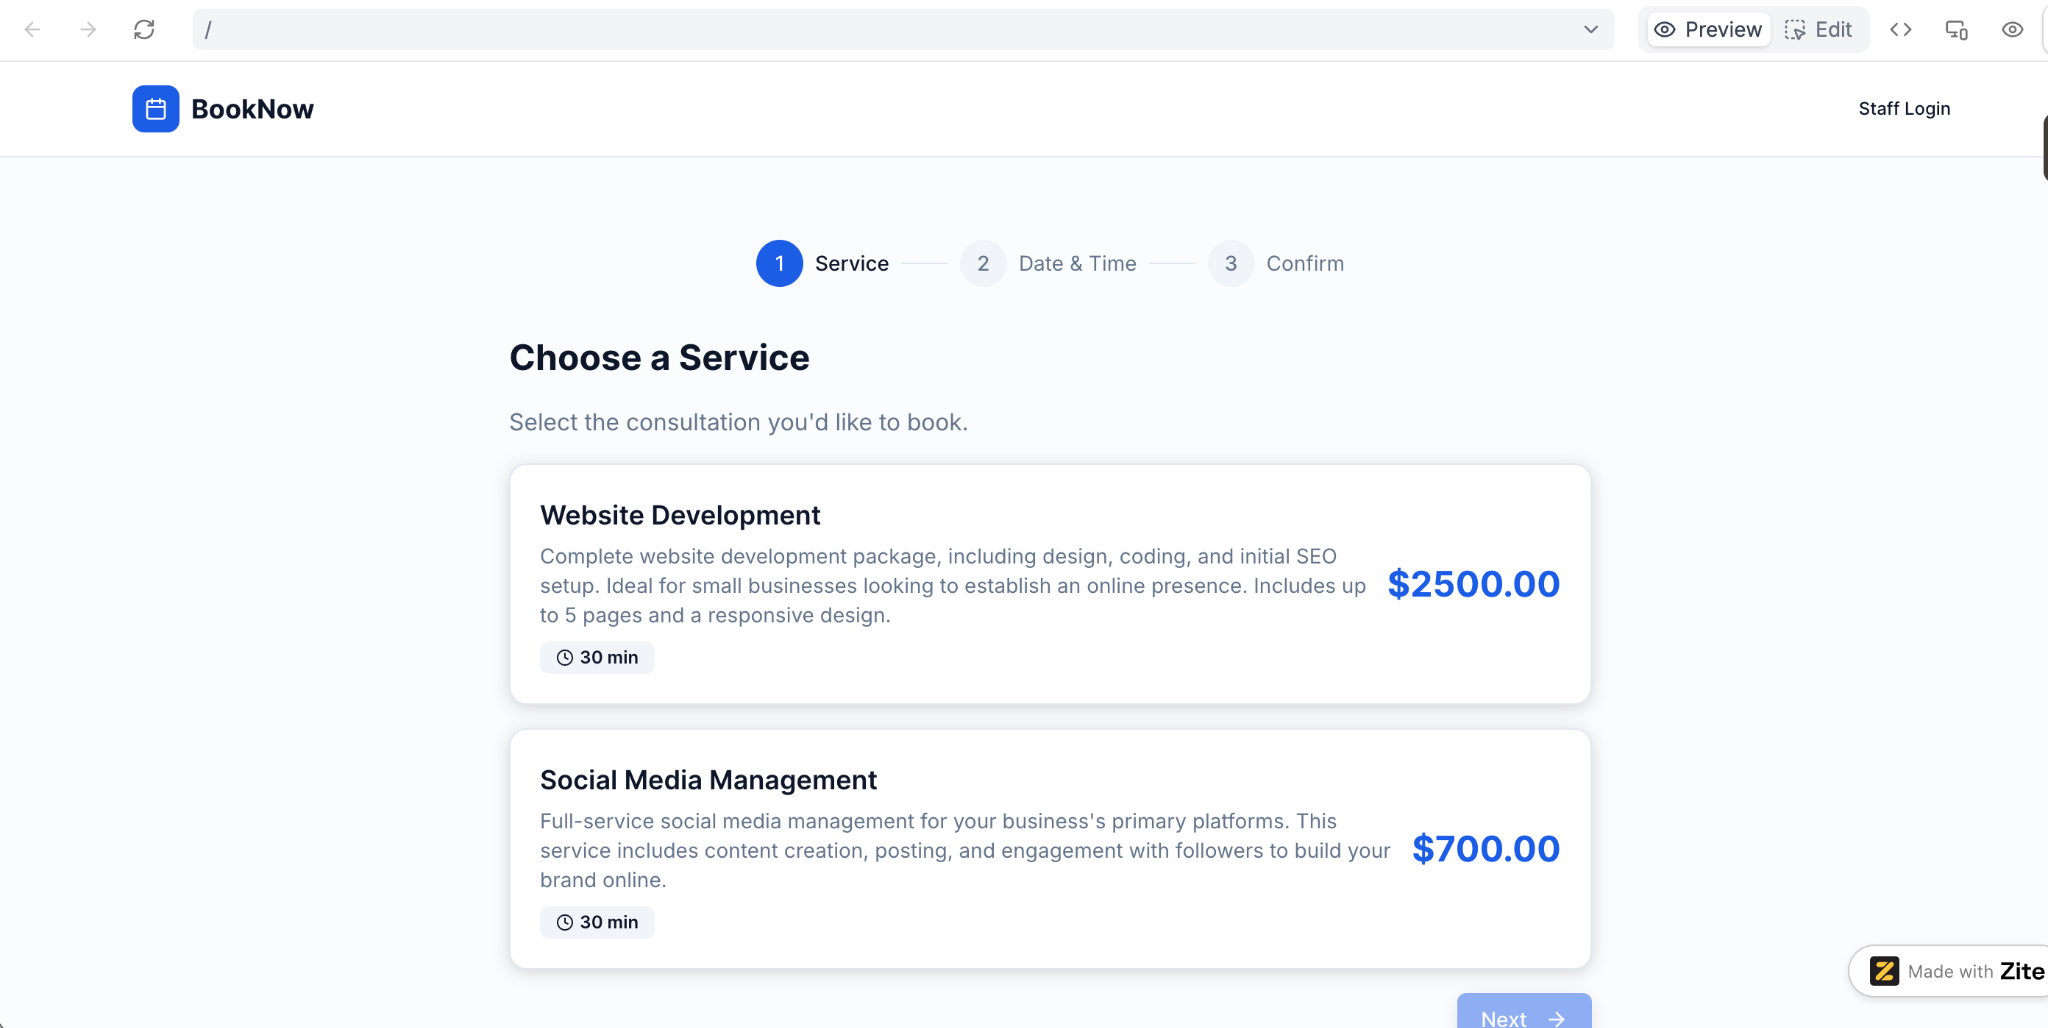
Preview the booking page your clients will see. It walks them through the Service, Date and Time, and Confirm steps, with a separate Staff Login for your team. Set access so clients land on the booking page, staff see only their own appointments, and managers see everything.
Then publish. There is no app store approval to wait on, so updates go live the moment you make them, and you can point a custom domain, like booking.yourcompany.com, at it so the page reflects your brand.
Common mistakes to avoid
A few mistakes show up again and again when people build scheduling apps. Watch out for these four:
- Skipping the reminder system: Most builders generate a confirmation email and stop there. Reminders fire on a schedule, not on a user action, so they are easy to forget until a client no-shows.
- Getting time zones wrong: Storing a booking in the wrong time zone shows clients a slot an hour off from the real time. Store one consistent time and display each user’s local time.
- Ignoring cancellation rules: A cancellation policy requires accurate time math and the correct charge. Test it with real edge cases (a cancellation exactly 24 hours out) before launch.
- Building everything at once: Trying to ship availability, reminders, payments, and calendar sync in one go usually means none of them work well. Build the core loop first, then layer on.
Code vs no-code vs AI for a scheduling app
If you are still weighing your options, here is how the three development approaches compare for a scheduling app.
If you do not have a developer and you want a custom booking flow without weeks of setup, an AI builder is the practical pick. The booking rules a developer would spend weeks wiring up get generated in minutes, and you keep the database and workflows visible enough to fix what breaks.
Zite makes building a scheduling app easier with AI
Everything this guide flagged as hard (blocking double bookings, handling time zones, firing reminders on schedule) is what Zite generates from a single prompt and keeps visible afterward.
You get the booking rules a developer would spend weeks on, plus a database and workflow view plain enough that you can spot and re-prompt a problem without a developer on call.
Zite Pro runs $19/month, or $15/month billed annually, and includes the booking app, database, and roles, with unlimited users and no per-seat fees on every plan, including Free.
Reminders run as timed workflows on any plan, and each plan's monthly workflow-run allowance determines how many can fire; higher tiers like Business at $69/month mainly increase that allowance rather than unlock features.
For a broader walkthrough of the build process, see Zite's guide to making an app, or browse app templates in the marketplace to start with a working example.
Start building with Zite to get your scheduling app live this afternoon.
Frequently asked questions
How long does it take to build a scheduling app?
Building a scheduling app takes an afternoon to get a working first version with an AI builder like Zite, and a few days to build a polished app with reminders, payments, and calendar sync. Coding one from scratch takes weeks to months.
What’s the hardest part of building a scheduling app?
The hardest part of building a scheduling app is the logic behind the booking form: availability rules, time zone handling, scheduled reminders, and cancellation policies. The form itself is straightforward; the complexity lies in making slots block and reminders fire correctly.
Do I need to know how to code to build a scheduling app?
No, you do not need to code to build a scheduling app. AI app builders like Zite and no-code tools let you describe the app in plain language and generate the logic, database, and screens for you. Coding is only necessary for a fully custom build.
Can I build a scheduling app like Calendly without code?
Yes, you can build a scheduling app like Calendly without code using an AI app builder. The advantage of building your own is fitting the 20% that Calendly misses: custom routing, non-standard booking questions, staff-to-service matching, or tight CRM integration.
How do I sync my scheduling app with Google Calendar?
You sync a scheduling app with Google Calendar by describing what you want in plain language, such as adding each booking to your calendar and hiding slots where an event already exists. In a tool like Zite, the connection is built from that description rather than a preset sync mode.
How much does it cost to build a scheduling app?
Building a scheduling app costs $19 to $69 per month with an AI or no-code builder, which covers the app, the database, and hosting. You can build reminders on any plan. Higher tiers mainly raise your monthly workflow-run allowance, not which features you can build. Coding one yourself is free in terms of tooling, but it takes weeks.
Can a scheduling app handle payments and deposits?
Yes, a scheduling app can handle payments and deposits by connecting a payment processor, such as Stripe, to the booking flow. You add a payment step after the client picks a slot, so they pay a deposit or the full amount before the booking is confirmed.