> ## Documentation Index
> Fetch the complete documentation index at: https://zite.com/llms.txt
> Use this file to discover all available pages before exploring further.
# Notifications and emails
> Brand, send, and edit invitation, sign-in, and workflow emails from App settings.
Customize invitation and sign-in emails, and find workflows that send email, from **App settings → Notifications**.
These settings are available for [apps shared to the web](/help/platform/access/share-to-web) with [authentication](/help/platform/access/authentication). [Internal apps](/help/platform/access/internal-apps) use your organization's permissions instead.
## Open Notifications and emails
Open your app, click `Settings` , then select `Notifications` in the sidebar.
## Set branding and sender
Customizing invitation and sign-in email branding, sender, and content is available on the Business plan and above.
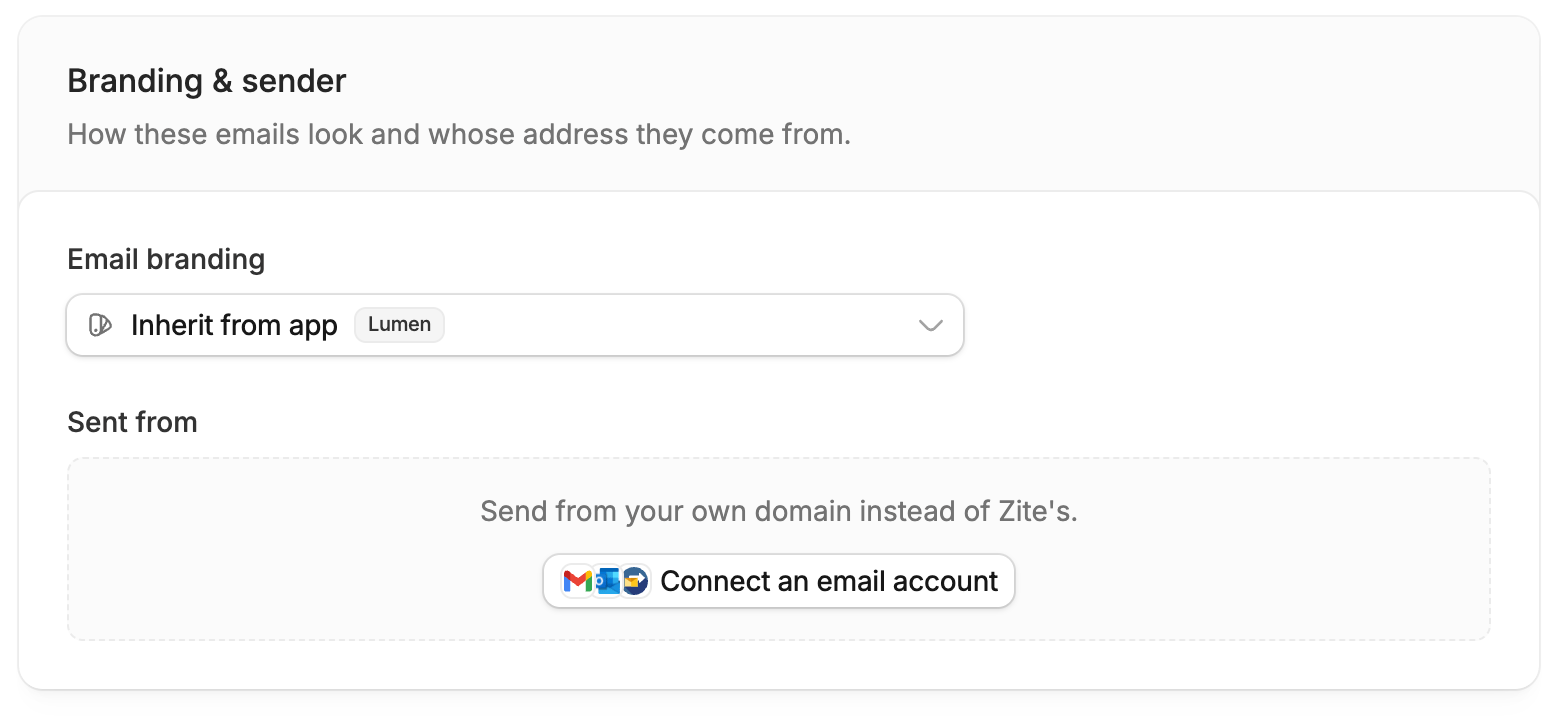
Under **Branding & sender**:
* **Email branding**: Choose a brand kit, or select `Inherit from app` to use the app's [brand kit](/help/platform/how-to-build/brand-kit).
* **Sent from**: Emails send from Zite by default. Click `Connect an email account` to use Gmail, Outlook, or Custom SMTP.
These settings apply to invitation and sign-in emails. Click `Save` after changing the brand kit or sender selection.
 To change sign-in methods or the login screen, go to [Login settings](/help/platform/access/authentication).
## Invitation, sign-in, and custom emails
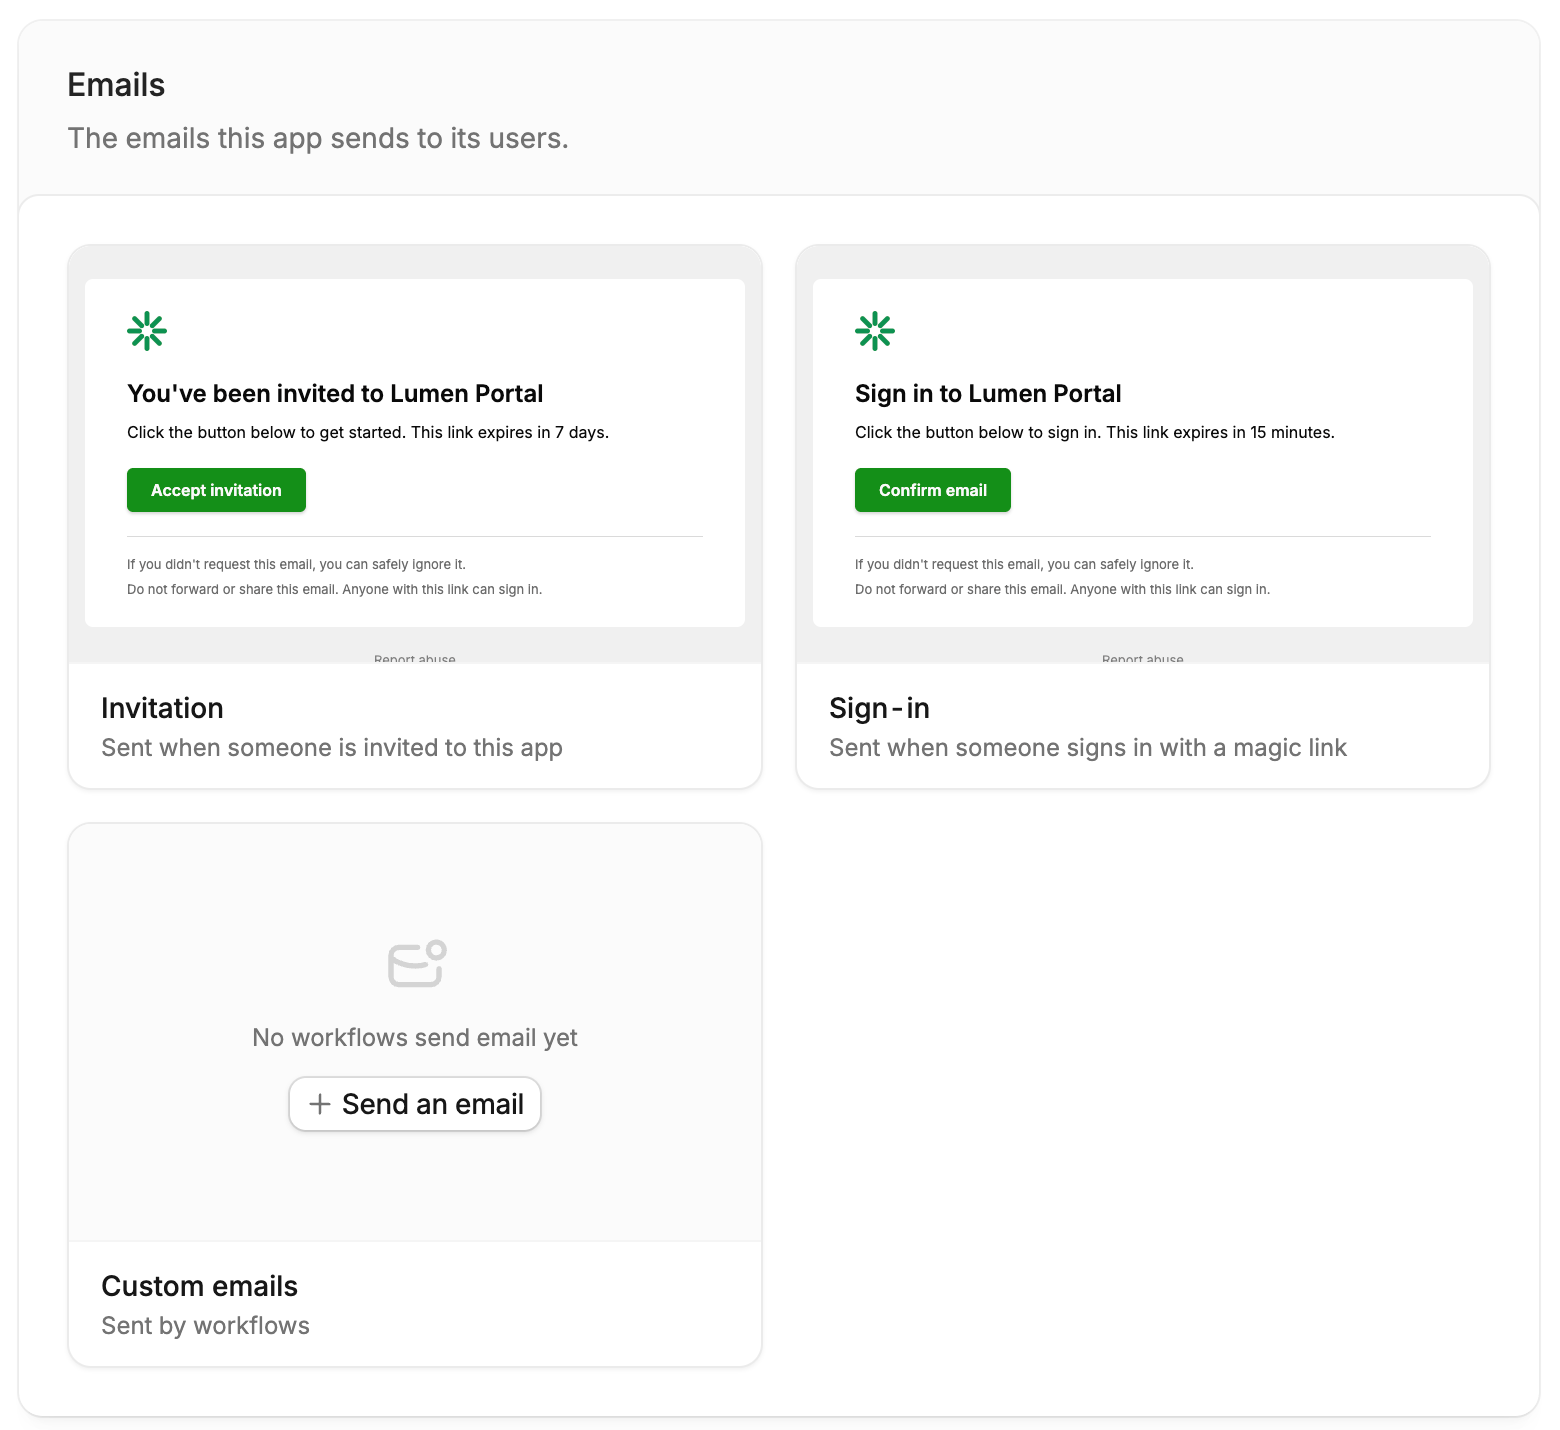
The **Emails** section shows previews of your invitation and sign-in emails. The **Custom emails** card lists [workflows](/help/platform/workflows/overview) that send email.
| Email | When it sends |
| ----------------- | --------------------------------------- |
| **Invitation** | When someone is invited to the app |
| **Sign-in** | When someone signs in with a magic link |
| **Custom emails** | When a workflow sends email |
Invitation sign-in links expire after 7 days; sign-in magic links expire after 15 minutes. An invitation that links to the login page instead has no expiry.
To change sign-in methods or the login screen, go to [Login settings](/help/platform/access/authentication).
## Invitation, sign-in, and custom emails
The **Emails** section shows previews of your invitation and sign-in emails. The **Custom emails** card lists [workflows](/help/platform/workflows/overview) that send email.
| Email | When it sends |
| ----------------- | --------------------------------------- |
| **Invitation** | When someone is invited to the app |
| **Sign-in** | When someone signs in with a magic link |
| **Custom emails** | When a workflow sends email |
Invitation sign-in links expire after 7 days; sign-in magic links expire after 15 minutes. An invitation that links to the login page instead has no expiry.
 ### Custom emails from workflows
Use the **Custom emails** card to open Workflows filtered to those that send email. If none exist yet, click `Send an email`, then describe what you want in the builder chat. See [Notify with email](/help/integrations/notify-with-email) to connect Gmail, Outlook, or SMTP in a workflow.
## Edit an invitation or sign-in email
Open the **Invitation** or **Sign-in** card to edit its template.
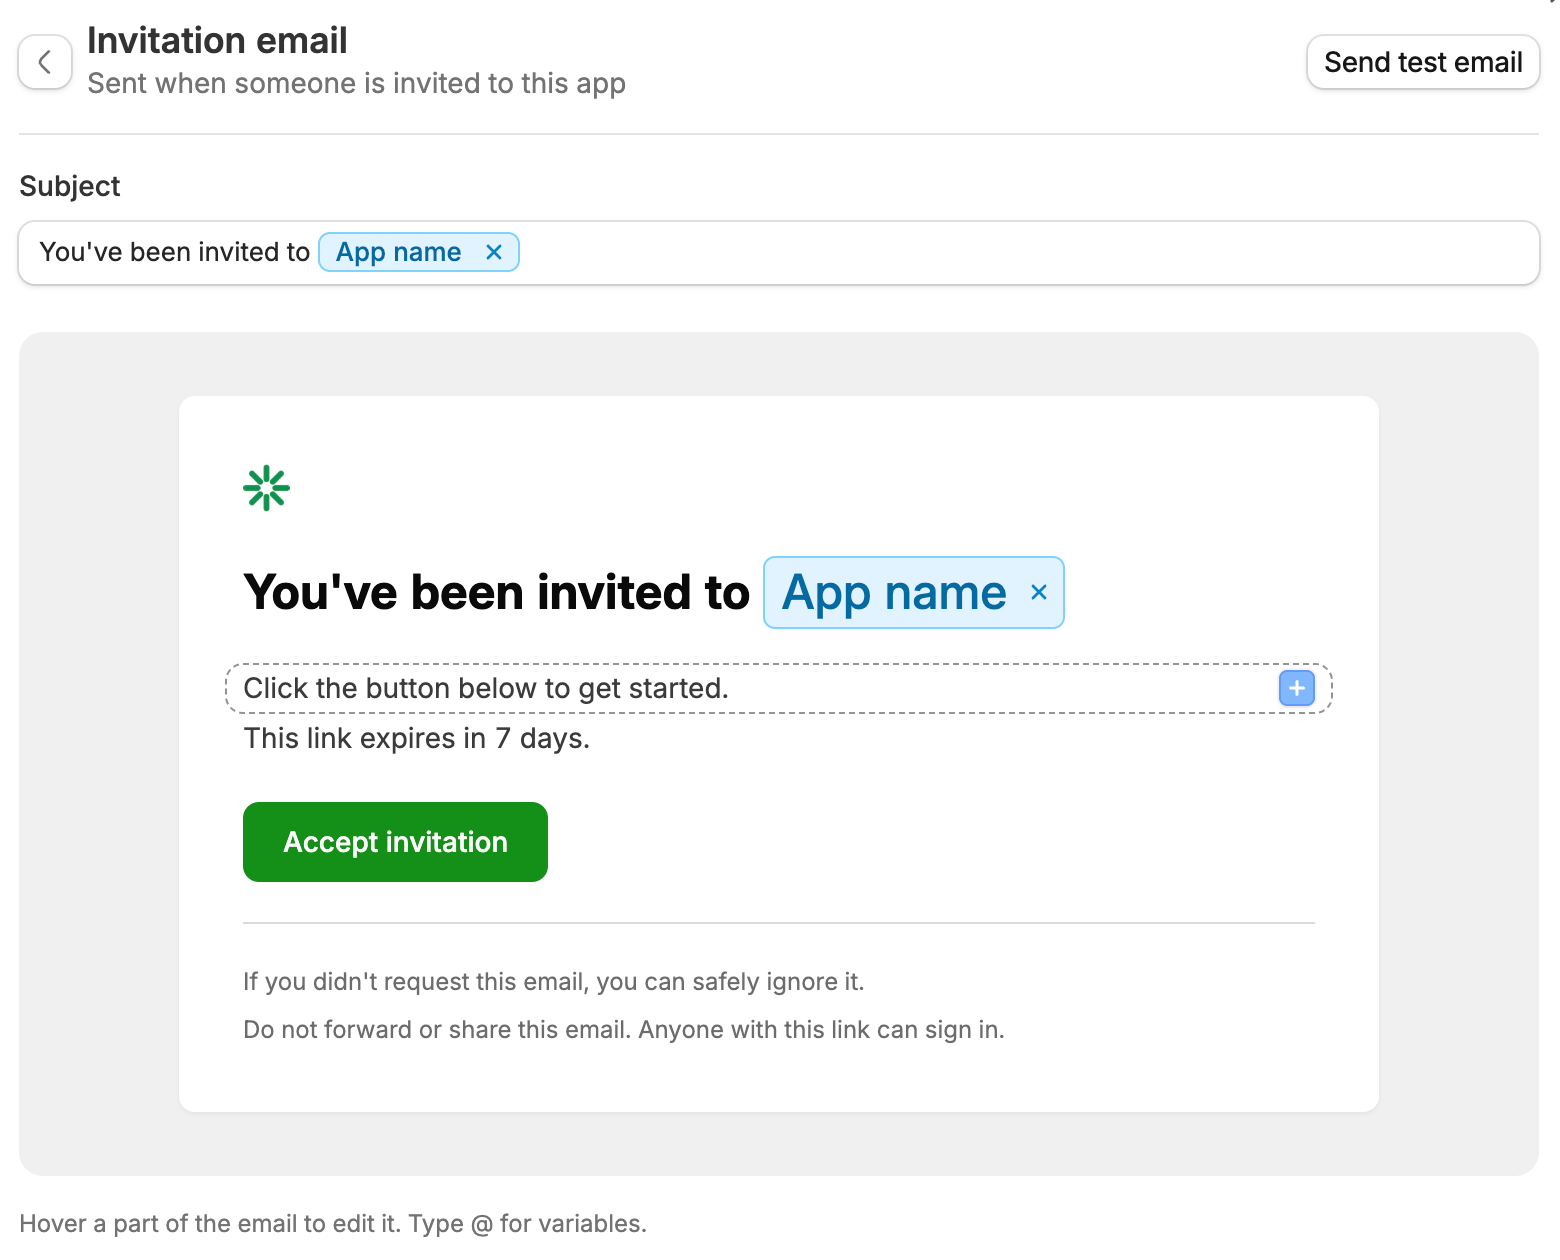
Change the **Subject**, then hover and click the title, message, or button to edit its text.
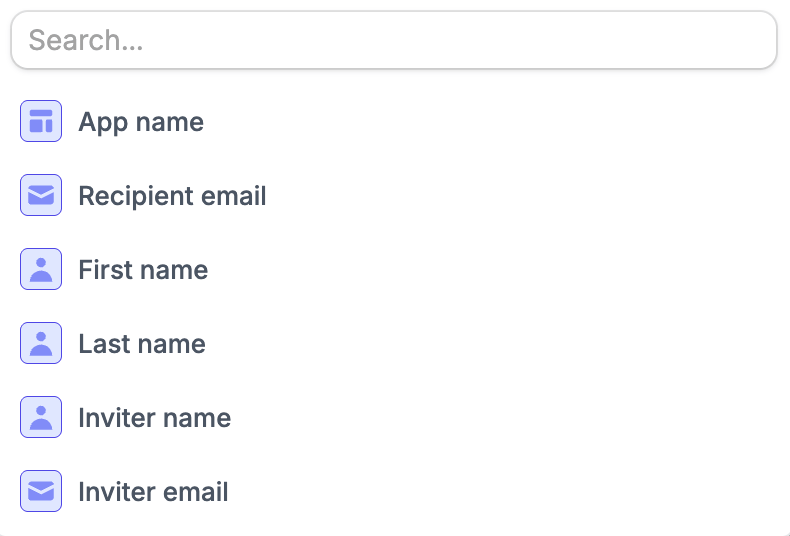
Type `@` to insert a value that fills in when the email sends. Invitation emails support **App name**, **Recipient email**, **First name**, **Last name**, **Inviter name**, and **Inviter email**.
Click `Send test email` to check your template.
Click `Save` at the bottom of App settings to apply your edits.
### Custom emails from workflows
Use the **Custom emails** card to open Workflows filtered to those that send email. If none exist yet, click `Send an email`, then describe what you want in the builder chat. See [Notify with email](/help/integrations/notify-with-email) to connect Gmail, Outlook, or SMTP in a workflow.
## Edit an invitation or sign-in email
Open the **Invitation** or **Sign-in** card to edit its template.
Change the **Subject**, then hover and click the title, message, or button to edit its text.
Type `@` to insert a value that fills in when the email sends. Invitation emails support **App name**, **Recipient email**, **First name**, **Last name**, **Inviter name**, and **Inviter email**.
Click `Send test email` to check your template.
Click `Save` at the bottom of App settings to apply your edits.
 The expiry notice and security footer are fixed parts of the template. You can edit the subject, title, message, and button text.
Invite people from [Users](/help/platform/access/manage-users), and control who can sign up in [Login settings](/help/platform/access/authentication#choose-who-can-sign-up).
The expiry notice and security footer are fixed parts of the template. You can edit the subject, title, message, and button text.
Invite people from [Users](/help/platform/access/manage-users), and control who can sign up in [Login settings](/help/platform/access/authentication#choose-who-can-sign-up).
Related topics