How it works
Automatically send emails and notifications based on your workflows. This is useful for confirmations, reminders, receipts, and more. Four email services are supported:Custom SMTP notifications is available on the Enterprise plan. Learn more here.
Each email sent from your published app uses 1 credit. Emails sent from the editor are free. See How credits work.
How to automate with email providers
The quickest way to send emails is using Zite’s built-in option, ideal for testing or internal apps. You can also connect your personal, Gmail, or Outlook account to send messages from your personal or work email.1
Choose email provider
In the chat box, request your app to be integrated with Email or click the 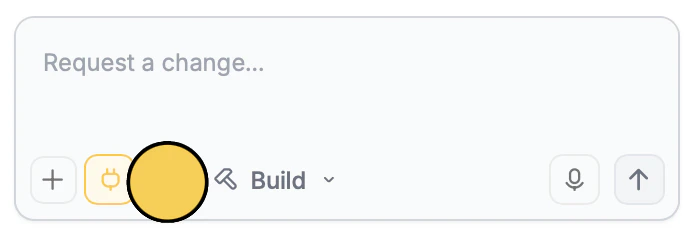
plug icon .Email followed by your preferred email provider (Zite, GMail, or Outlook). If you choose Gmail or Outlook, you’ll be prompted to sign in to your account.For Custom SMTPs, check this section. 2
Enter your use case
In the chat box, tell Zite how you’d like to use email in your app. For example, we’ll send an email when events are booked.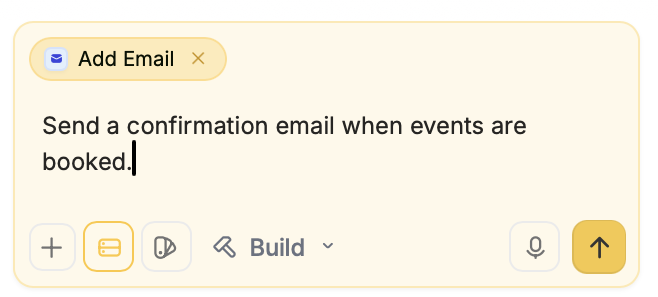
3
Customize email (for Zite emails)
Once Zite completes the integration, you’ll be prompted to 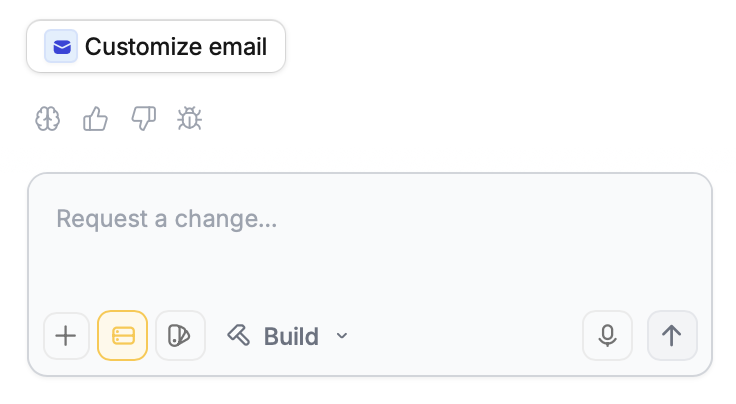
Customize email using a pre-created template.Edit email body. Click here to see all custom options.4
Test
Click 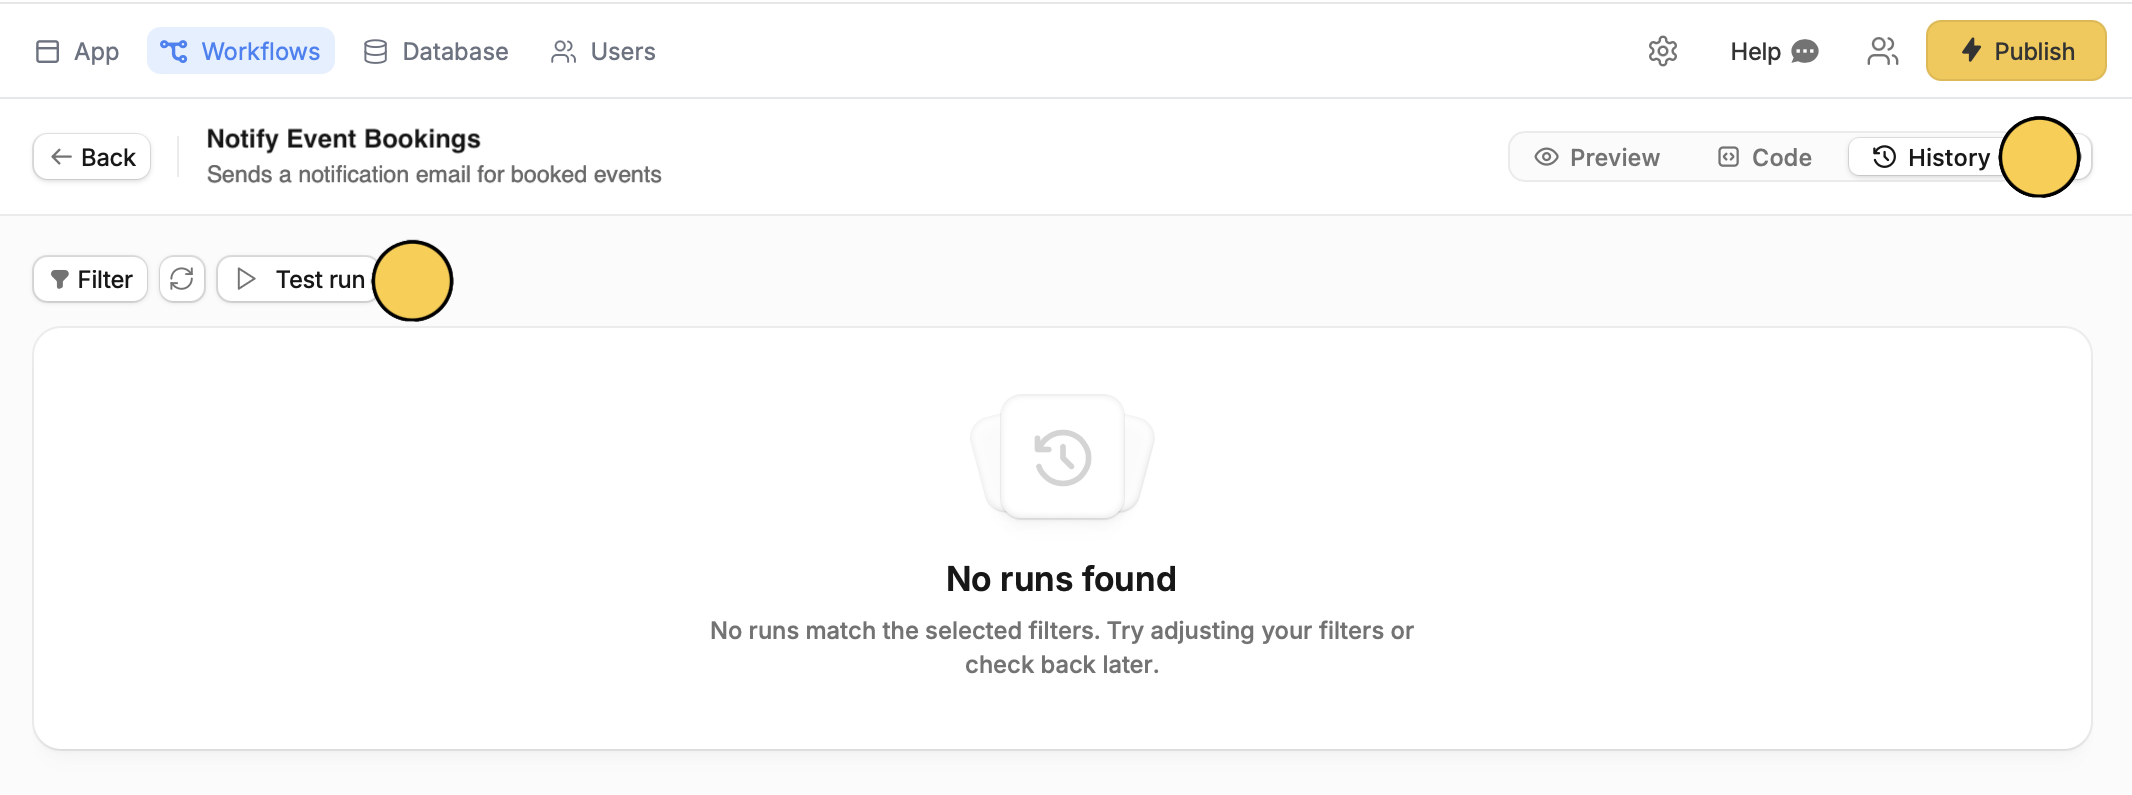
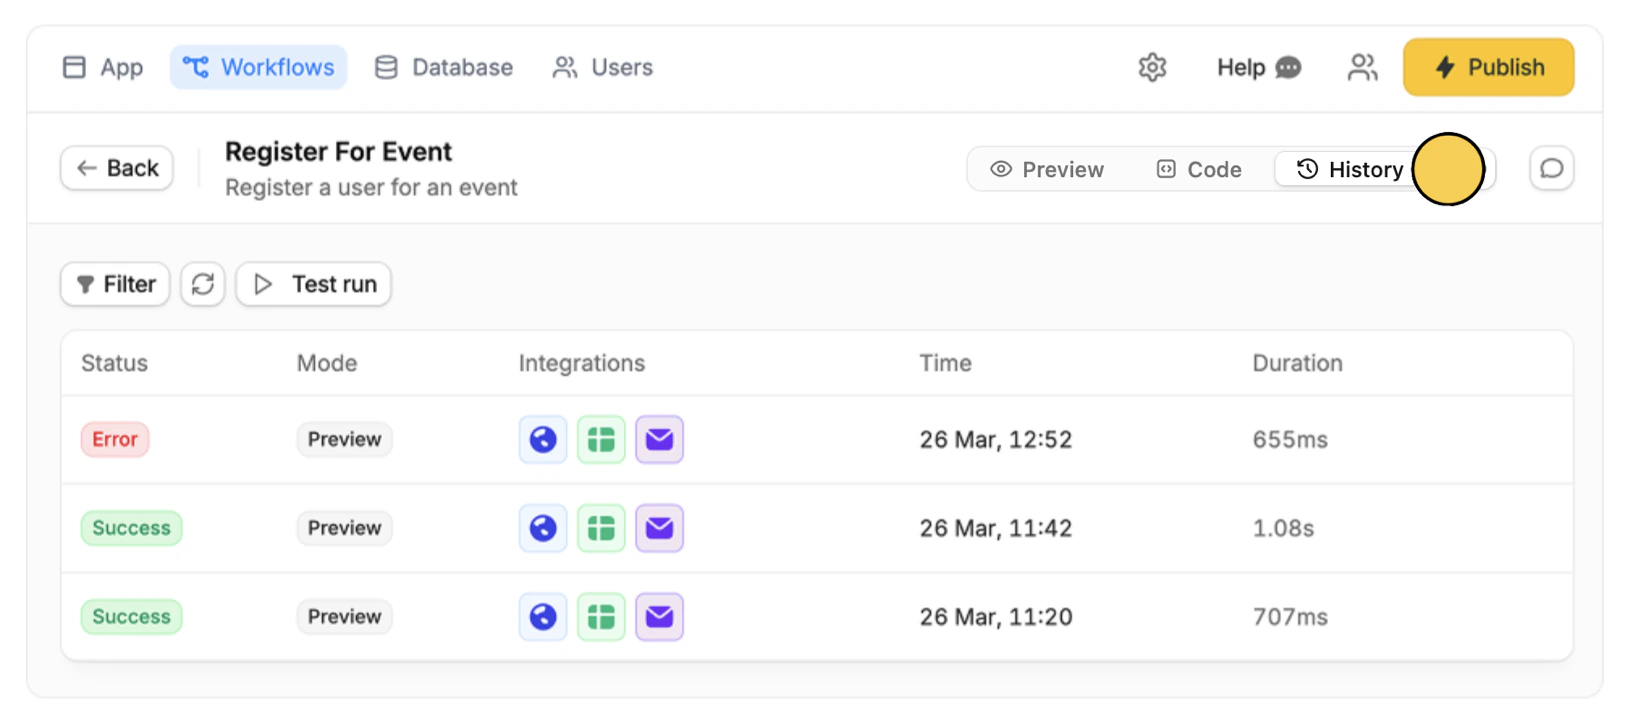
Workflows on top and select your email workflow. Then, click History followed by Test run. Customize your email
Aside from the custom email button that shows up during connection, you can access the email editor from theWorkflows page (top) by selecting the email workflow.
This feature is only available for Zite mails. To customize the format of your Gmail or Outlook subject and contents, send a request in the chat.
- Edit the recipient email or use a dynamic email field
- Edit the default subject and body
- Change font weight, add bullets, and more by highlighting text
- Insert dynamic data like name and preferences (orange tags) to personalize email by typing or clicking @ and selecting a field
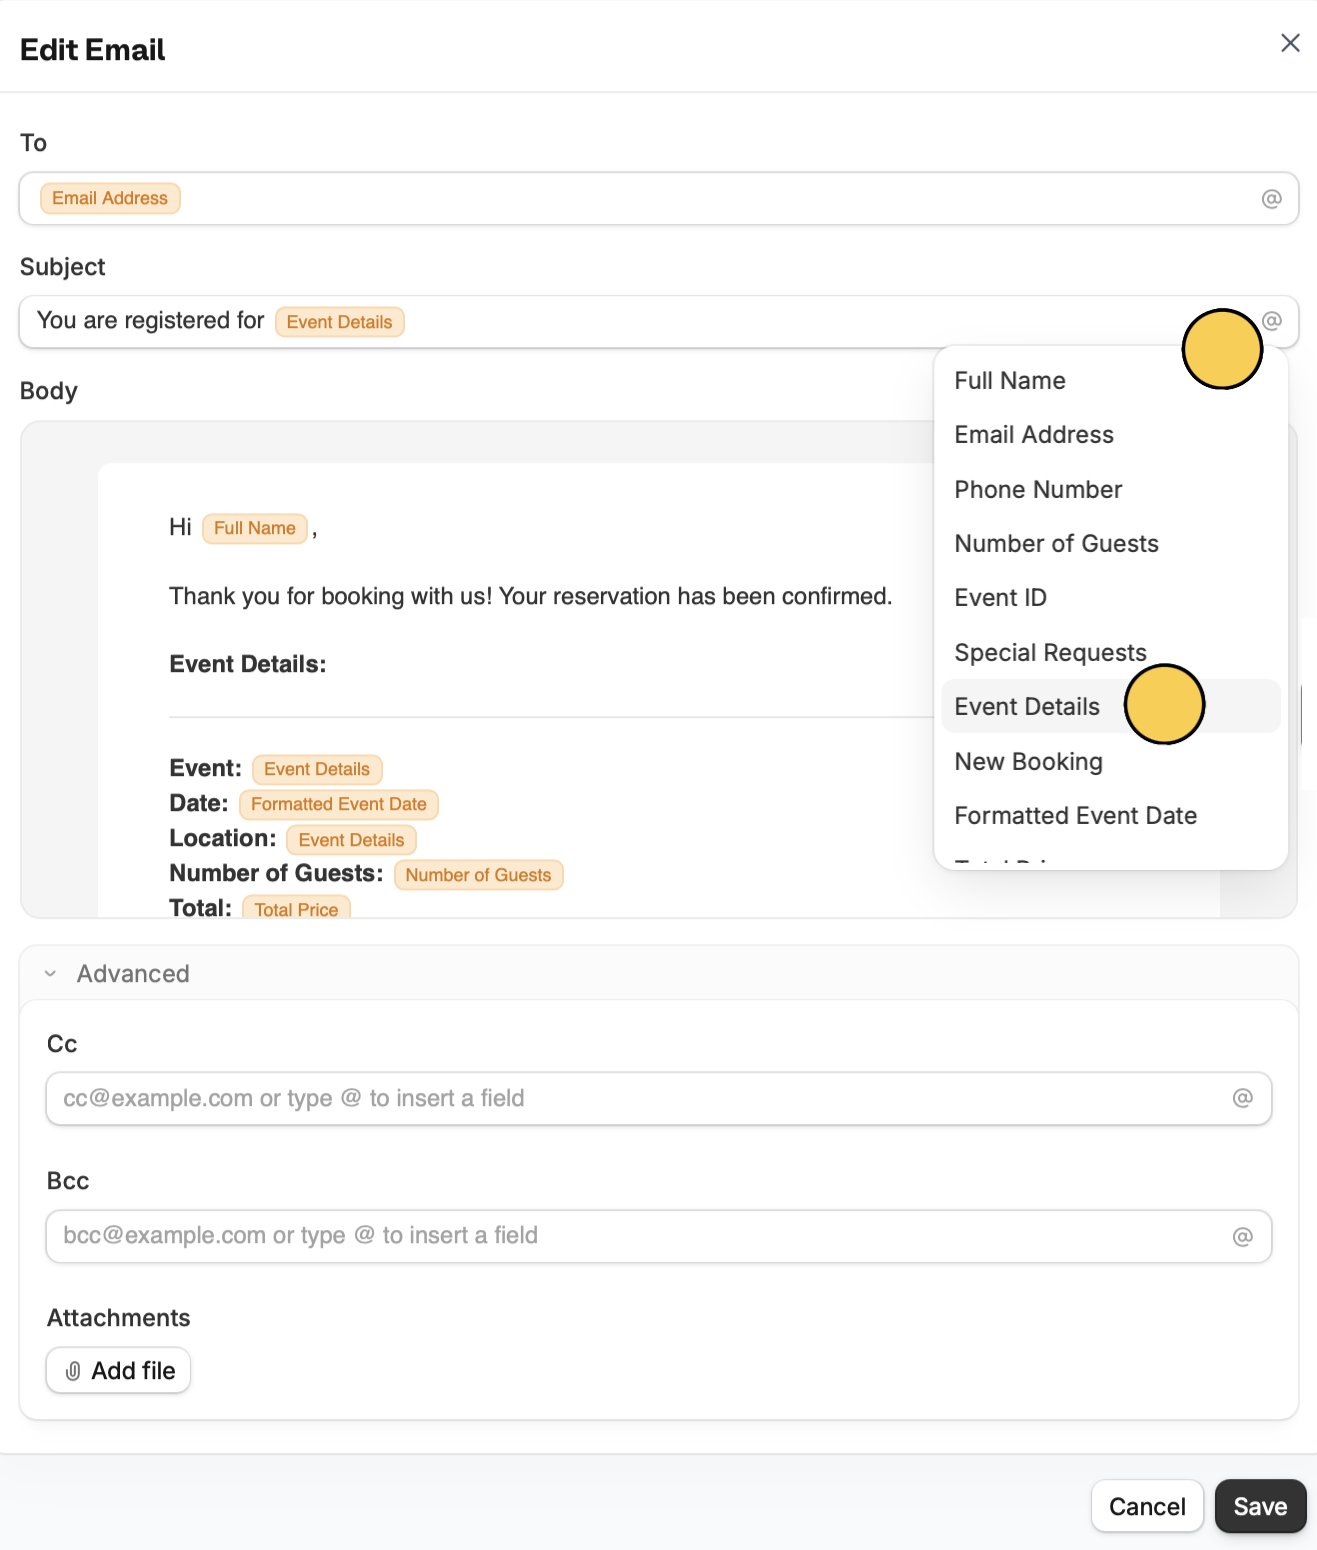
- Add recipients to CC and BCC under Advanced
- Add files and a logo (on top of the body)
- Customize button text, alignment, and URL
Can’t find the field or information you want to display in your custom email? Simply prompt Zite to add it.
integrations, and link a new Gmail or Outlook account. For SMTPs, you will need to make edits on your provider’s website.
How to automate via SMTP
You can also connect to SMPT providers such as SendGrid, Loops, Mailgun and others. This is best suited for scalable, high-volume or production email and is recommended for public-facing apps.1
Choose email provider
In the chat box, click followed by 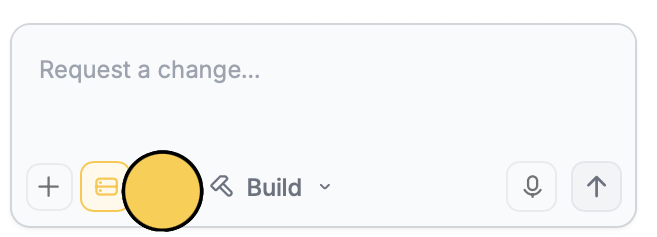
Email.SMTP. In this example, we’ll use SendGrid as our host. 2
Generate API Key
To fill out the necessary details, let’s go to our SendGrid dashboard. Click 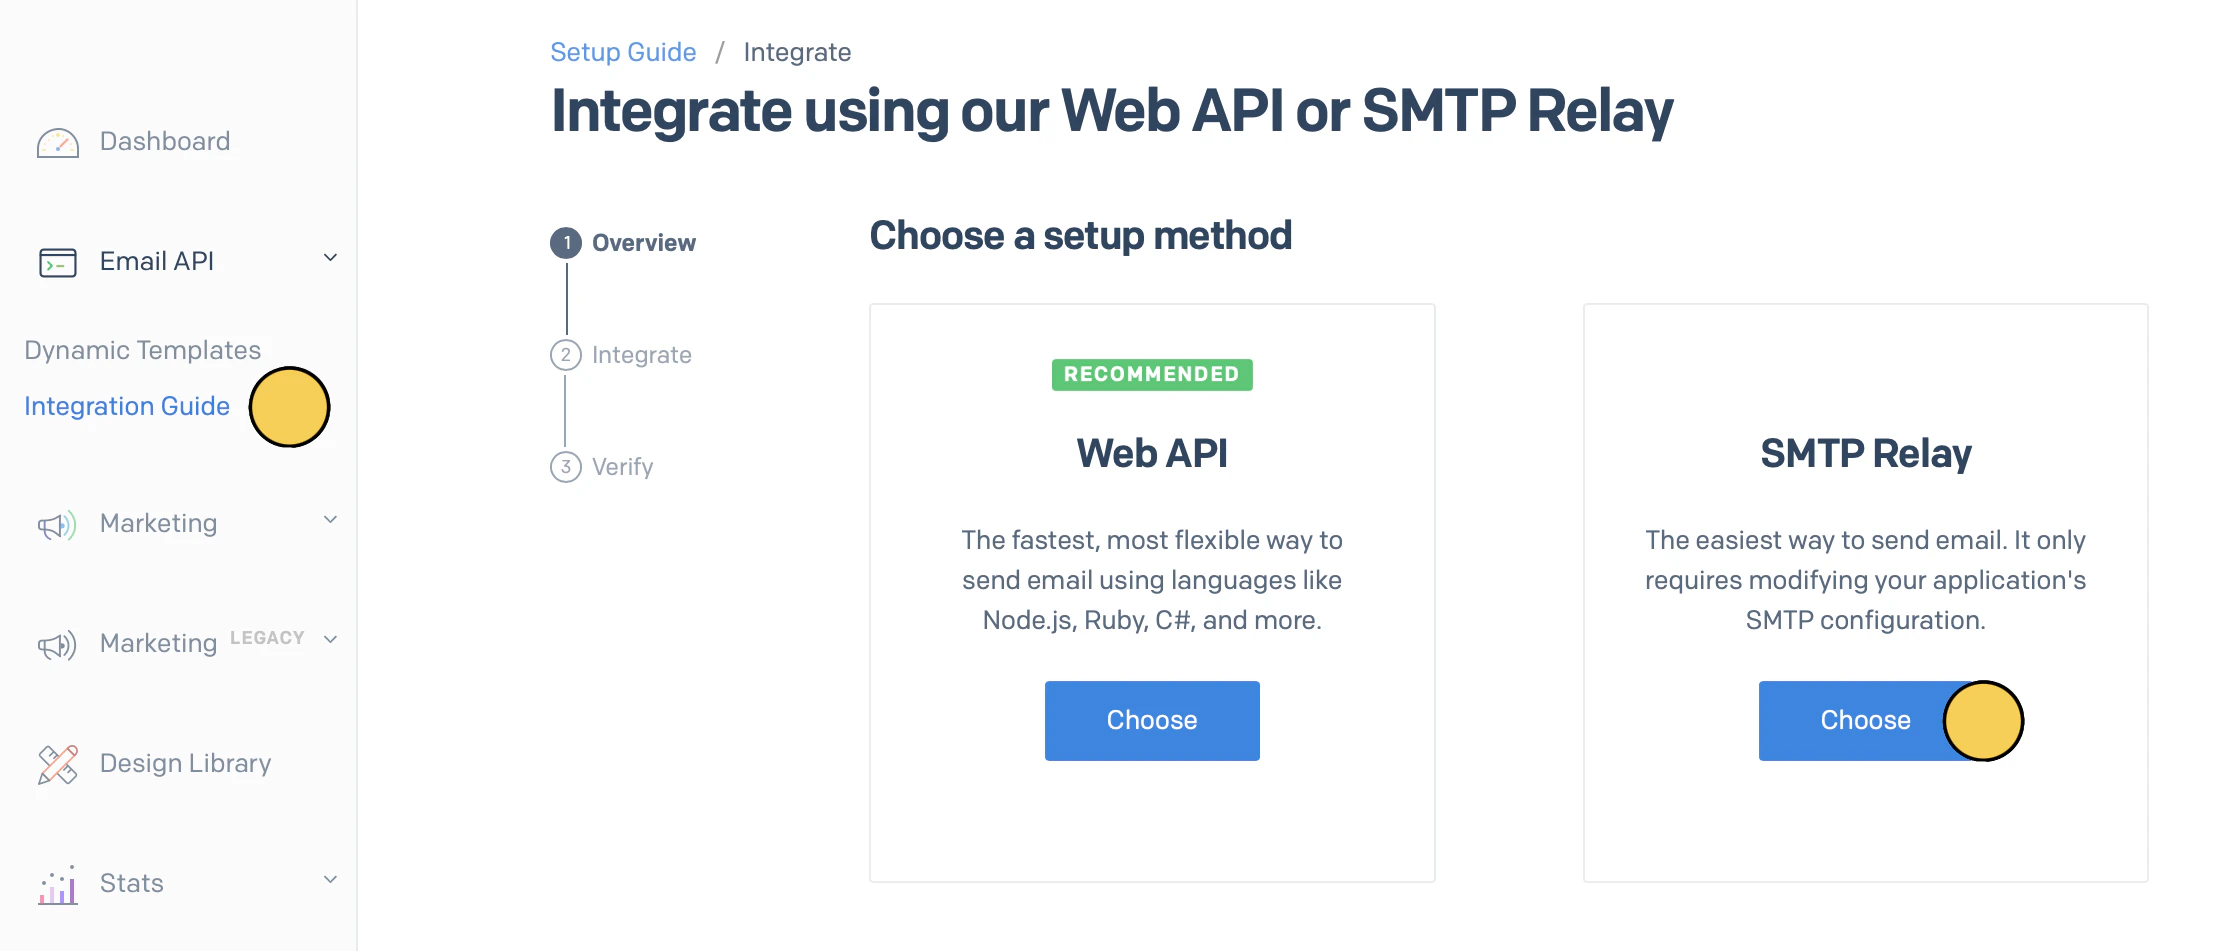
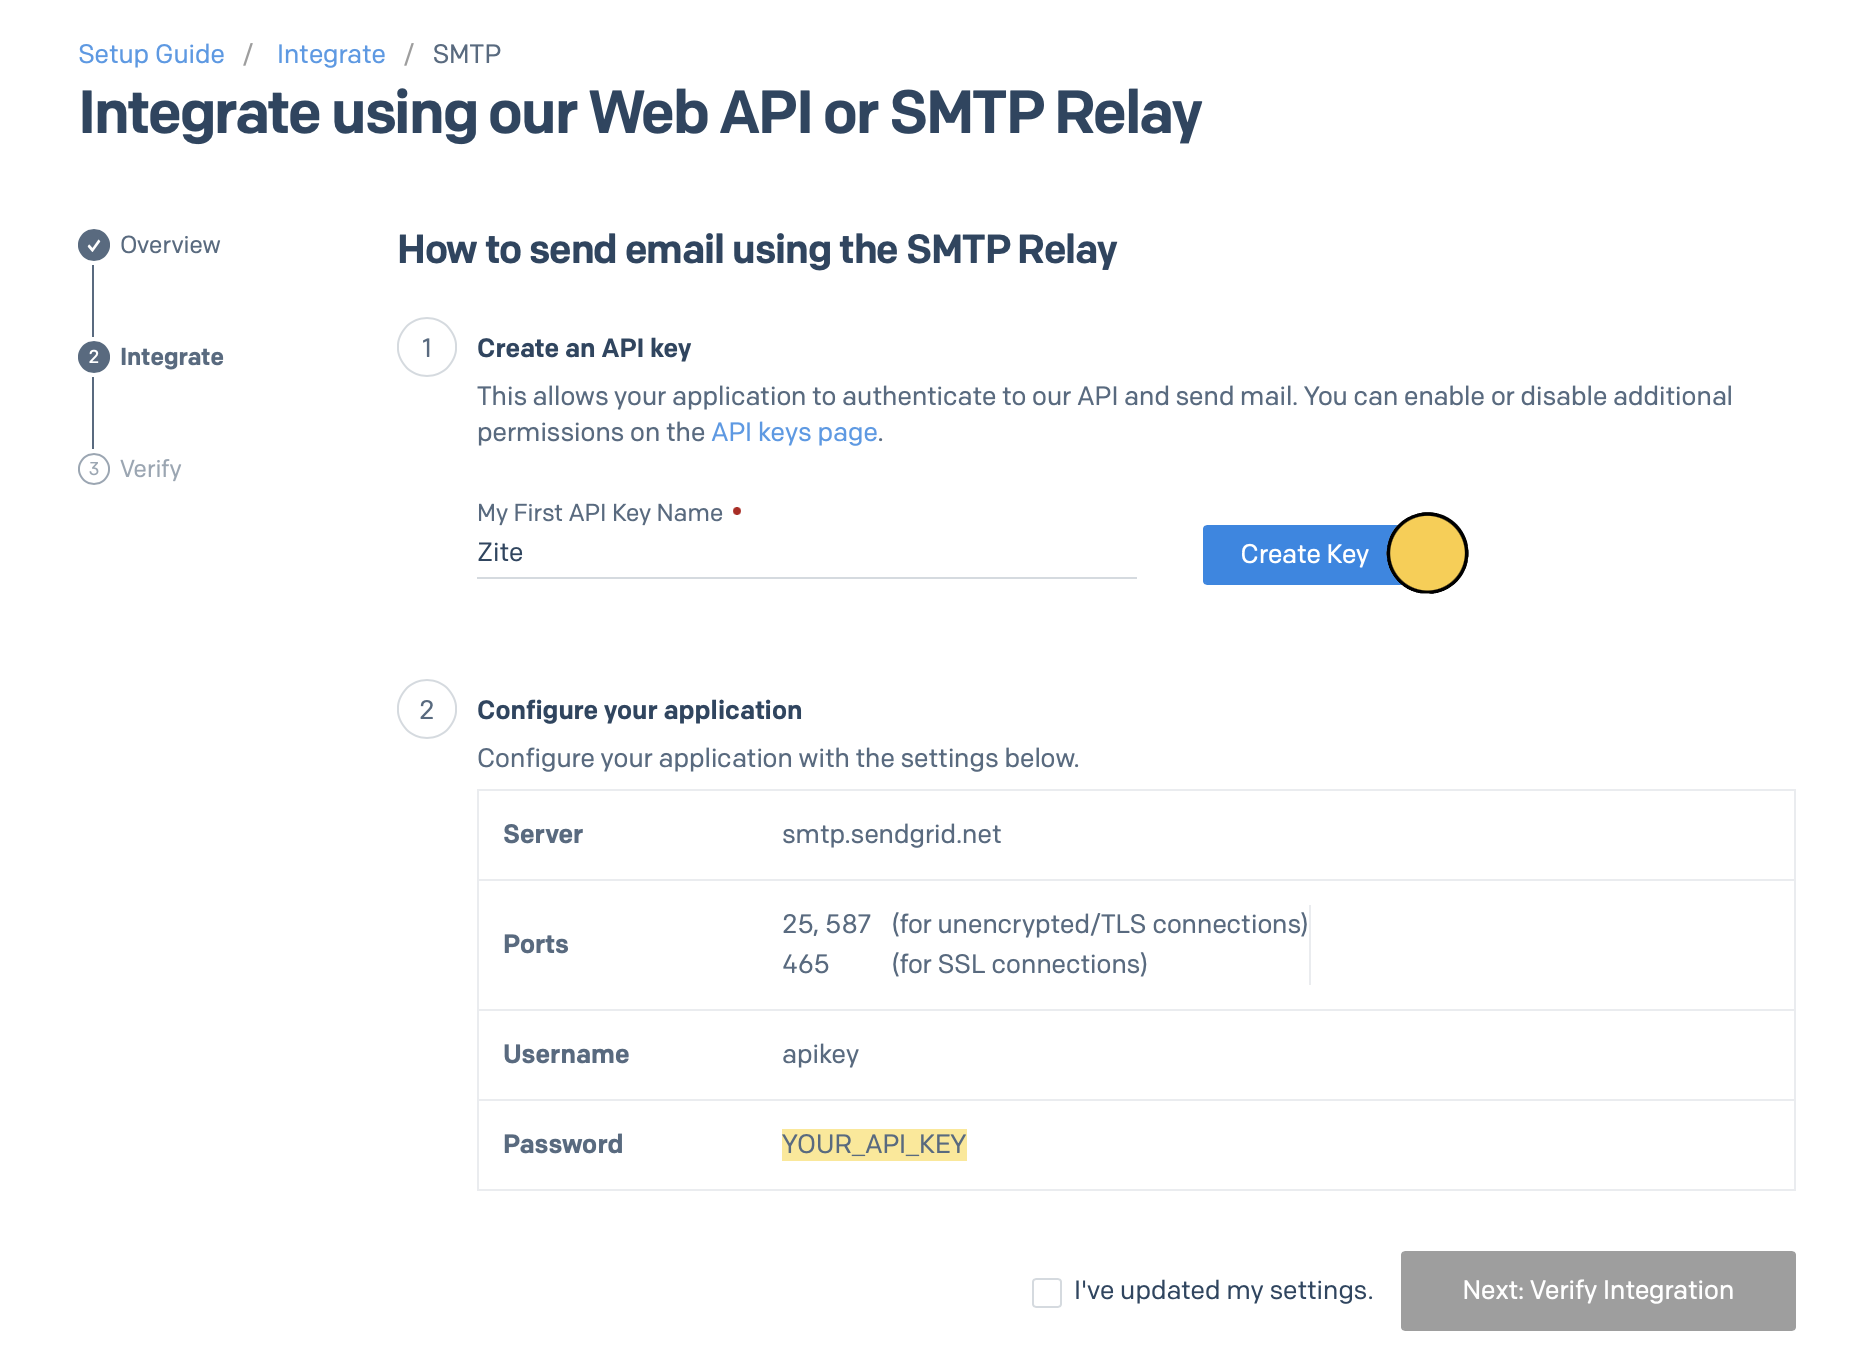
Email API on the left-hand panel followed by Integration guide. We’ll choose SMTP Relay.Create Key.- Username: apikey
- Password: sendgrid-api-key
- Host: smtp.sendgrid.net
- Email address: greg@zite.com (the email sender)
- Security protocol: TLS (recommended)
- Port: 587
3
Configure SMPT
Go back to Zite and paste the details from number 2.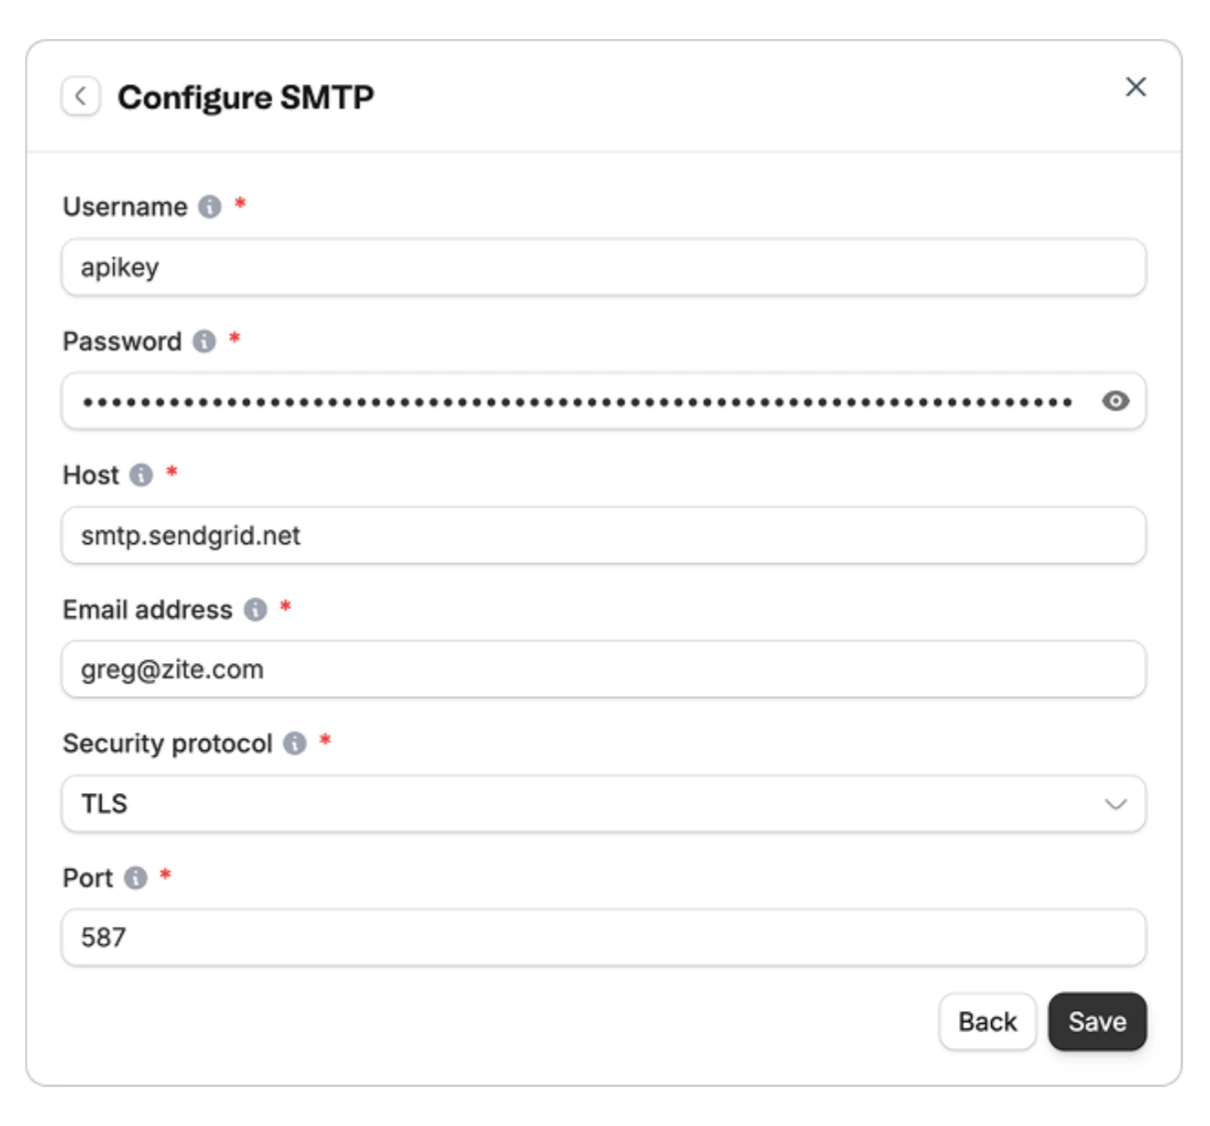
Troubleshooting
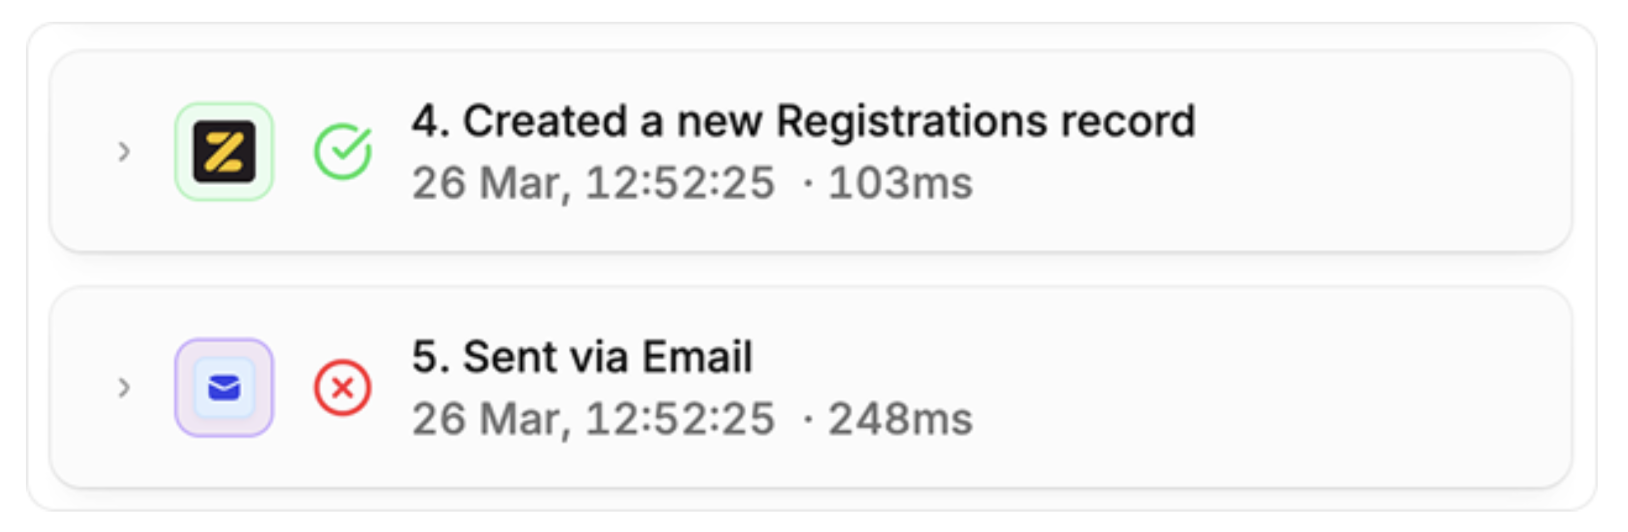
If your email did not arrive, clickWorkflows on top followed by your email workflow. Then, go to History.