Overview
When your app is shared to the web, you can require users to sign in before accessing it. Zite handles authentication for you — no custom login code needed.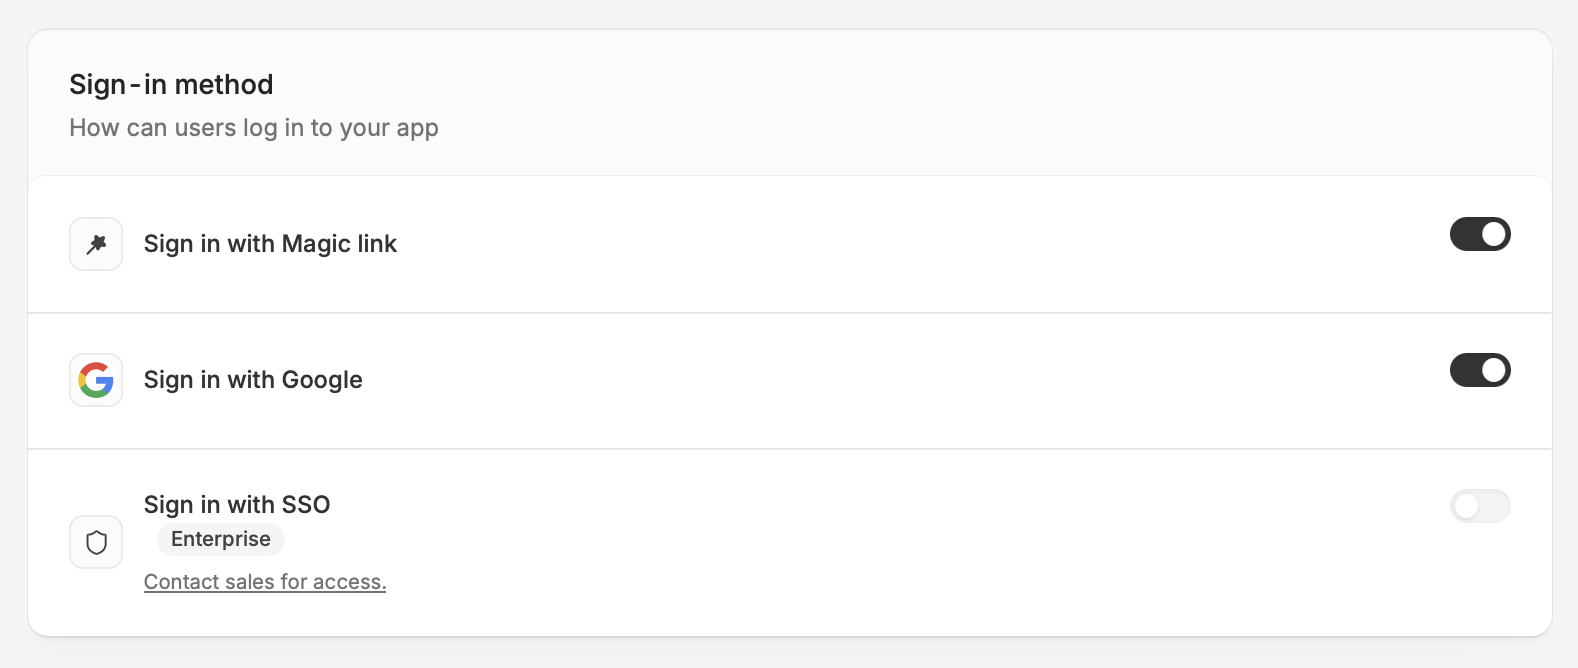
Set up authentication
1
Share your app to the web
If you haven’t already, enable Share to web.
2
Add login
Click 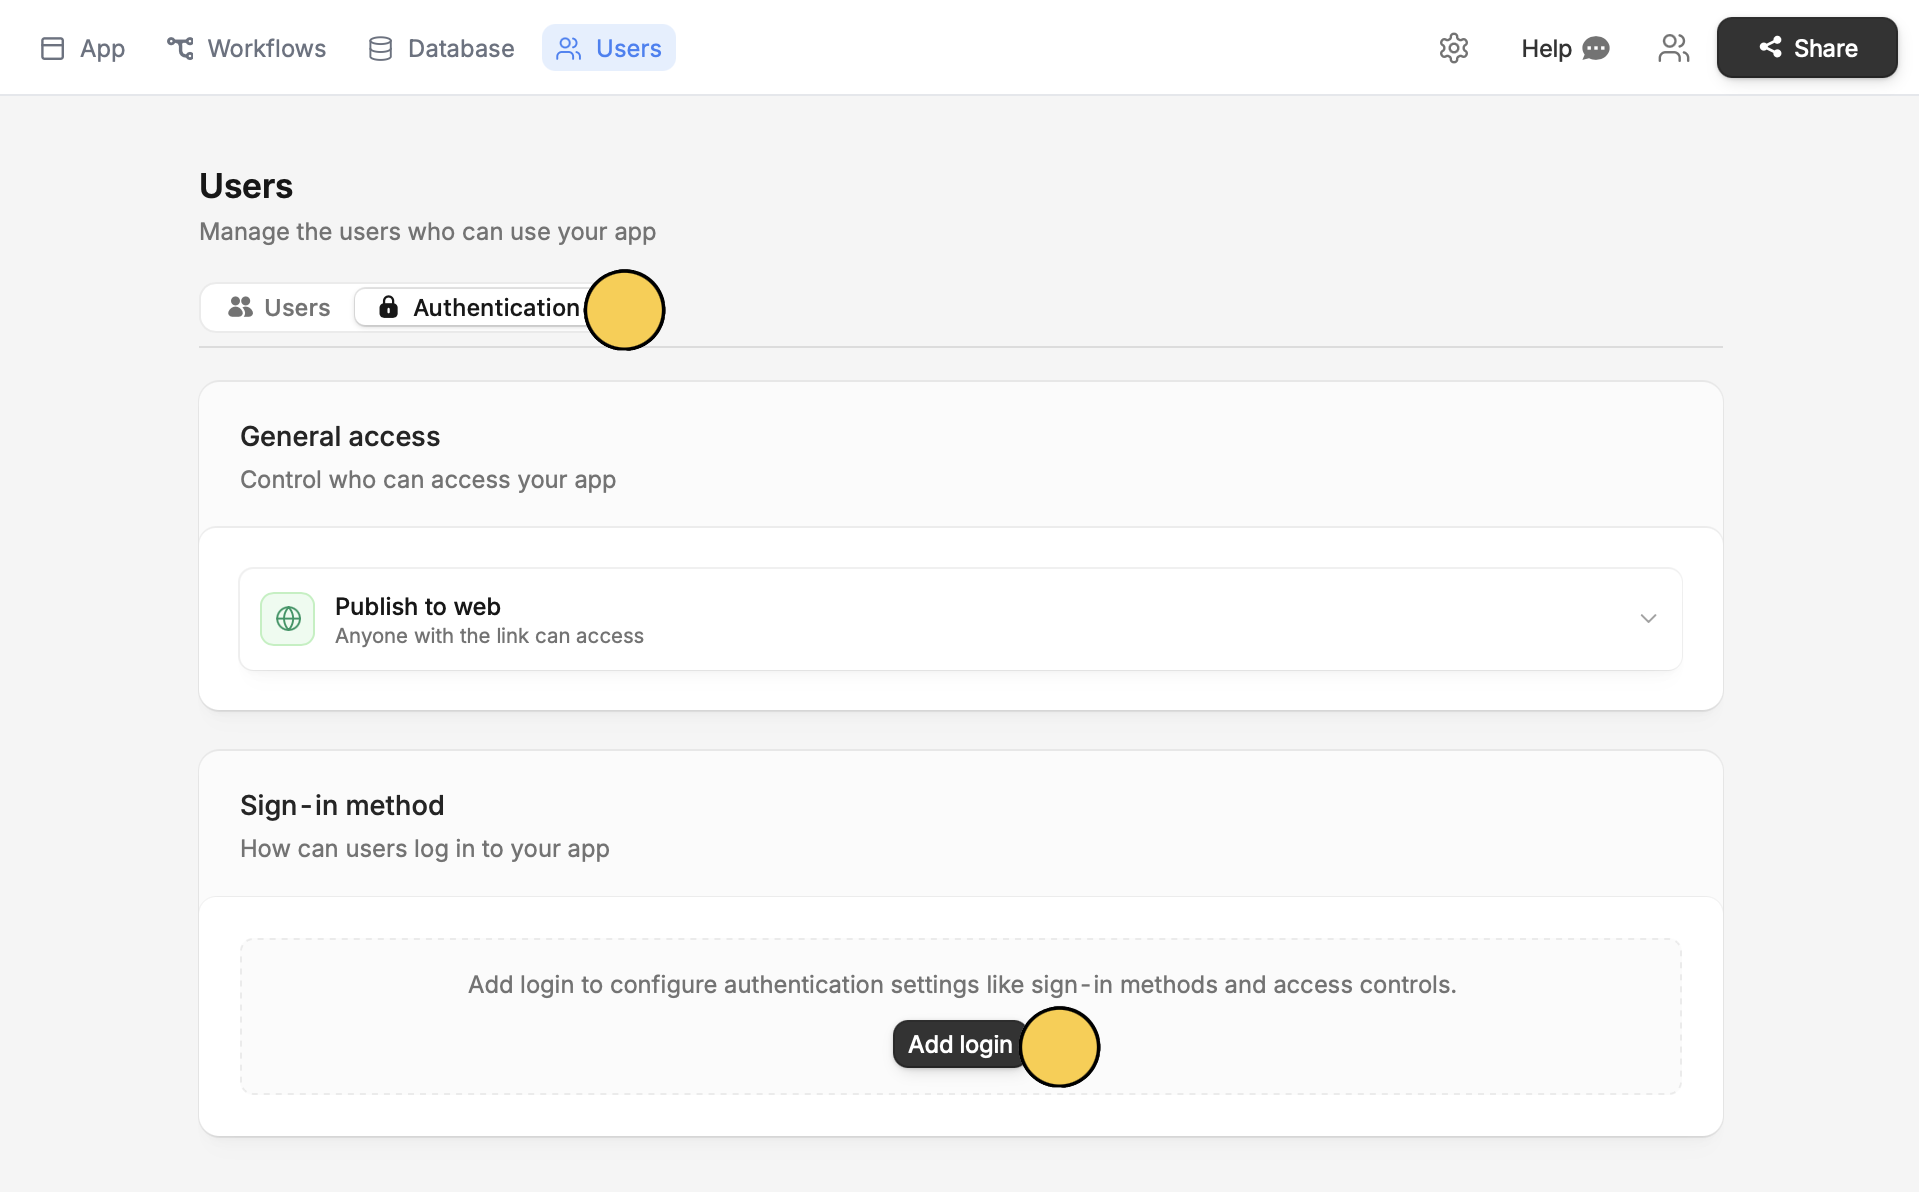
Users on top followed by Authentication. Then, click Add login.3
Configure sign-in methods
Choose which methods to enable: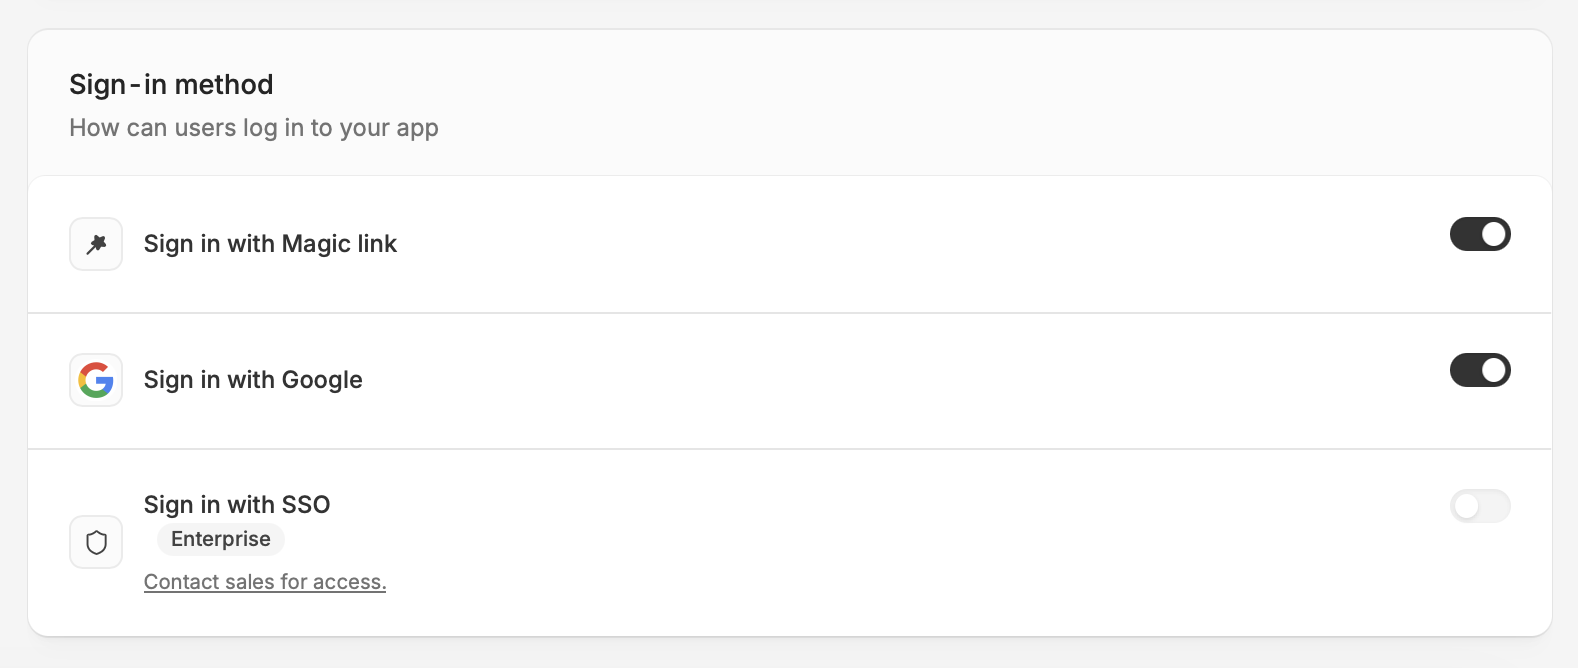
- Magic link — users receive a sign-in link via email (valid for 10 minutes)
- Google — users sign in with their Google account
- SSO — Users authenticate through your organization’s identity provider. Learn more.
4
Choose who can sign up
Scroll down to see the Who can sign up? section. Then, select one of the following: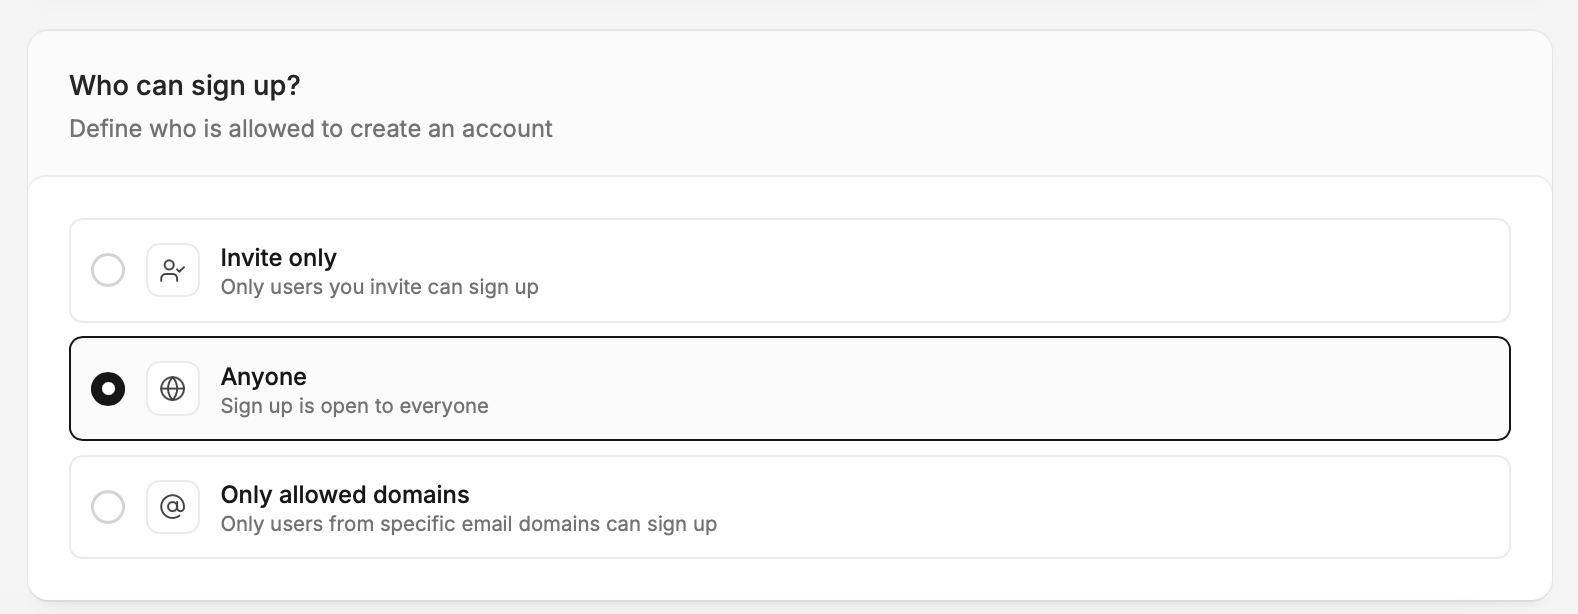
- Invite only (default) - only users you explicitly add can sign in
- Anyone - anybody who visits your app can create an account
- Only allowed domains - only users from specific email domains (e.g., example.com) can sign up
5
Publish and deploy
Click
Publish on the upper right corner to reflect the changes, then share your app.Customize magic link emails
Magic link emails can use your app’s branding and sender settings. This helps the sign-in email feel like it belongs to your product or organization instead of looking like a generic system email.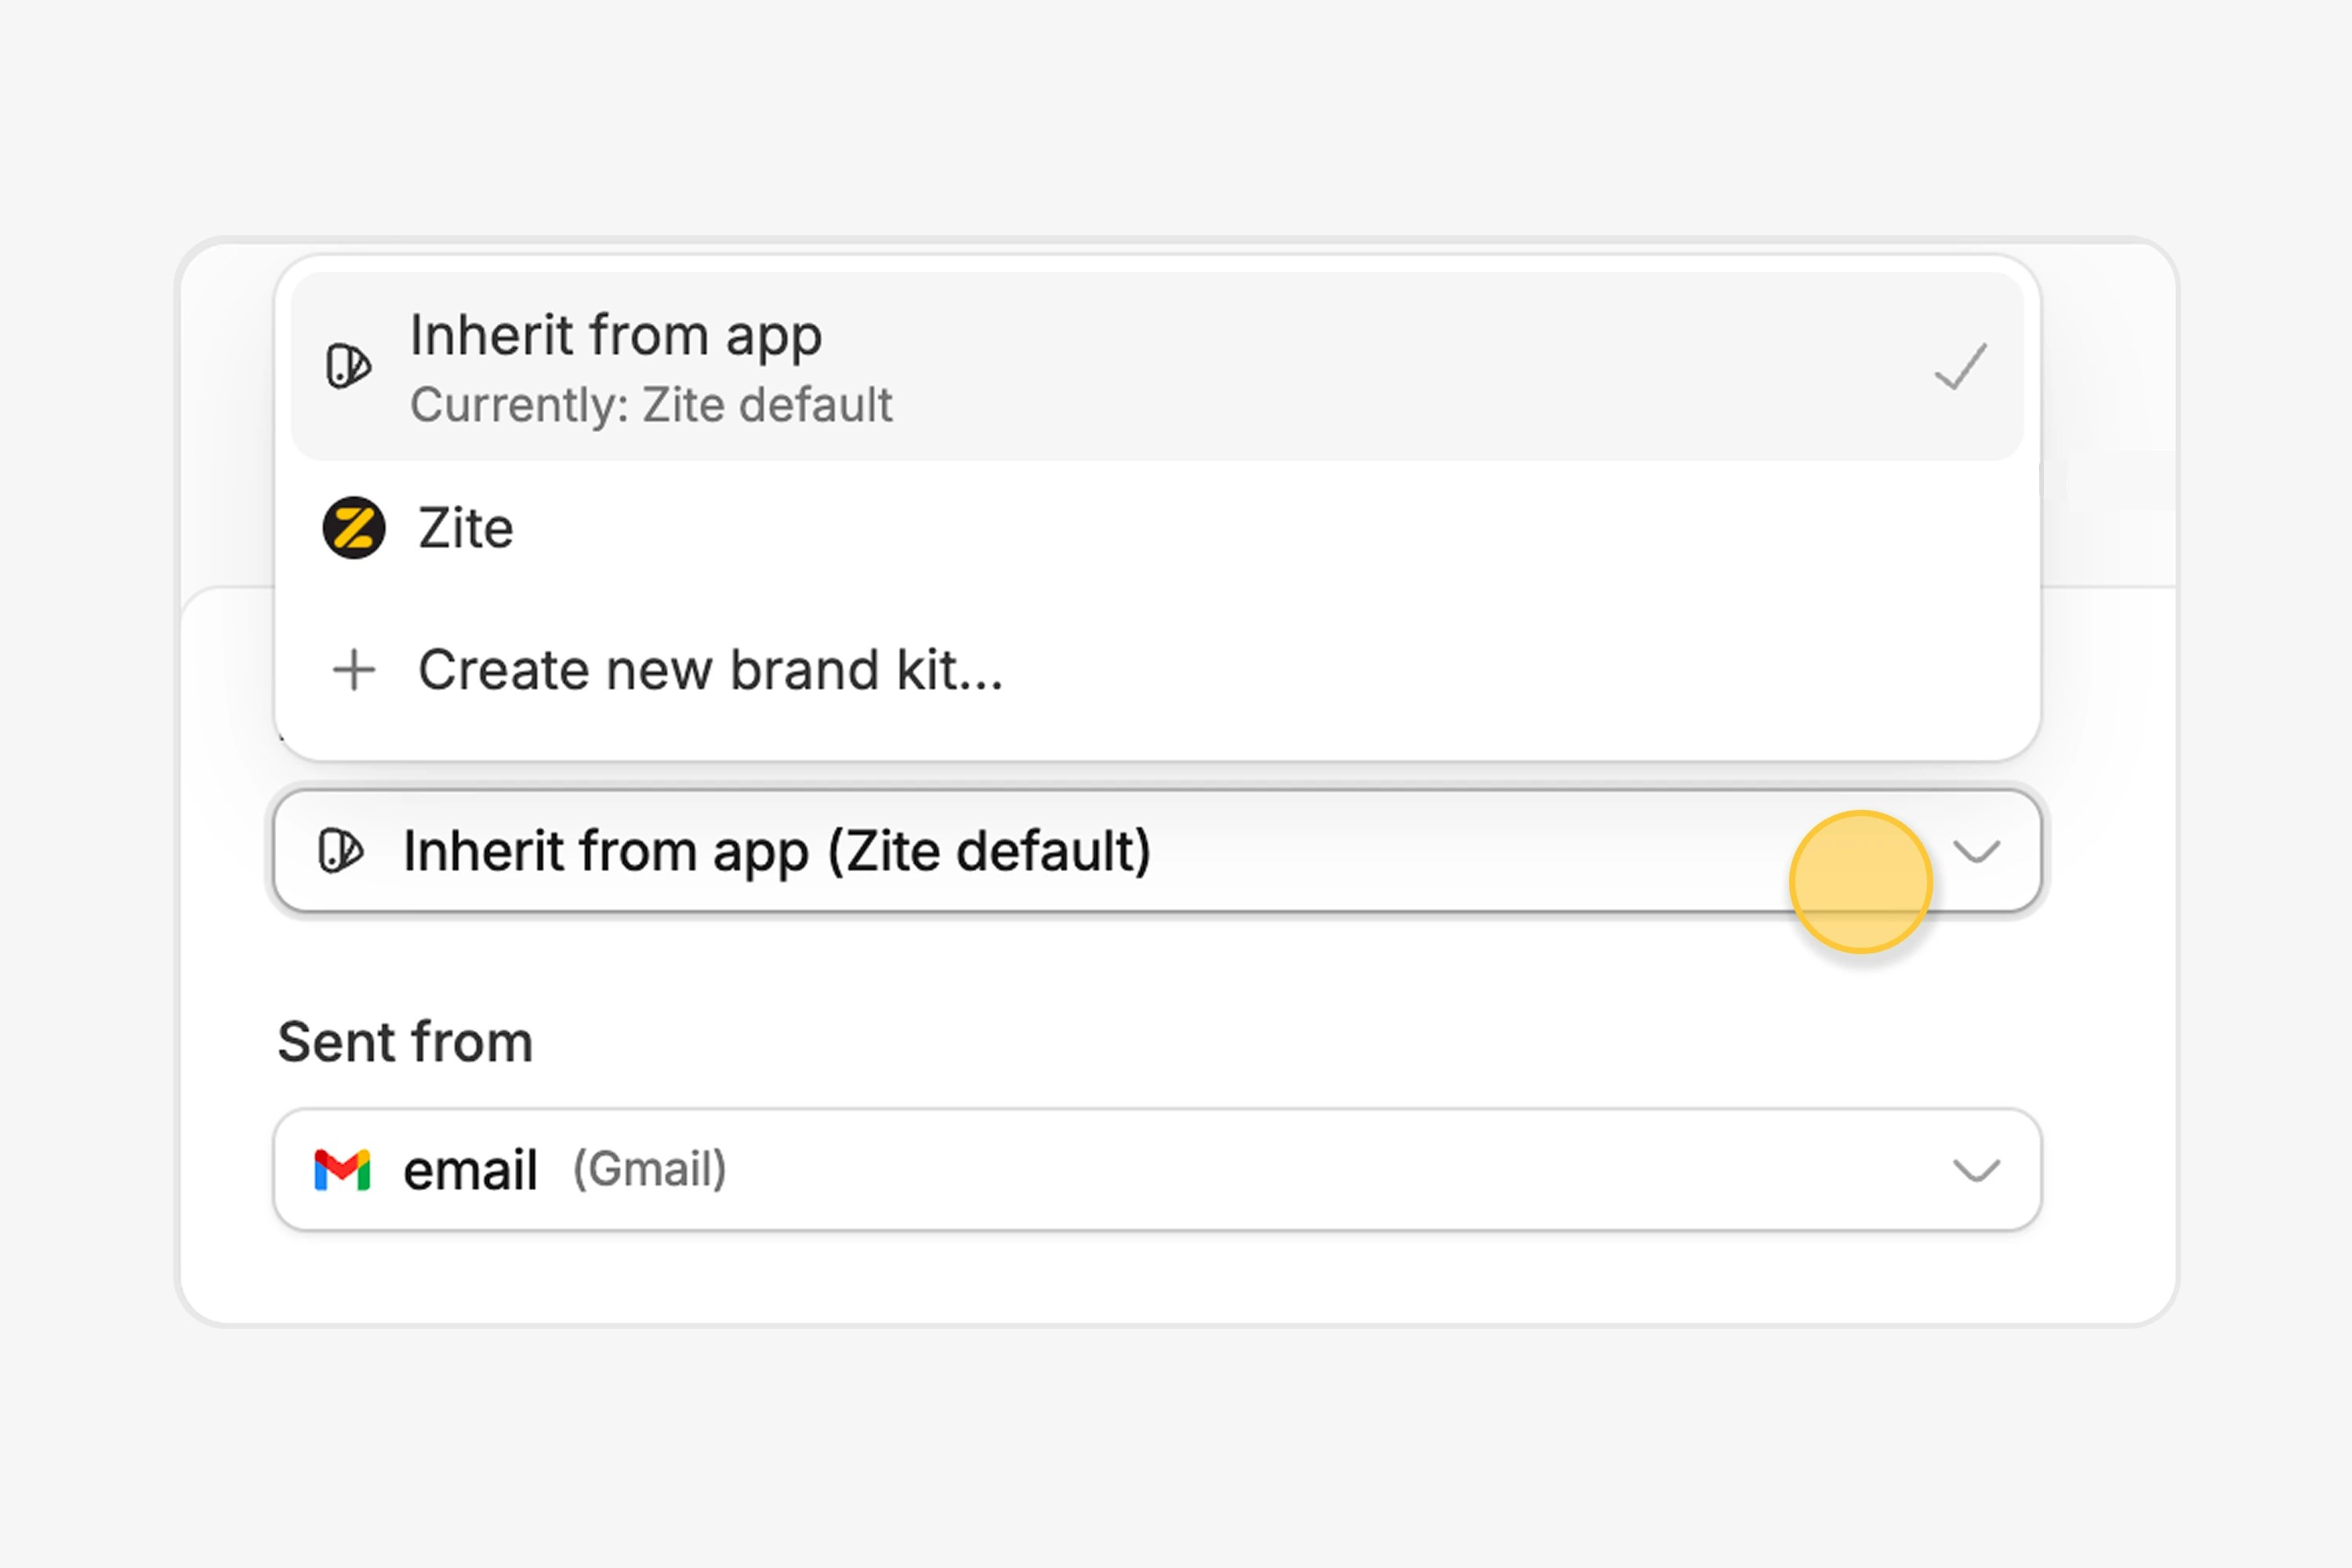
- Avatar and branding - inherit branding from the app, use Zite’s default branding, or apply a brand kit. If your brand kit includes a logo, it can be used as the avatar in the magic link email.
- Sender email - send from the default Zite email address, Gmail, Outlook, or a custom SMTP address.
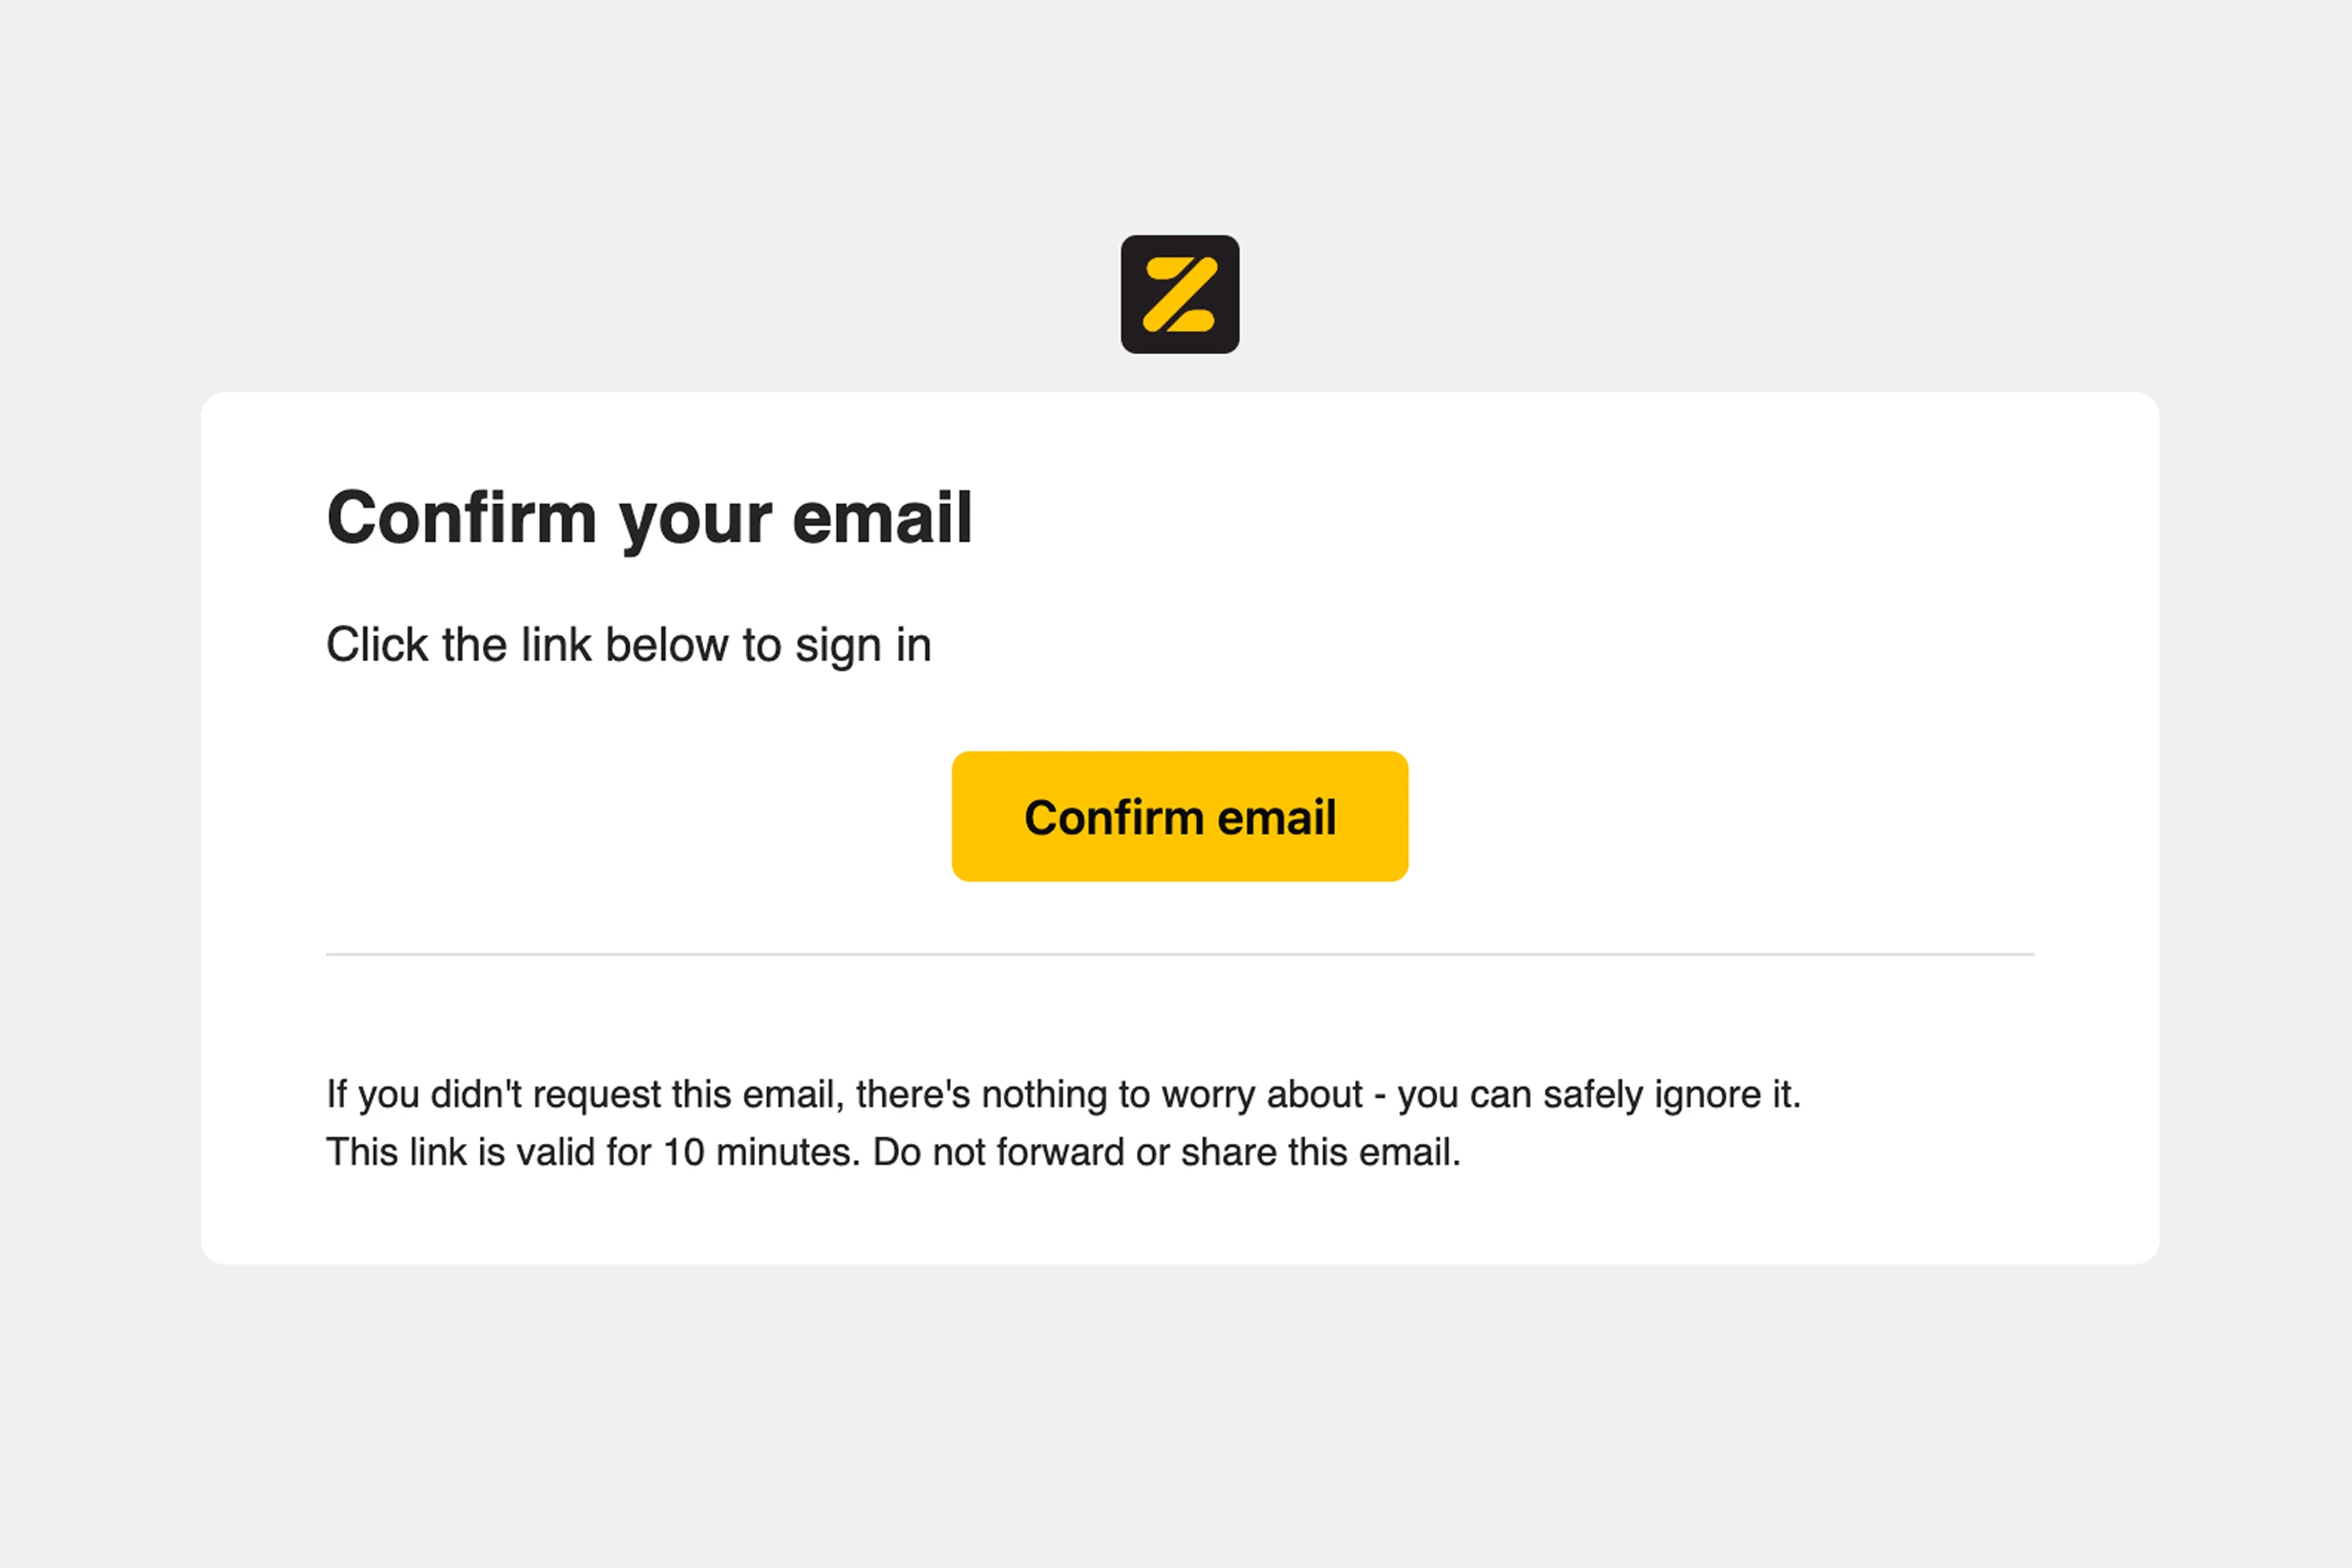
Branded magic link emails are available on Business, Team, and Enterprise plans.
Manage users
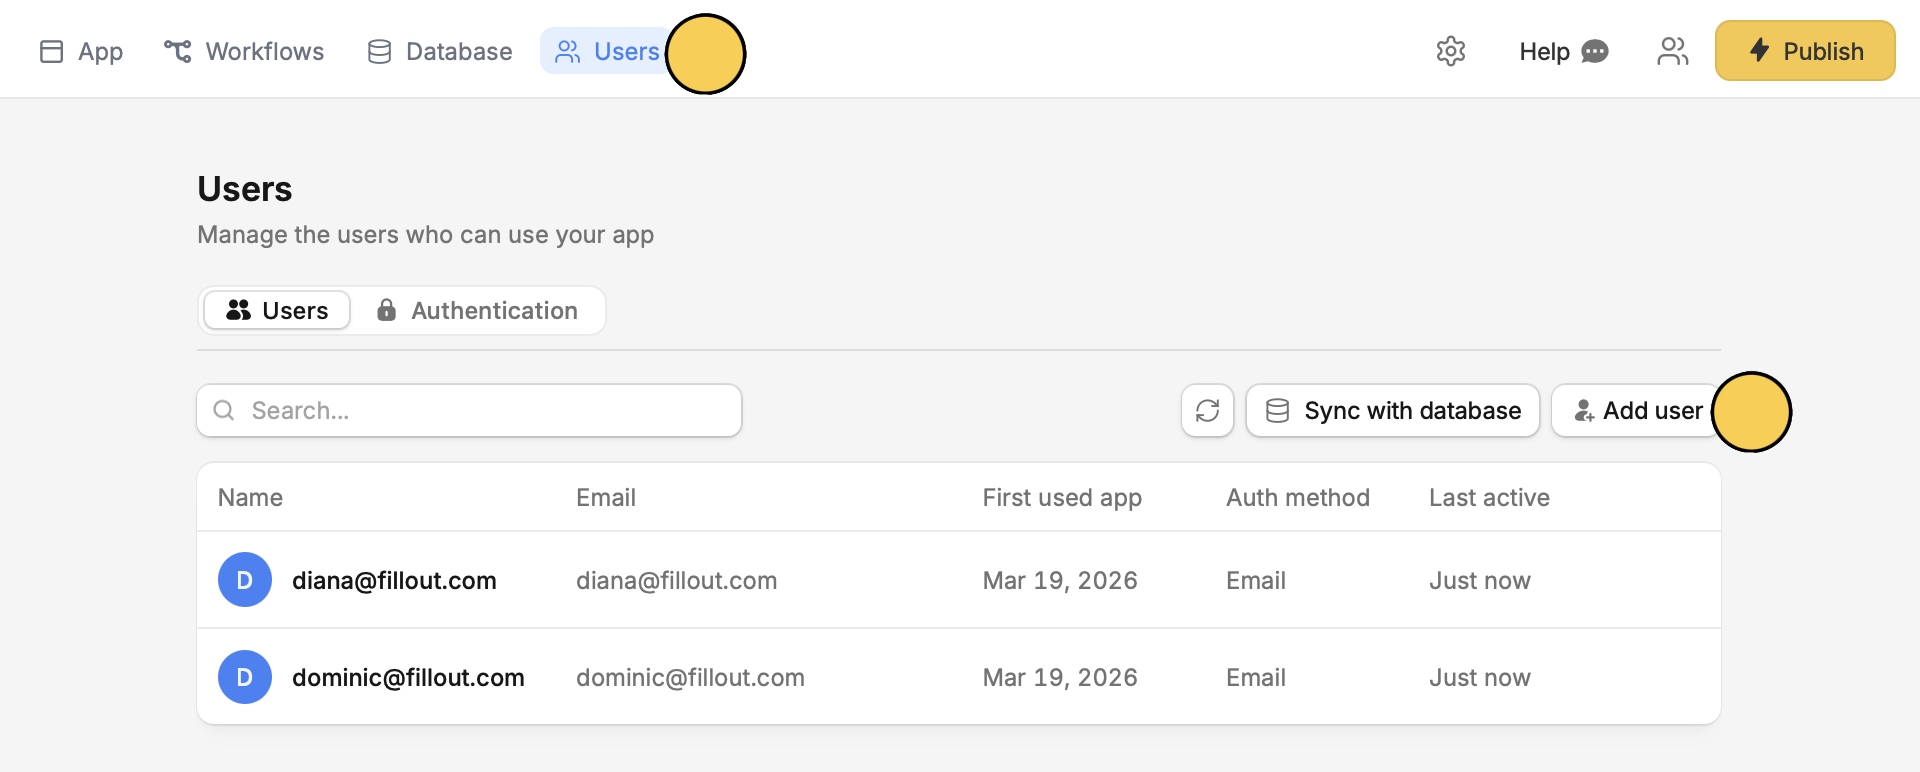
If you have a login page, you can specify a list of people who are allowed to use your Zite app. ClickUsers on the top nav bar followed by Add users.