
Tracking business expenses well comes down to a handful of habits done consistently. I've set up this process for several small businesses, and the ones that stick with it follow the same pattern. Separate accounts, a simple category list, and ten minutes a week beat a scramble every April.
Here's how to track business expenses step by step. You'll also see the mistakes that cause the most trouble at tax time, plus what to automate once manual tracking stops working for you.
Why tracking expenses matters beyond tax season
When done consistently, tracking expenses shows you where your money goes each month and catches billing errors and duplicate charges before they pile up. It also turns tax prep from a multi-day scramble into pulling a report you already have.
In my experience, the businesses that dread tax season are the ones reconstructing a year of spending from memory in March.
What you'll need before starting
Gathering a few things first makes the rest of this guide faster to follow. Here's what you'll need:
- A business bank account and card, separate from personal accounts.
- A method to record transactions: a spreadsheet, an app, or accounting software.
- A simple list of expense categories that match how you'll file taxes.
Time required: About 1-2 hours for initial setup, then 10-15 minutes a week to keep it current.
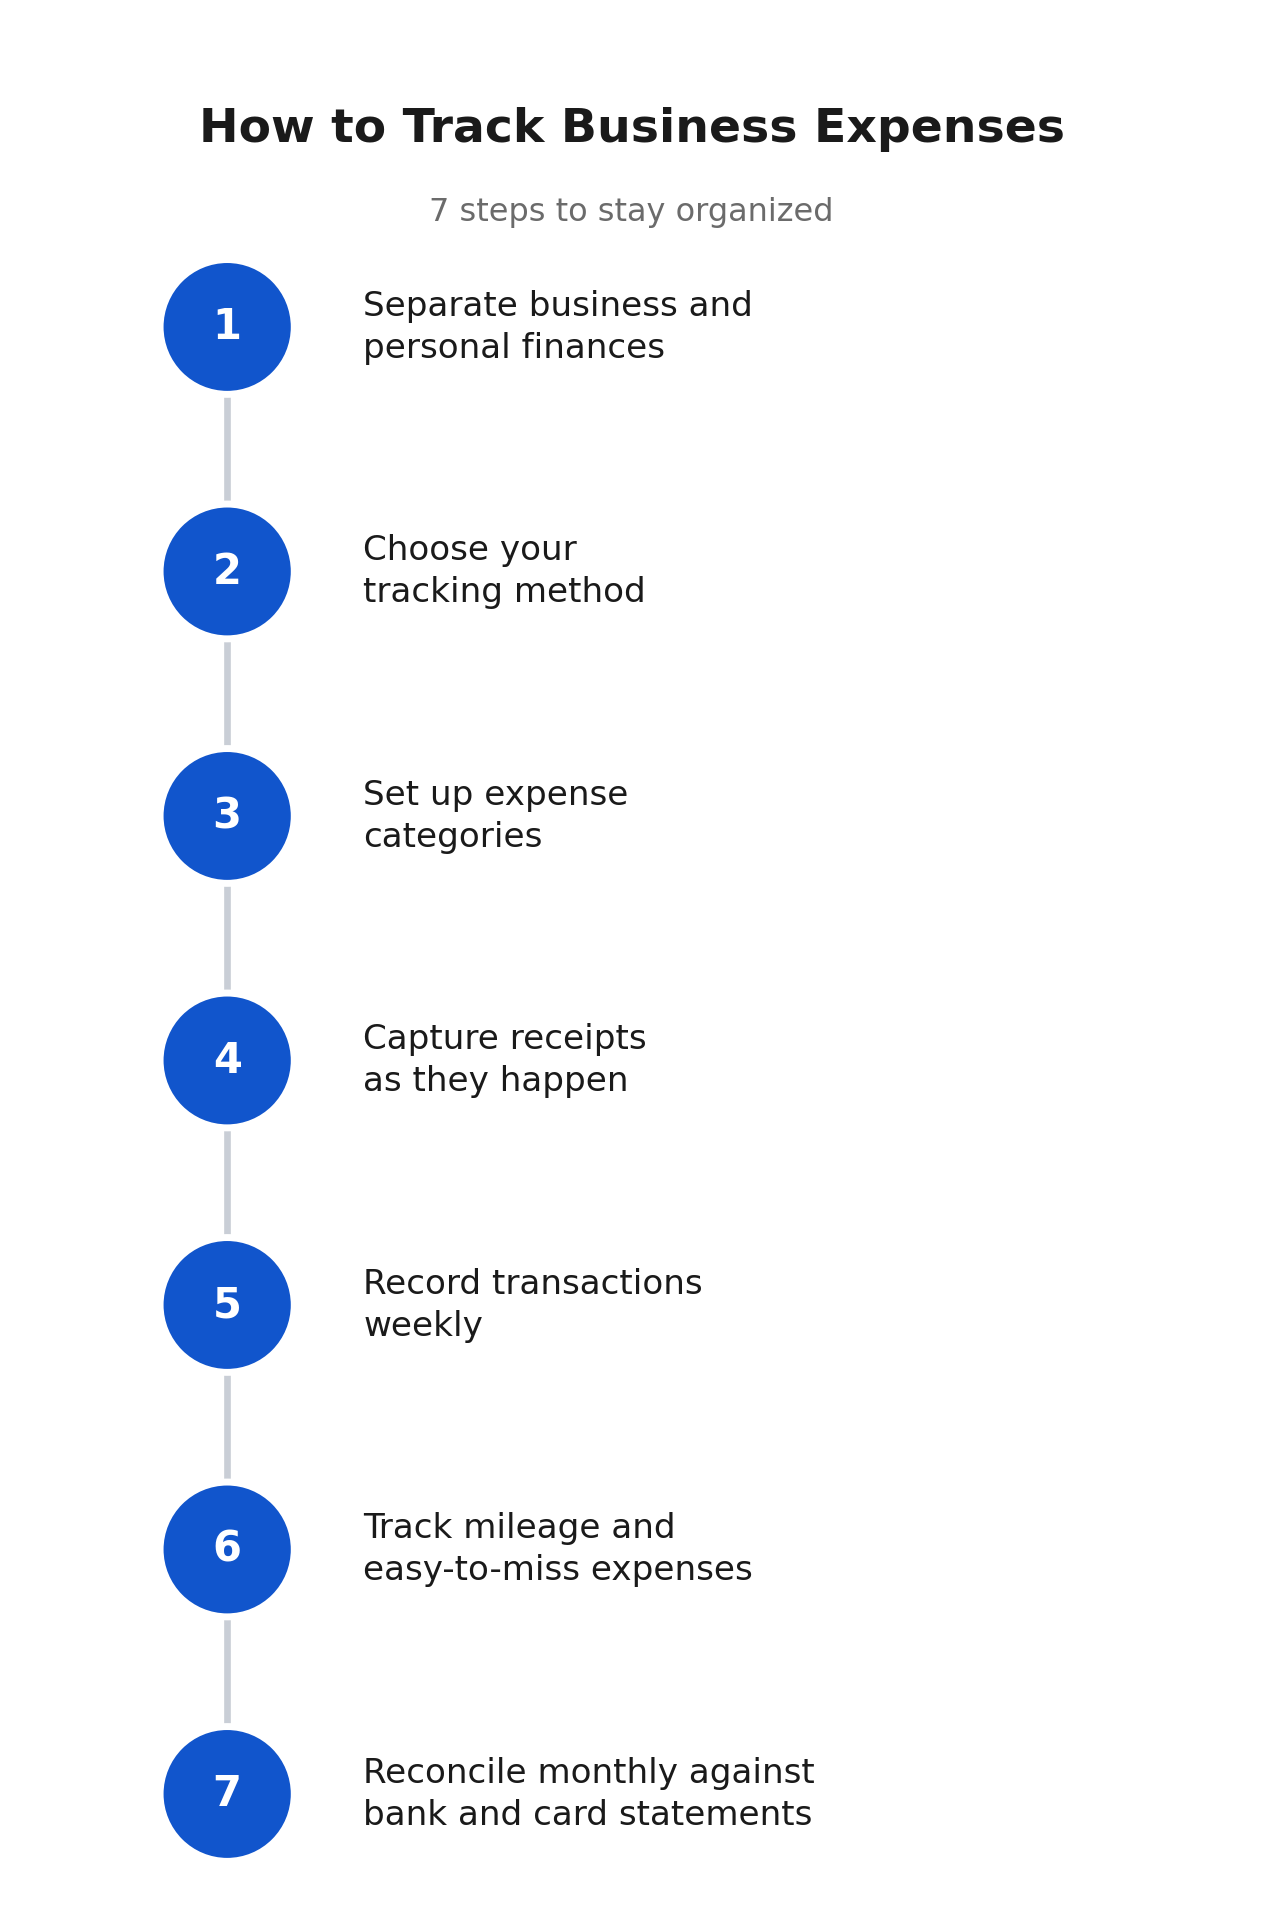
How to track business expenses: step-by-step
Step 1: Separate business and personal finances
Open a dedicated business bank account and card before you track any expenses. Run every business purchase through those accounts, and keep personal spending separate.
This step makes everything after it easier. Mixed accounts mean every review starts with sorting personal from business. That's where tracking systems quietly fall apart.
Pro tip: If you're incorporated as an LLC or corporation, keeping finances separate also protects your liability shield. Commingling personal and business funds is one of the most common reasons courts disregard that protection and hold an owner personally liable.
Step 2: Choose your tracking method
Pick a spreadsheet, a dedicated expense app, or accounting software based on your transaction volume and how much automation you want. A handful of expenses a month works fine in a spreadsheet. Dozens of transactions across a team benefit from software that can automatically pull bank feeds.
Here's where each option tends to fit:
- Excel or Google Sheets: the simplest setup, and enough for a handful of transactions a month.
- Expensify: built around receipt capture and expense reports, a fit once a small team submits expenses regularly.
- Ramp: pairs a corporate card with automated categorization, worth a look if a card program is part of the plan.
- QuickBooks: full accounting software, the right layer once expenses need to flow into broader bookkeeping, not just get logged.
This spreadsheet vs database comparison is worth a look if you're weighing which structure fits.
Don't over-tool this early. A well-kept spreadsheet beats an expensive system nobody updates.
Most small businesses track expenses on a cash basis, recording each one when it's actually paid. Accrual accounting records expenses when they're incurred.
Most small businesses can pick either method, even with inventory, as long as their average yearly sales stay under the IRS threshold. If you're not sure which applies to you, ask an accountant before building your system around the wrong one.
Step 3: Set up expense categories
Build a simple category list before you start logging transactions, matching how you file these expenses on your taxes. Think advertising, contract labor, insurance, office expenses, supplies, rent, travel, meals, and utilities.
Keep the list consistent year over year. Changing categories partway through the year makes it much harder to compare spending over time later.
Pro tip: When in doubt about which category something belongs in, ask an accountant once and write the rule down. That one decision saves you from having to re-decide it every time the expense recurs.
Step 4: Capture receipts as they happen
Photograph or forward a receipt as soon as you get it, rather than collecting a pile to sort later. An expense app, or even a phone's camera roll with a dedicated folder, handles this well enough.
Receipts matter for two reasons. They back up the deduction if you're ever asked, and paper fades and gets lost faster than expected. For bigger purchases that need approval first, a purchase order tracking sheet records each order before the receipt arrives.
Step 5: Record transactions weekly, not just at tax time
Set a recurring 10-15-minute block, weekly or every two weeks, to log and categorize whatever came in. Waiting until tax season means reconstructing months of context from memory. That's slower and less accurate than doing it in the moment.
Step 6: Track mileage and other easy-to-miss expenses separately
Log business mileage, small cash purchases, and recurring subscriptions in the same system as everything else. These categories are easy to miss because no single large receipt captures them, and small amounts add up over a year.
Pro tip: Check the current mileage deduction rate before tax time. The IRS sets a new rate each year and can change it partway through the year, so an old rate may understate or overstate your deduction.
Step 7: Reconcile against your bank and card statements monthly
Once a month, compare what you've logged against your actual bank and card statements. This catches transactions you forgot to record, duplicate charges, and outright billing errors before they've had months to compound.
Reconciliation is easy to let slide, which is why it belongs on the calendar rather than left to memory. If reconciliation keeps surfacing gaps a spreadsheet can't fix, this guide to custom business software is worth a look.
Common mistakes to avoid
These mistakes cause the most trouble at tax time, and each one is avoidable with a small change in habit. Here's what to watch for:
- Mixing personal and business expenses: It undoes the benefit of every other step, since you have to sort transactions by hand later. Fix it by opening separate accounts first.
- Shoeboxing receipts: Collecting paper receipts to sort later means many of them fade, get lost, or go unlogged. Capture them the day you get them.
- Waiting until tax season: A year of unsorted transactions is a much bigger job than 15 minutes a week, and it's where deductions get missed.
- Skipping monthly reconciliation: Errors and missed entries compound quietly for months without a regular check against actual statements.
- Missing small, recurring expenses: Mileage, subscriptions, and small cash purchases rarely show up on a single receipt, so they're the easiest category to underreport.
Advanced tips
A few extra habits make the weekly system faster once the basics are solid. Here are four worth adding:
- Set up rules for repeat vendors: Save a category once for a recurring vendor, like a software subscription or a regular supplier, so it's applied automatically going forward. This is a light version of the same thinking behind broader no-code workflow automation, just scoped to a single category.
- Use a dedicated business card for the float: A business credit card, used responsibly, gives you a month of float and can automatically tag transactions by merchant type. That speeds up categorization.
- Separate reimbursable client costs from operating expenses: If you bill clients for expenses incurred on their behalf, keep that category distinct from your own operating costs. That way nothing gets double-counted or missed on an invoice.
- Claim the home office deduction if it applies: If you use part of your home regularly and exclusively for business, part of your home costs are deductible. Calculate it in two ways. The simplified method uses a flat rate of $5 per square foot, capped at 300 square feet. The regular method takes your workspace's share of your home's square footage and applies it to rent or mortgage interest, utilities, insurance, and property taxes.
Where manual expense tracking hits its ceiling
A spreadsheet or a basic expense app handles small business tracking well. It stops working in a few predictable situations. One is when several people need to submit expenses, and there is no approval step. Another is when each department needs its own view of what it spent. A third is when your approval chain doesn't match what off-the-shelf software assumes.
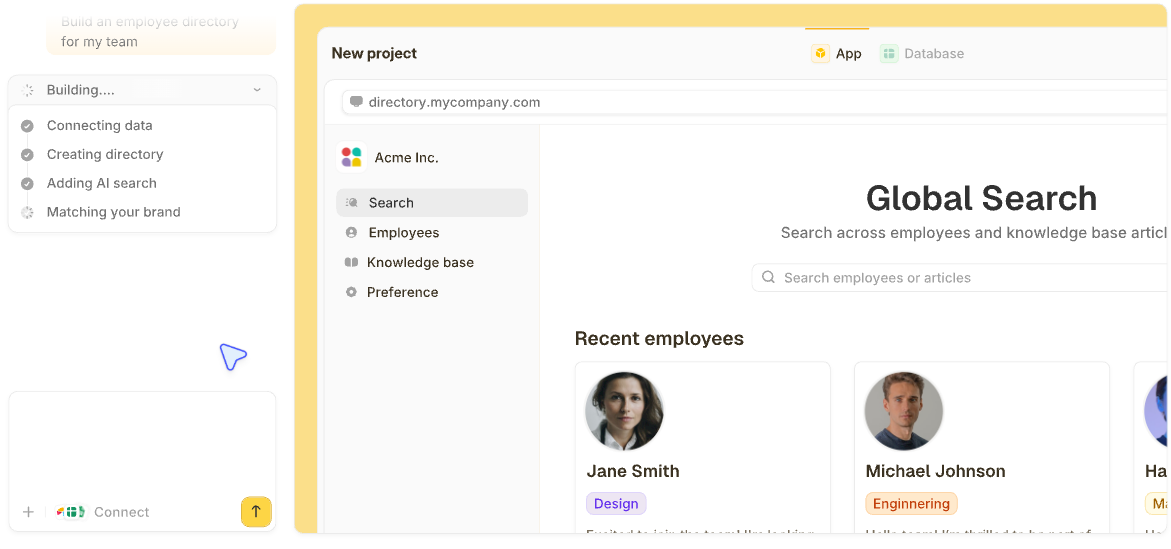
Zite fits at that point as a way to build the specific approval workflow your business needs. You describe the process in plain words: who submits an expense, which manager approves it, and what threshold sends it to finance. Zite then generates the app, the database, and the workflow logic together.
I built a purchase approval tracker this way, with role-based views that showed each person only their own requests or their team's, plus a dashboard that tallied pending requests and approved spend without a single formula.
Here's how Zite helps once a spreadsheet isn't enough:
- A real database instead of a growing spreadsheet: Expenses live in Zite's built-in database, a spreadsheet-style view where each expense links to the person who submitted it, its category, and its receipt. Amounts can't end up stored as text, and nothing has to be retyped as the list grows. This database software guide covers the tools that give you that structure.
- Approval workflows that match your process: Describe the chain (an employee submits, their manager approves, anything over a set amount goes to finance) and Zite builds it, with a notification to the next approver at each step. The workflow is laid out visually, so you can see every step and change it by describing the change.
- Set who sees what: Build an expense tracker where employees see their own expenses, managers see their team's, and finance sees everything. Describe those access rules and Zite builds them into your app, on every plan, including Free.
- Unlimited users: Every plan includes unlimited users, so adding the whole team doesn't change the bill. That matters here specifically, since everyone who submits an expense counts as a user, not just the people approving them.
This guide to workflow optimization covers how to map an approval chain before you build it.
If tracking business expenses has outgrown what your spreadsheet can handle, start building with Zite for free.
Frequently asked questions
How long does it take to track business expenses each week?
Tracking business expenses takes about 10-15 minutes a week once the system is set up, covering logging new transactions and filing receipts. Initial setup, choosing a method and building your category list, takes about 1-2 hours, most of which is a one-time cost.
Can I track business expenses with just a spreadsheet?
Yes, a spreadsheet works well for small businesses with low transaction volume and one person handling it. It starts to strain once more people are involved, approvals come into play, or different teams need their own view of the numbers.
How long should I keep business expense records?
In the US, the IRS says to keep records for three years in most cases, which matches the window it has to review a return. Some situations require longer retention, like unreported income or a return you never filed.
Are photos or digital receipts accepted for tax purposes?
Yes, digital receipts and photos of paper receipts are accepted, as long as they're legible and clearly show the vendor, amount, date, and what was purchased. Keep them organized and backed up somewhere reliable, since an unreadable photo doesn't hold up any better than a receipt that faded in a drawer.
Can Zite help me track business expenses?
Yes, by building the tracker around your process. Describe who submits expenses, who approves them, and what gets flagged, and Zite generates the app, the database, and the approval logic. Receipts attach to each record, each person sees only their own, and the whole team is covered without per-seat fees. If you only need a personal log, a spreadsheet is enough.