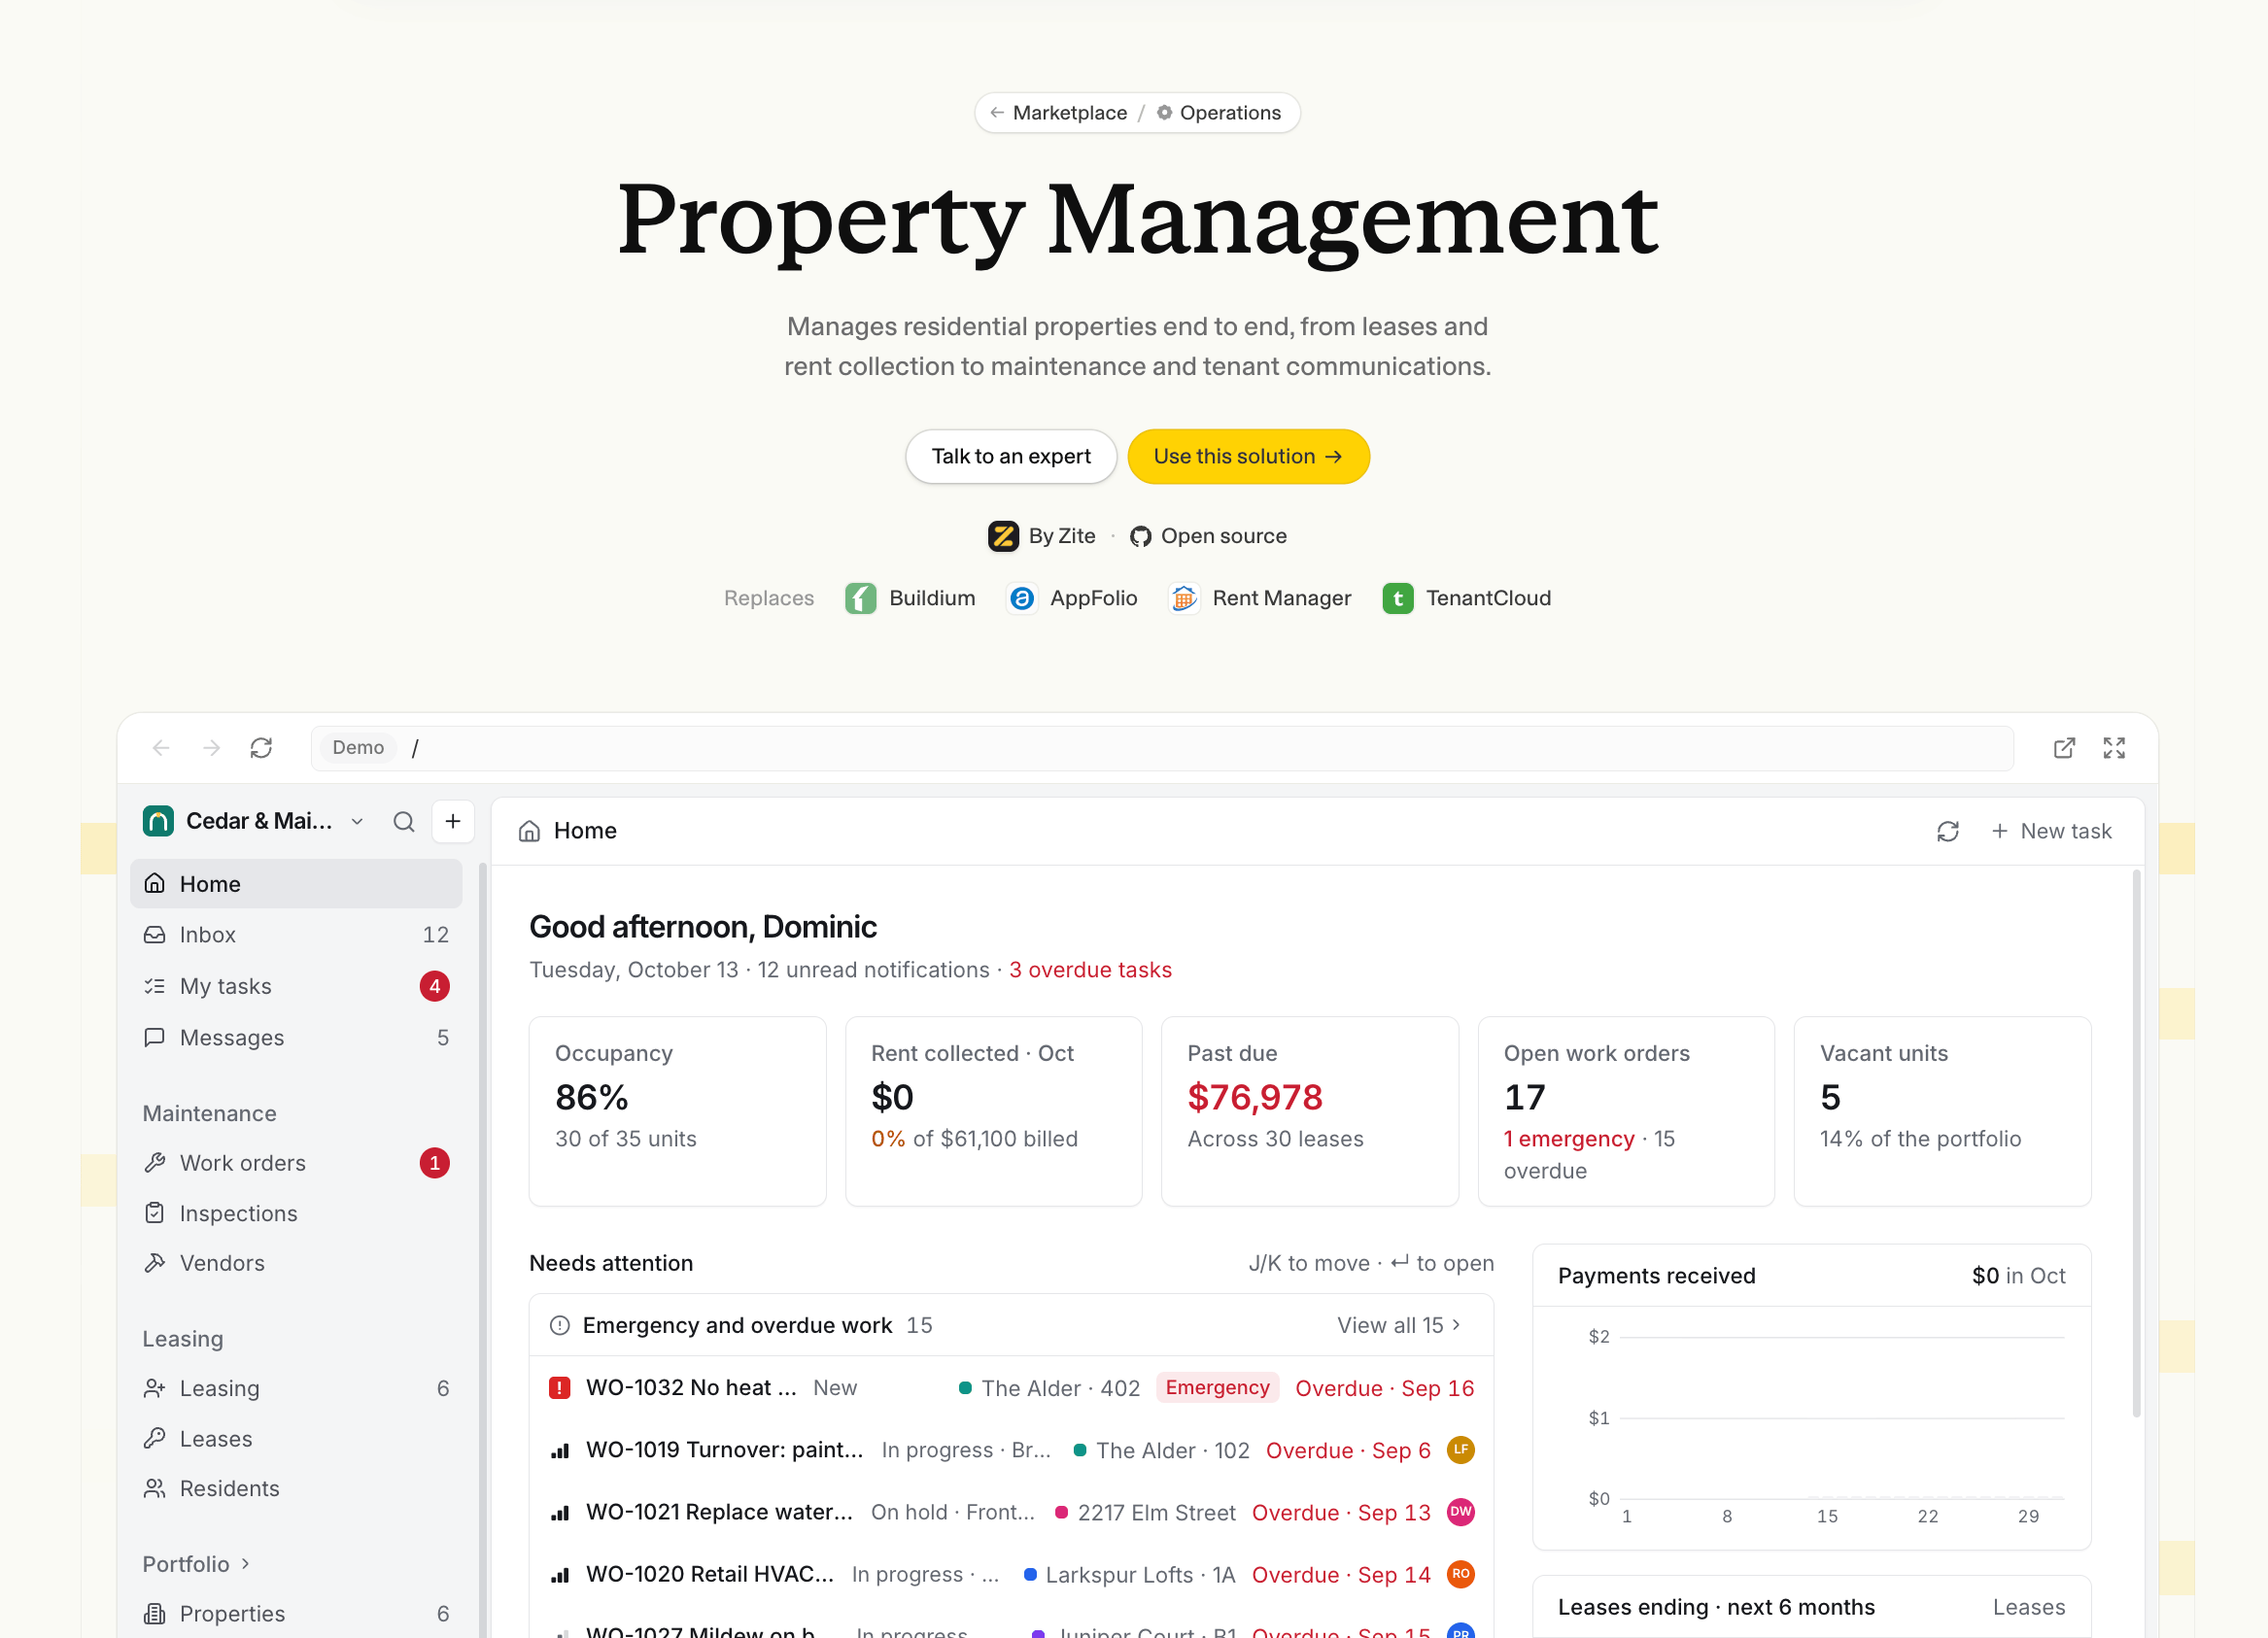
The Zite Marketplace brings together ready-made solutions you can customize for your team. Each solution is a whole workspace, with a database and any apps or forms built around it.
Start with a solution to make it your own, or turn a workspace you’ve built into a solution other teams can use.
How solutions work
How to create solutions
When you start a solution, you get your own copy of its apps and database. You can change any part of it without affecting the creator’s workspace or anyone else’s copy.What you get
Depending on the solution, your workspace can include:
- Apps and forms: Ready-made screens and forms for the people using your system, such as a team dashboard and a customer portal.
- A shared database: Tables and fields already set up for the solution. Apps in the workspace use the same information, so you don’t need to recreate it for each app.
- Sample data, when included: Example information to help you explore the apps. The creator decides whether your copy starts with sample records or empty tables.
- A setup checklist: The creator’s setup steps, plus branding and publishing steps when the solution includes apps.
For example, a property management solution could bring a tenant portal and a manager’s dashboard together around the same properties and maintenance requests.Your copy doesn’t include the creator’s connected accounts. Connect your own accounts for any integrations you want to use.
Start with a solution
You need permission to create the apps, forms, and database included in the solution. If your account restricts what you can create, ask an account admin for access.Choose a solution
Browse the marketplace, search for what you want to build, or choose a category. You can also open a solution from a link shared by its creator.Open the solution to review its apps, database, and integrations. Try the available app previews to see whether it fits the way your team works. Previews are read-only, so actions that change data or need connected services may be unavailable. Create your workspace
Click Use this solution, then sign in or create a Zite account if needed.Enter a workspace name, or keep the solution’s name, then click Create workspace. Zite creates a new workspace with your own copy of the solution. It opens automatically unless there are notes about items that couldn’t be copied; in that case, review the notes and click Go to workspace.
Follow the setup checklist
For solutions with apps, click Start beside Apply your branding in the getting-started checklist. Choose or create a brand kit, then click Apply branding to ask Zite to apply it across your apps.Click Start beside a creator’s setup step to open the app editor and send that step’s instructions to Zite. Use Skip for any steps you don’t need. Make it your own
Open an app and tell Zite what you want to change in plain words. You can adjust the design, change what information you collect, or adapt the way people use the app.For example, you could ask:
- “Change the sales stages to New lead, Meeting booked, Proposal sent, and Won.”
- “Add a priority field to maintenance requests and show urgent requests first.”
- “Update the client portal to use our company name and welcome message.”
Review any sample records before adding your own information. Connect the accounts your apps need, such as your email or calendar, and test that they work with your copy.Publish and share your apps
Your copied apps aren’t published automatically when you create the workspace. Click Publish beside Publish your apps in the checklist, review the apps and their access settings in the dialog, then click Publish to make them live.Publishing doesn’t make an internal app public. People still need the appropriate access to open it.Before sharing an app, check that:
- The app shows the right information and your changes work as expected.
- Any integrations use the accounts you intended to connect.
- The right people can sign in or view the app. See access and sharing.
You can keep editing your workspace and apps after setup. Your copy is independent, so later changes to the creator’s solution don’t update your workspace automatically. Turn a workspace you’ve built into a solution other teams can make their own. A solution packages your apps and shared database with a public listing and a setup checklist.When someone starts your solution, Zite creates an independent copy in their account. They can customize it without changing your original workspace.Prepare your workspace
Build around a clear use case, such as managing a sales pipeline or handling customer requests. Include the apps and database tables someone needs to complete that process.Before creating the listing:
- Test the apps together. Check that each app works with the shared database and that the main tasks are easy to follow.
- Use information you can share. Review the whole workspace for customer details, internal notes, and other private information. Use fictional examples for demos and sample records.
- Explain each app’s role. Give apps clear names so people can tell which one is for their team, customers, or another audience.
- Plan the setup. Identify what someone will need to change, such as their branding, sales stages, or connected accounts.
- Prepare app previews. Publish the apps you want visitors to try in the marketplace demo.
Start from a separate workspace prepared for sharing. This makes it easier to keep your solution’s examples and setup separate from the information your own team uses.
Create your solution
You must be an account admin to create a creator profile and add a workspace to the marketplace.Create your creator profile
Open Settings, select Marketplace, and click Create profile. Add a Profile photo, Name, available Marketplace handle, and Email, then click Create profile to save.Your website and bio are optional. Your email stays off your public profile unless you turn on Show my email address on my marketplace profile.This identifies your organization as the creator of your solutions. If your organization already has a profile, you can use it for another solution.
Add your workspace to the marketplace
Open the workspace you want to share, open its menu, and choose Add to marketplace.Review the workspace preview, check the box acknowledging that it will be listed publicly, then click Get started. Your listing lets people start their own copy of the workspace.
Describe the solution
On Info, enter a name, description, and at least one category. Explain who the solution is for and what they can do with it, and review any details Zite has drafted for you.Review the public link and optional cover image. You can add a YouTube or Loom demo video under Advanced, then click Continue.
Review the apps and sample data
On Apps, review the descriptions. If the workspace has more than one app, choose a Default app for customers to open from their new workspace.Under Sample data, choose None to give customers empty tables, or Include sample records to give them examples from your workspace. This copies up to 200 records per table from up to 50 tables, so don’t rely on it to transfer an entire database.Before creating the listing, review Demo users under Advanced and choose whose information visitors can see. These choices are separate from sample data. Click Continue when you’re ready.
Add setup steps and create
On Checklist, add any setup steps customers need, or use Generate steps to draft them with Zite. Each step you add needs both a Title and an Agent message explaining how Zite should help. Custom steps are optional.Review the details, then click Create. You can manage the solution and your creator profile in Settings → Marketplace.
Write a useful setup checklist
Keep each step focused on one task the customer needs to complete. Put the steps in the order someone would naturally set up their system.The Title tells the customer what the step is for. The Agent message is sent to Zite when they start that step, so write it as a request for help.For a CRM solution, you might add:Zite provides Apply your branding and Publish your apps steps for solutions with apps. Focus your own steps on what makes your solution useful, and remind customers to connect their own accounts where needed.Review the public demo
Open View on marketplace from your solution’s options to check the page visitors will see. Review the descriptions, cover image, and available app previews.For apps with sign-in, Demo users under the apps step’s Advanced options controls whose view visitors see in the demo. You can choose more than one user so visitors can try different views. If you don’t choose one, Zite uses the first available app user, which may be you. It also falls back to the first available user if all your selected users are later removed.Demo visitors can see the selected user’s view in read-only mode. Check the information visible to that user before sharing the listing. Choosing None for sample data only controls records in new copies; it doesn’t hide information shown in the demo.
Share your solution
Once created, your solution has a public page you can share by link. Use the copy-link button in your workspace’s Marketplace solution section.Your solution’s status tells you where it is available:
- Published: People can open and use the solution through its direct link.
- Listed: The solution is also featured in the marketplace catalog, where people can find it while browsing or searching.
- Disabled: The solution is unavailable to new visitors until you enable it again.
- Source trashed: The original workspace is in the trash, so the solution is hidden. Restore the workspace to make it available again, provided the listing is still enabled.
Publishing a solution doesn’t automatically feature it in the catalog. Contact support@zite.com to ask about having it featured.Manage your solution
Open your workspace menu and choose Marketplace listing. In the Marketplace solution section, open the options menu to:
- Edit solution: Change the listing details, app descriptions, sample-data choice, or setup checklist, then click Update.
- View on marketplace: Check the public listing.
- Disable or Enable: Pause access to the solution or make it available again.
- Remove solution: Confirm Remove solution in the dialog to remove the marketplace listing while keeping your workspace. People can no longer start new copies from the listing.
Keep the original workspace ready for new customers, as it is the workspace Zite copies when someone starts your solution. Changes don’t automatically carry over to copies customers have already created.Changing the listing’s Slug changes its public link, and the old link stops working. If you change it, update any links you’ve shared.
Last modified on October 15, 2026