

When to use Auto mode
- You trust the agent to keep building with fewer approve clicks
- Larger or multi-step builds where Build’s approval stops would interrupt the flow
- You can stay on the page while Auto works, or you are ready to continue if the connection drops
1
Switch to Auto mode
Open the mode menu and choose 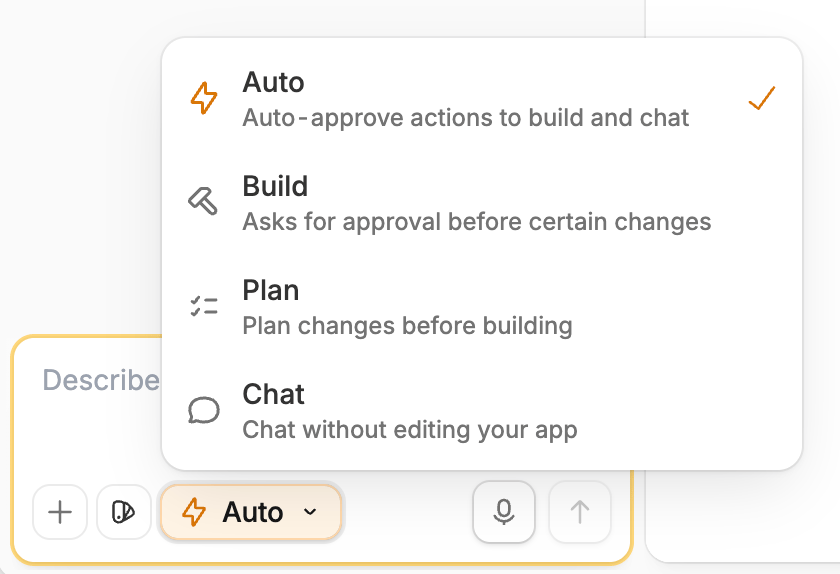
Auto, or press Shift + Tab until you reach Auto mode. Auto is labeled Auto-approve actions to build and chat.The same mode control is available on the workspace home.2
Describe the change
Include the outcome you want and where the change should happen. Auto can change the app the same way Build can.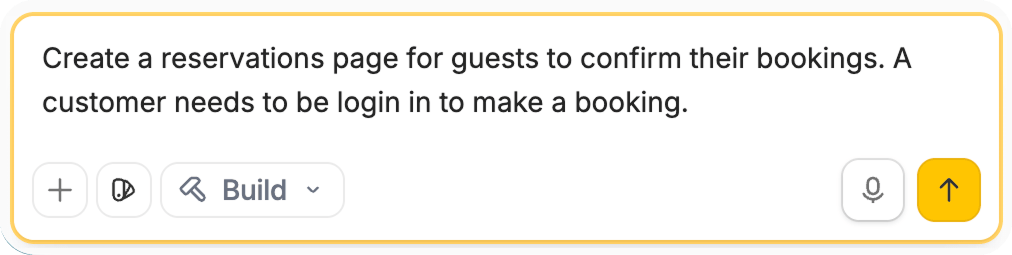
3
Review the result
Read the Agent’s summary, then test the feature it built.Changes applied without an Approve click still appear in the Changes panel, marked as auto-approved (amber bolt). A short banner summarizes how many changes were auto-approved and links to
See changes.You can’t undo table or field changes from that summary. Reverse data changes in the database, or keep editing the app as usual. To restore an earlier app version, use Version control.Auto still stops when you need to sign in to connect an integration, enter a secret, create a new app, answer a clarifying question, or wait for a workflow’s next run to finish. It may also pause if the agent is about to make a hard-to-reverse change you didn’t clearly ask for — such as deleting a table or field, changing a field type, removing a dropdown option, or widening who can access data — or when the work would reach real people, like sending email or taking a payment. That pause is the agent’s judgment, not a guarantee.